Out of order and as promised, here are the details on the final steps getting the stand put together. I’ve yet to finish the doors, so that will come in a subsequent post. They will be finished the same as the rest of the tank and unless I wind up doing something CRAZY, they’ll look the same as the drawing. Now then, onto the fun…
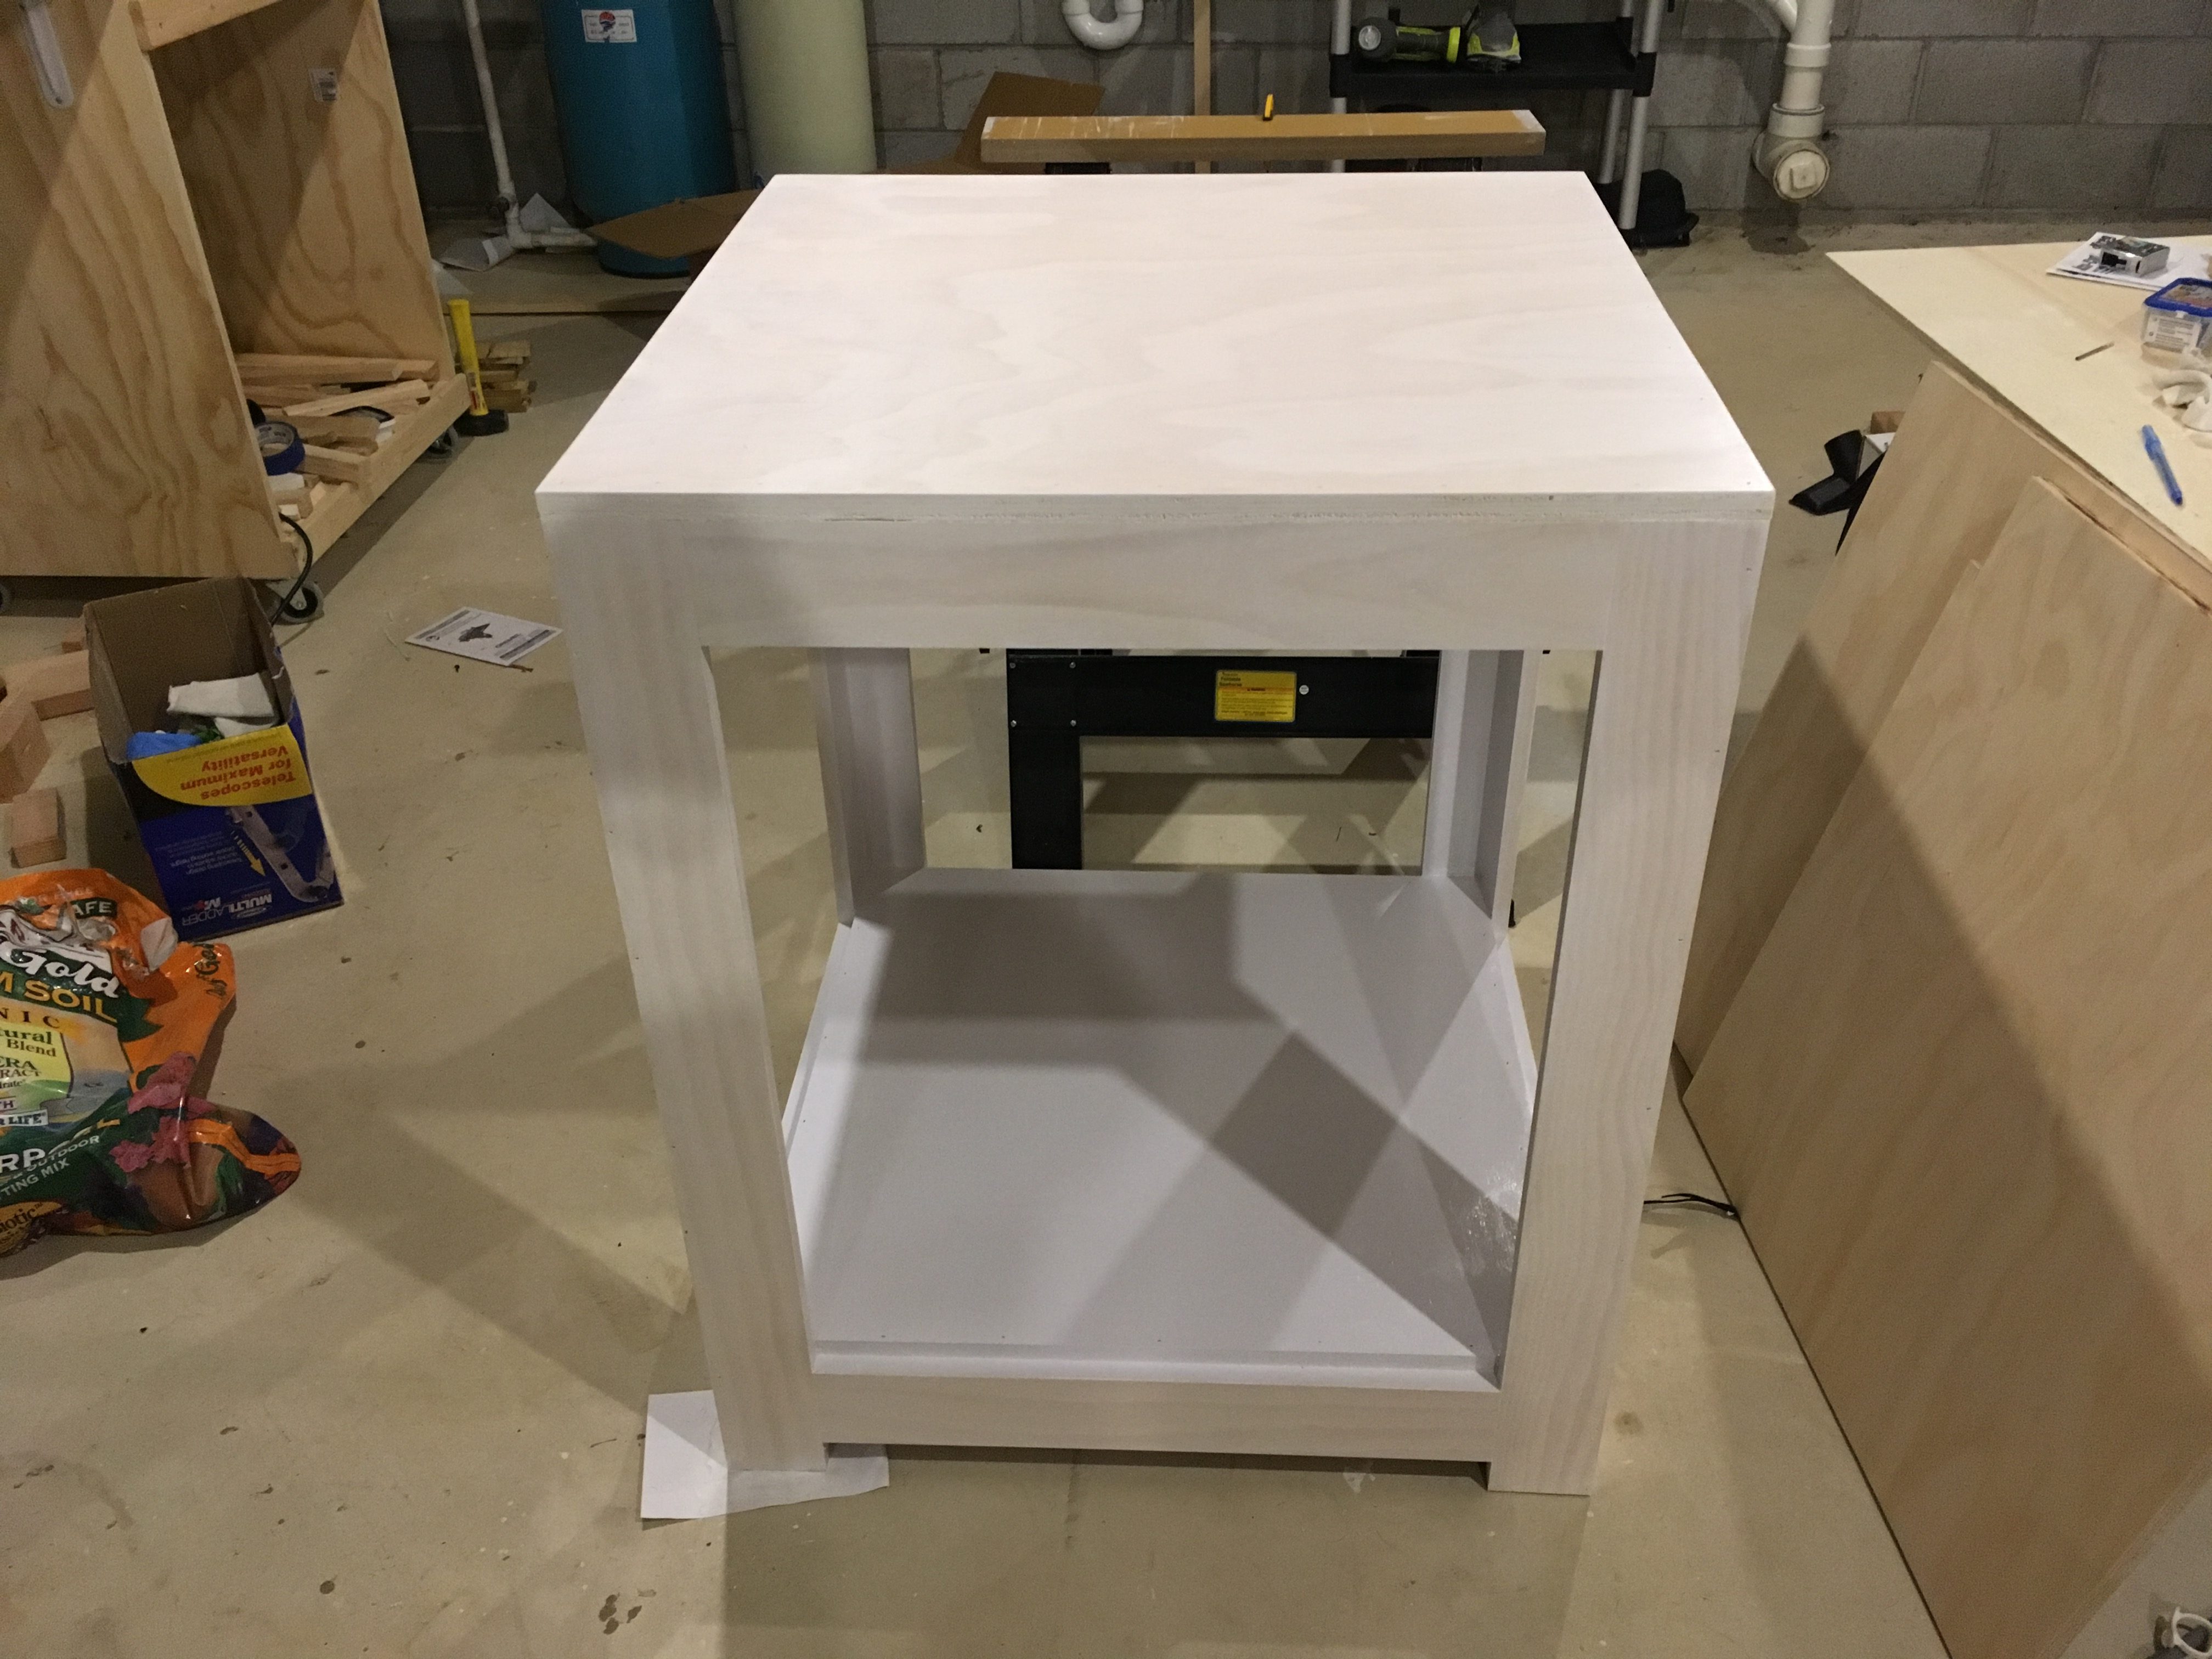
When we left off I had just finished putting the top and bottom bases on the frame. I was able to get the frame squared again after the assembly work racked it by about 1/4″. Phew! At this point the only thing to do is start the finishing.
My previous stand was made of veneered MDF. If you don’t already know, MDF and water are a BAD combination. The MDF swells pretty severely when wet and becomes very unstable. Since this stand is solid pine that shouldn’t be an issue, but it is still good practice to seal it well.
I opted for a multi-step approach. First, I sealed the edges all around the bottom of the frame with silicone. I don’t expect any water to actually collect under here, but at least this will keep it from getting trapped in a joint. Next, the entire inside of the frame got two coats of Killz Latex paint. This is a stain blocker and primer and it helps provide a good layer for the next layer of finish to stick to. Killz will keep any sap in the wood from leaching out and making a dark spot too. After the Killz came three coats of Rustoleum Appliance Epoxy Paint. Unfortunately the paint needed 24 hours to dry between coats, so this held me up for quite a while.
Expoxy Paint and Silicone Sealant for the Base and Inside of the FrameIf you’ve never used an epoxy paint there are two things to know about it: 1) it is hard as a rock when applied properly, and 2) it STINKS when you’re applying it so open a window or work outside. I went with three coats on the base just to make sure I wouldn’t damage the finish when sliding things around under there. Water beads up on the epoxy and protects the wood underneath. The frame itself only got one coat since they just need splash and humidity protection. Here’s how it came out:

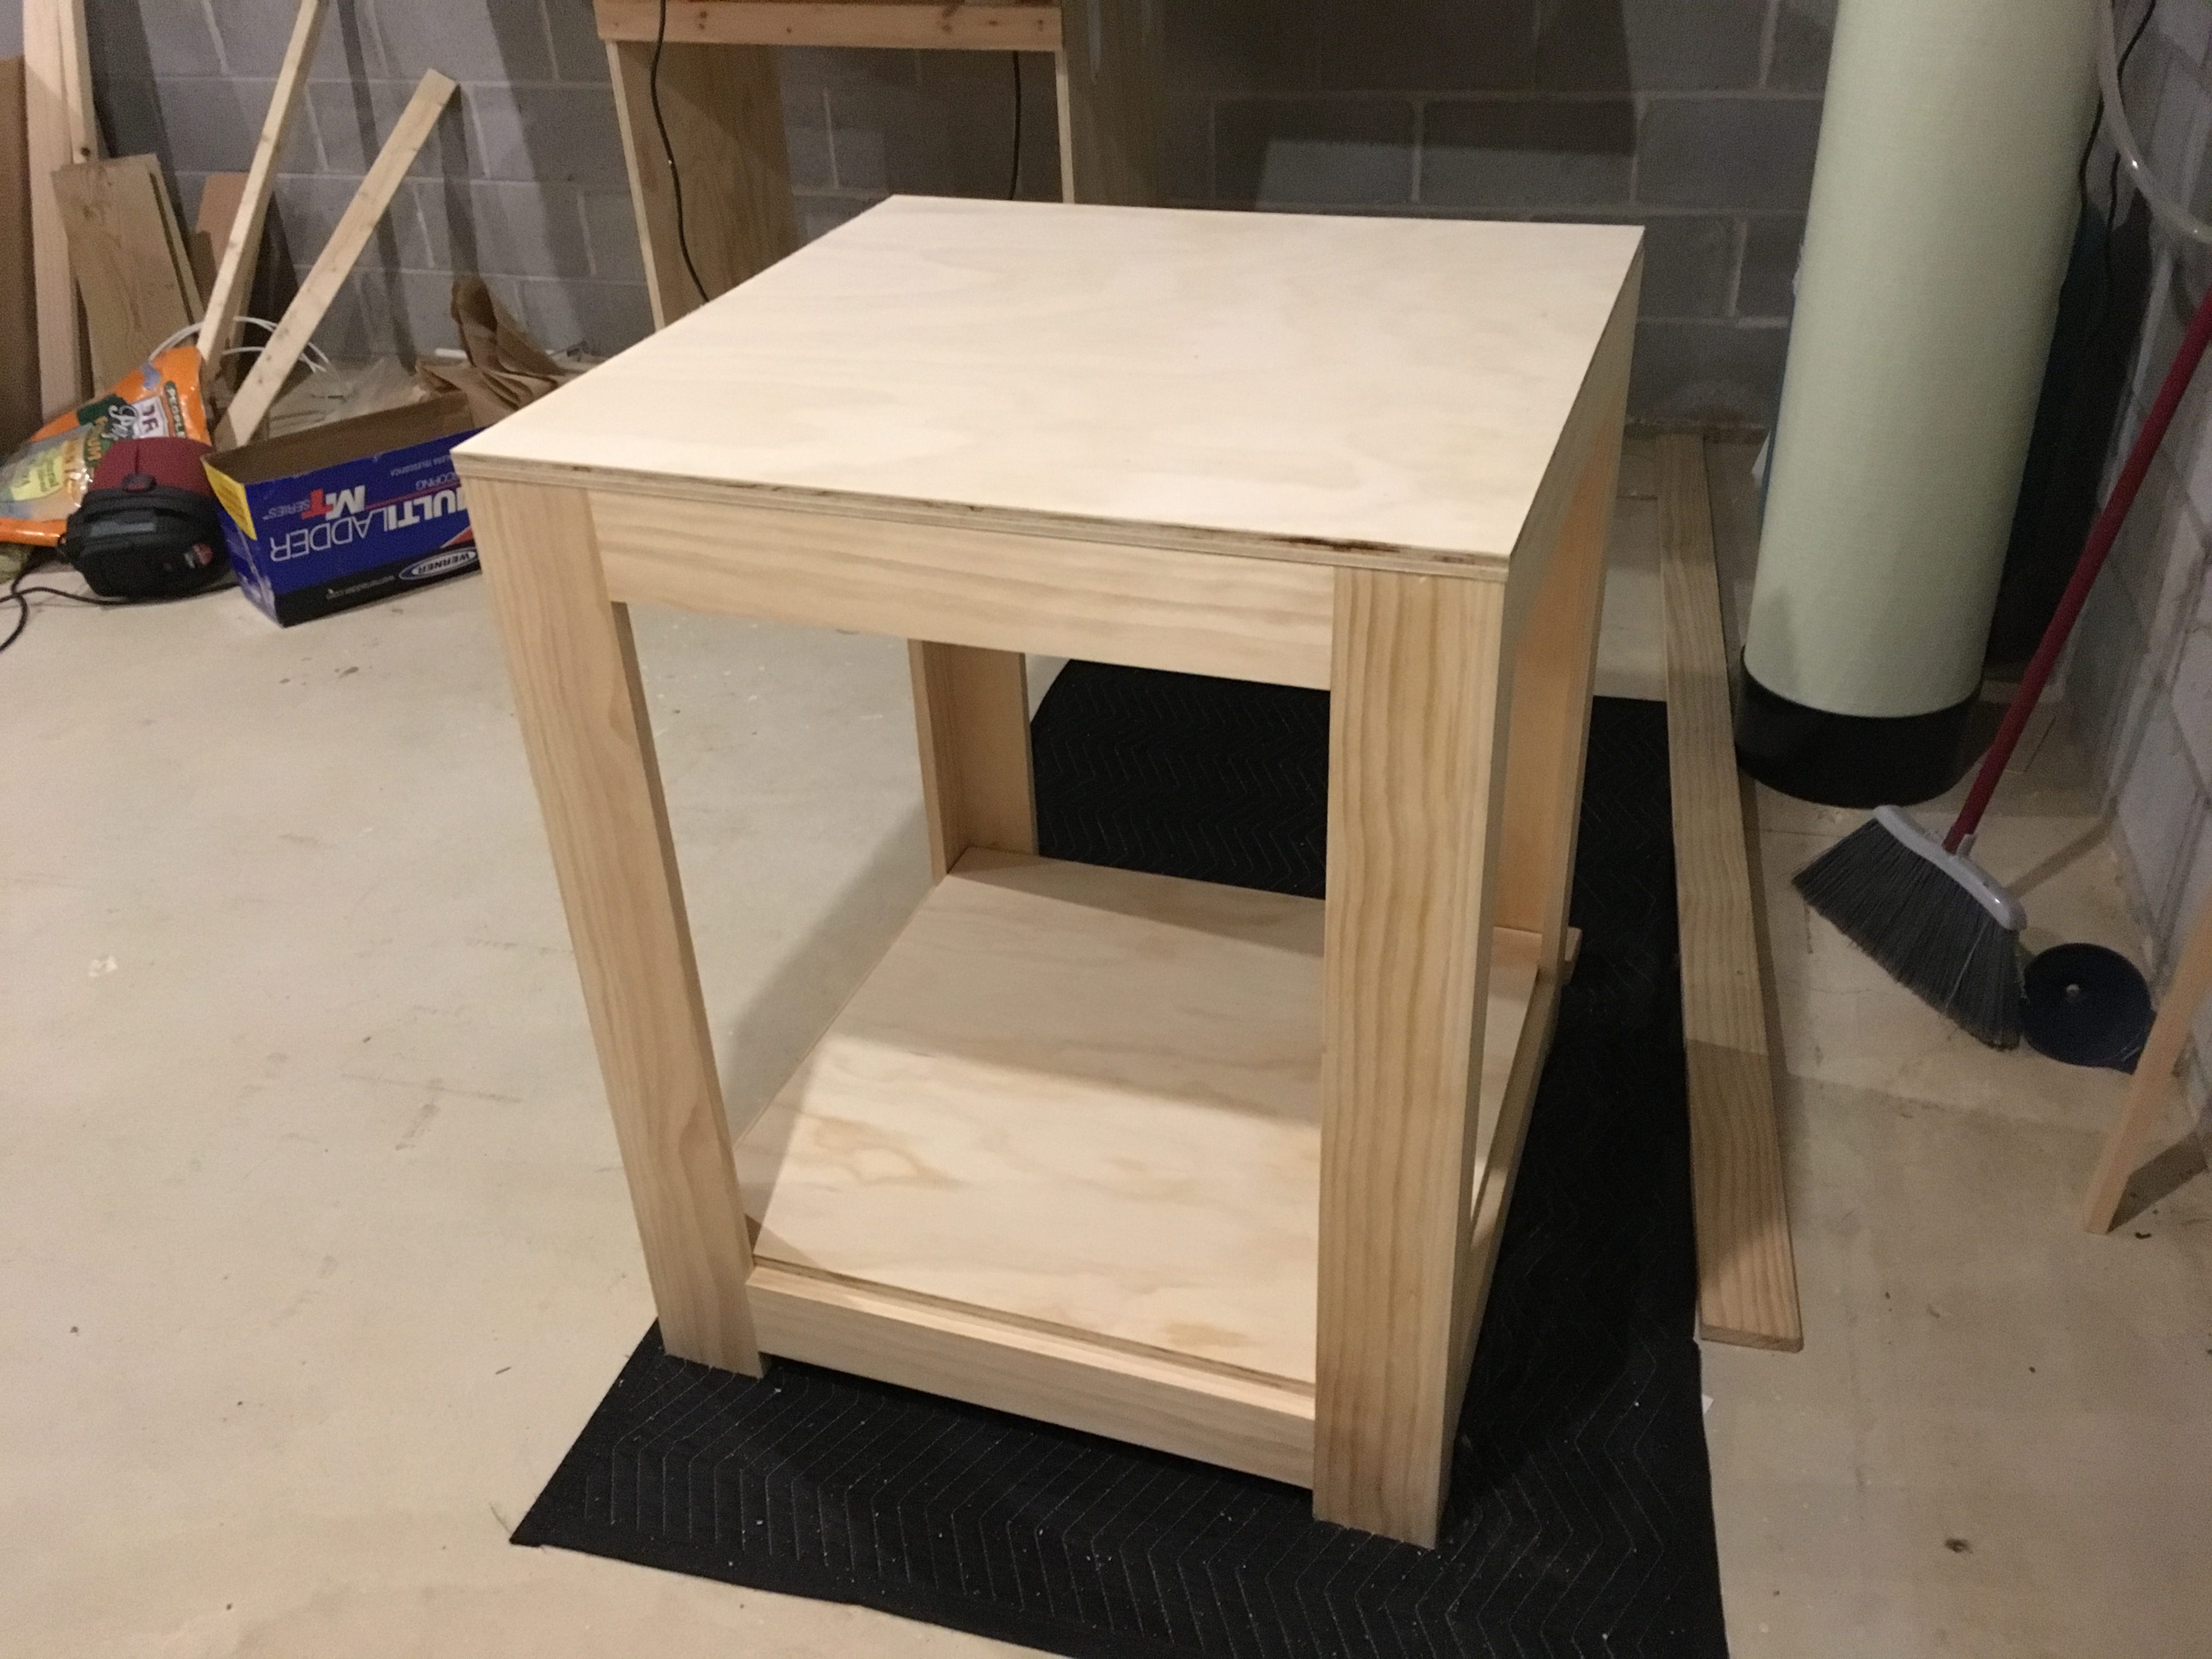
Next up, it is time to stain the outside of the stand. I went with another Rustoleum product called Varethane. It is actually a surface treatment and not really a stain, but it comes in a nice antique whitewashed finish that matched the look I was looking for. I thought it would be a quick way to finish the stand, but it turned out I was in for quite a few coats. After one coat the color change was very subtle. You can see in this picture the difference between a scrap of unfinished pine and the stand with one coat of stain.
Subtle, right? There’s a balancing act between letting the stain sit longer to get a deeper finish and letting it sit too long and leaving splotches. I opted for the safer route of more coats. It took 5 coats to get to the look I wanted, but it came out awesome!
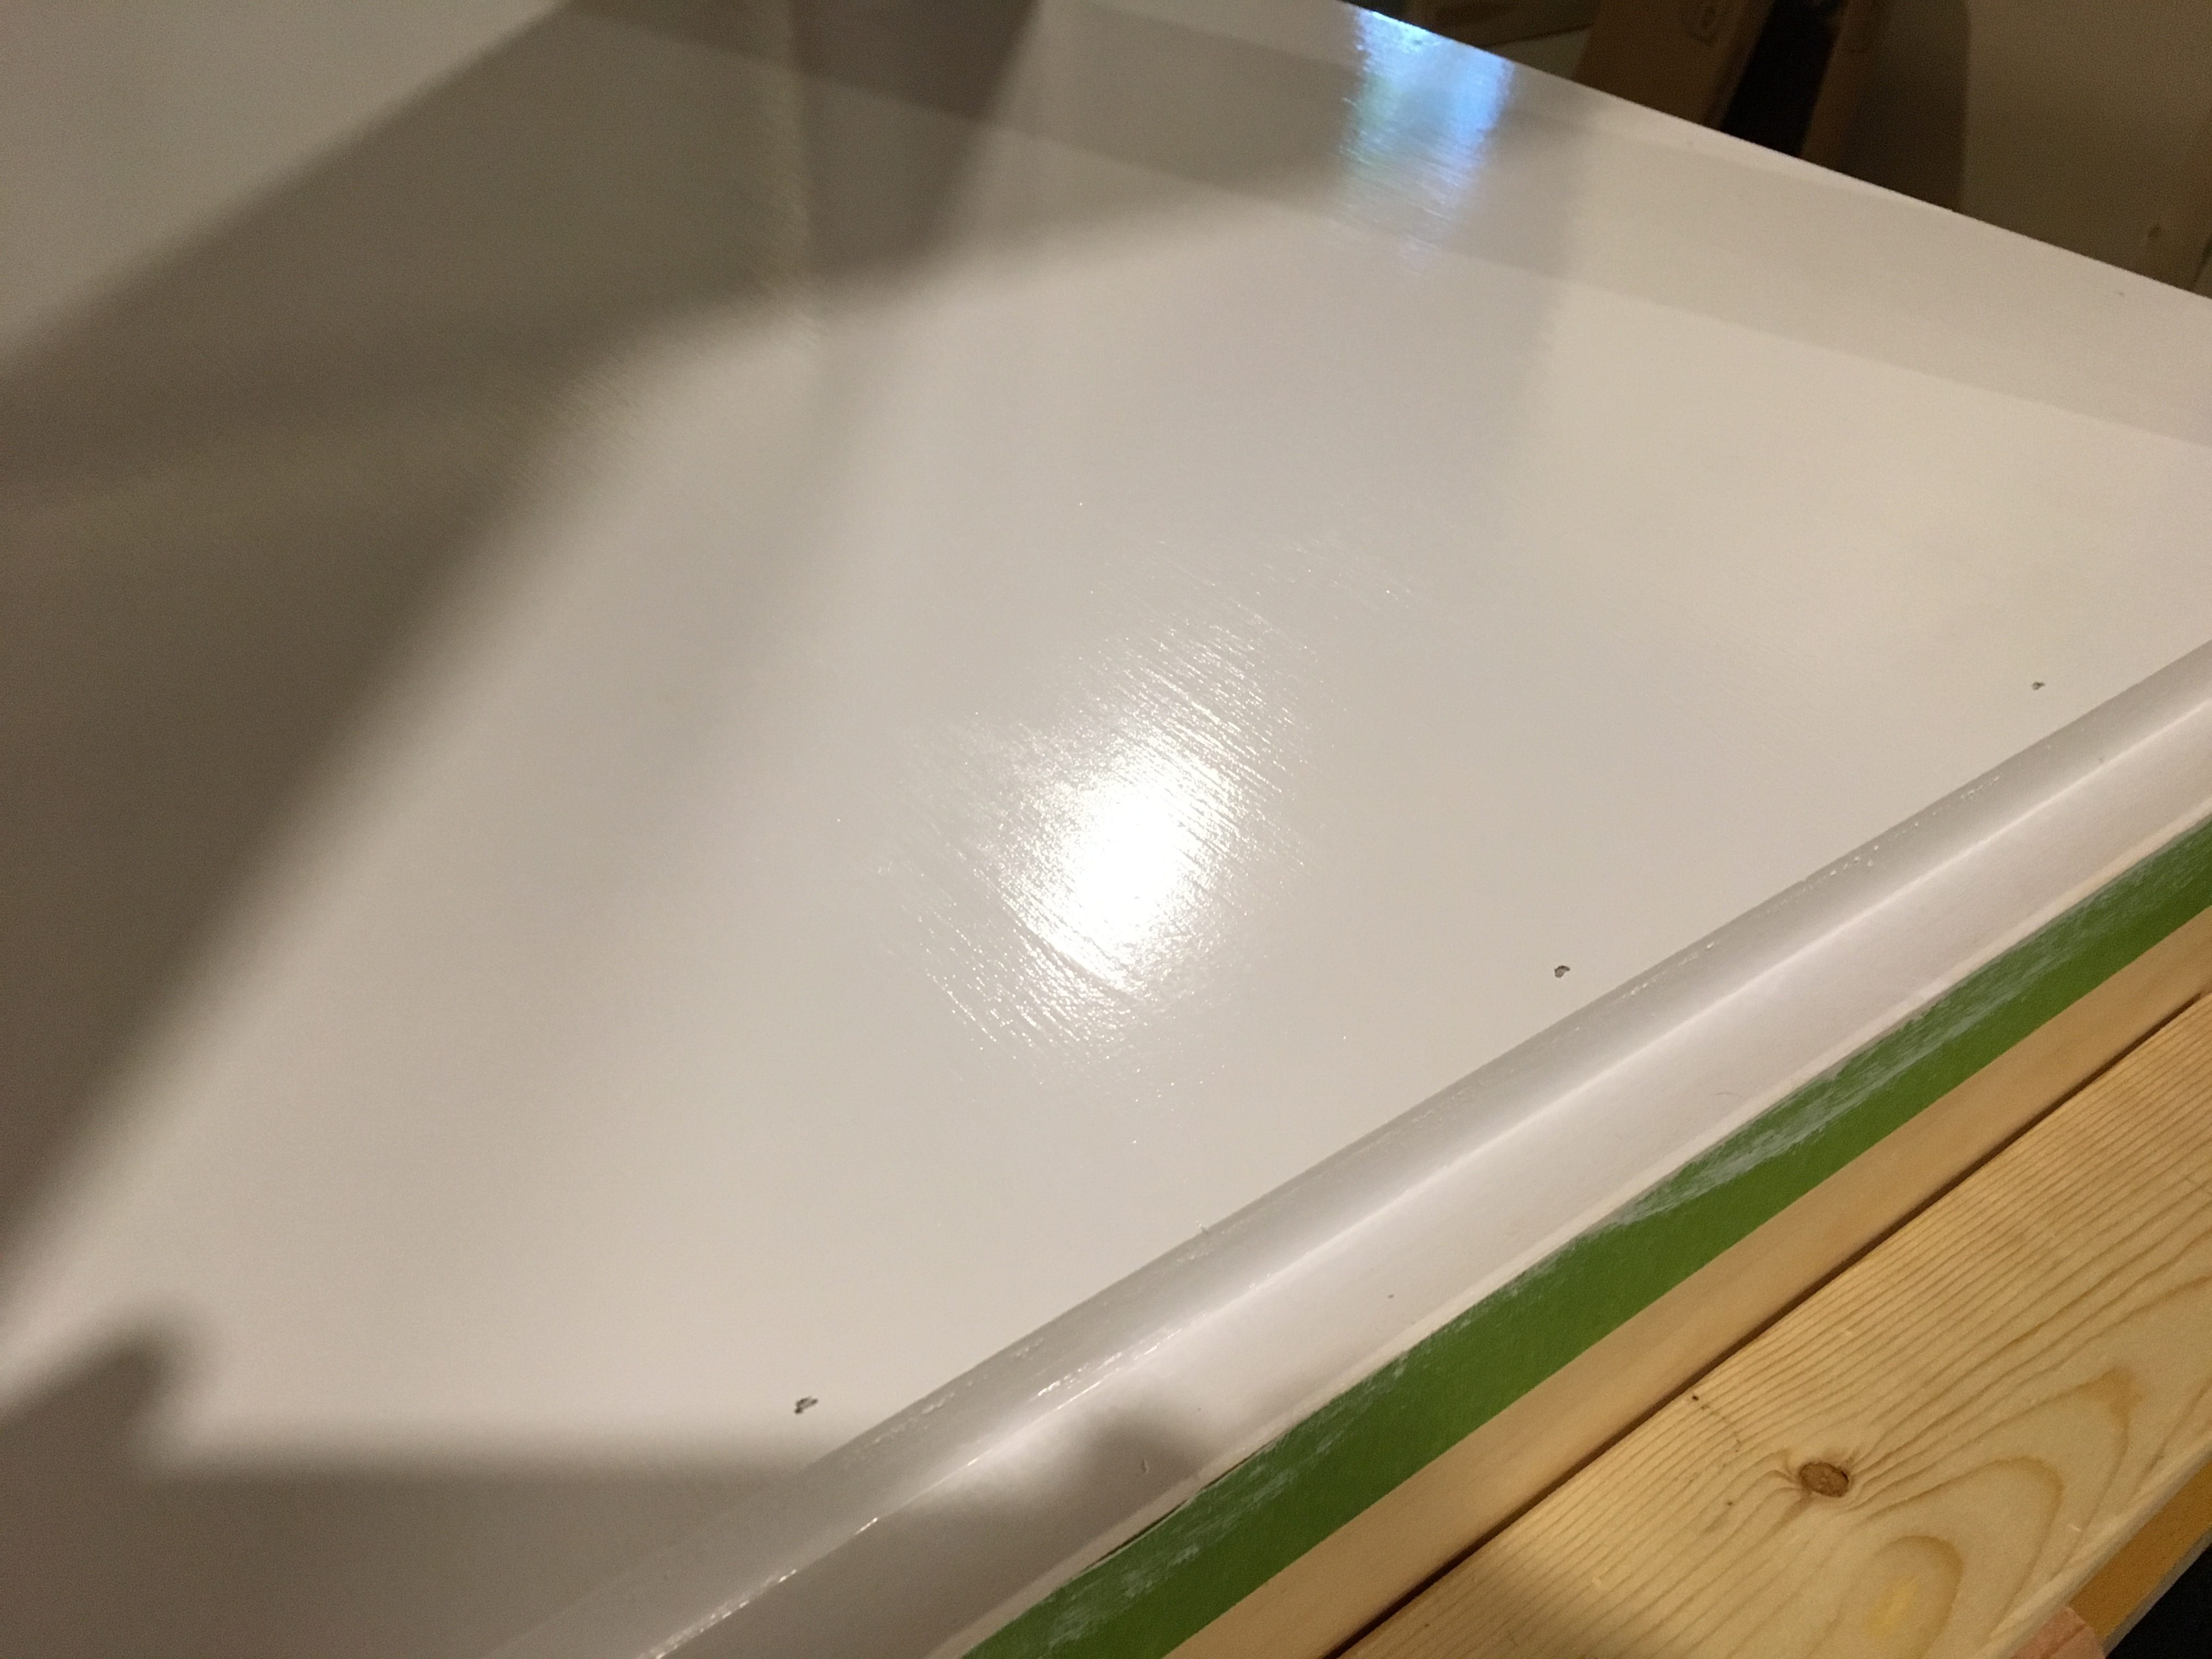
Now it is time to lock in that finish and protect it. Pine, if you don’t already know, is very soft so it very easily gets damaged from accidental bumps and scrapes. Also since the finish is actually a surface treatment, it needs to be protected so it doesn’t wear off. My initial plan was to use polyurethane as the sealant. It dries rock solid and provides great protection. I did one coat on the top and realized I made a big mistake… Polyurethane dries with a yellow tint! Crap! Luckily it was only on the top and you won’t see it once the tank is sitting there.
I switched to using polycrylic which dries completely clear. It’s actually easier to work with than polyurethane, so that turned out to be a blessing in disguise. I did three coats of the polycrilic all around. I used 220 grit sand paper between coats and 400 grit on the last one. The final product is silky smooth with a rock hard protective finish. Now that the messy work was done, it was time for the stand to move upstairs!
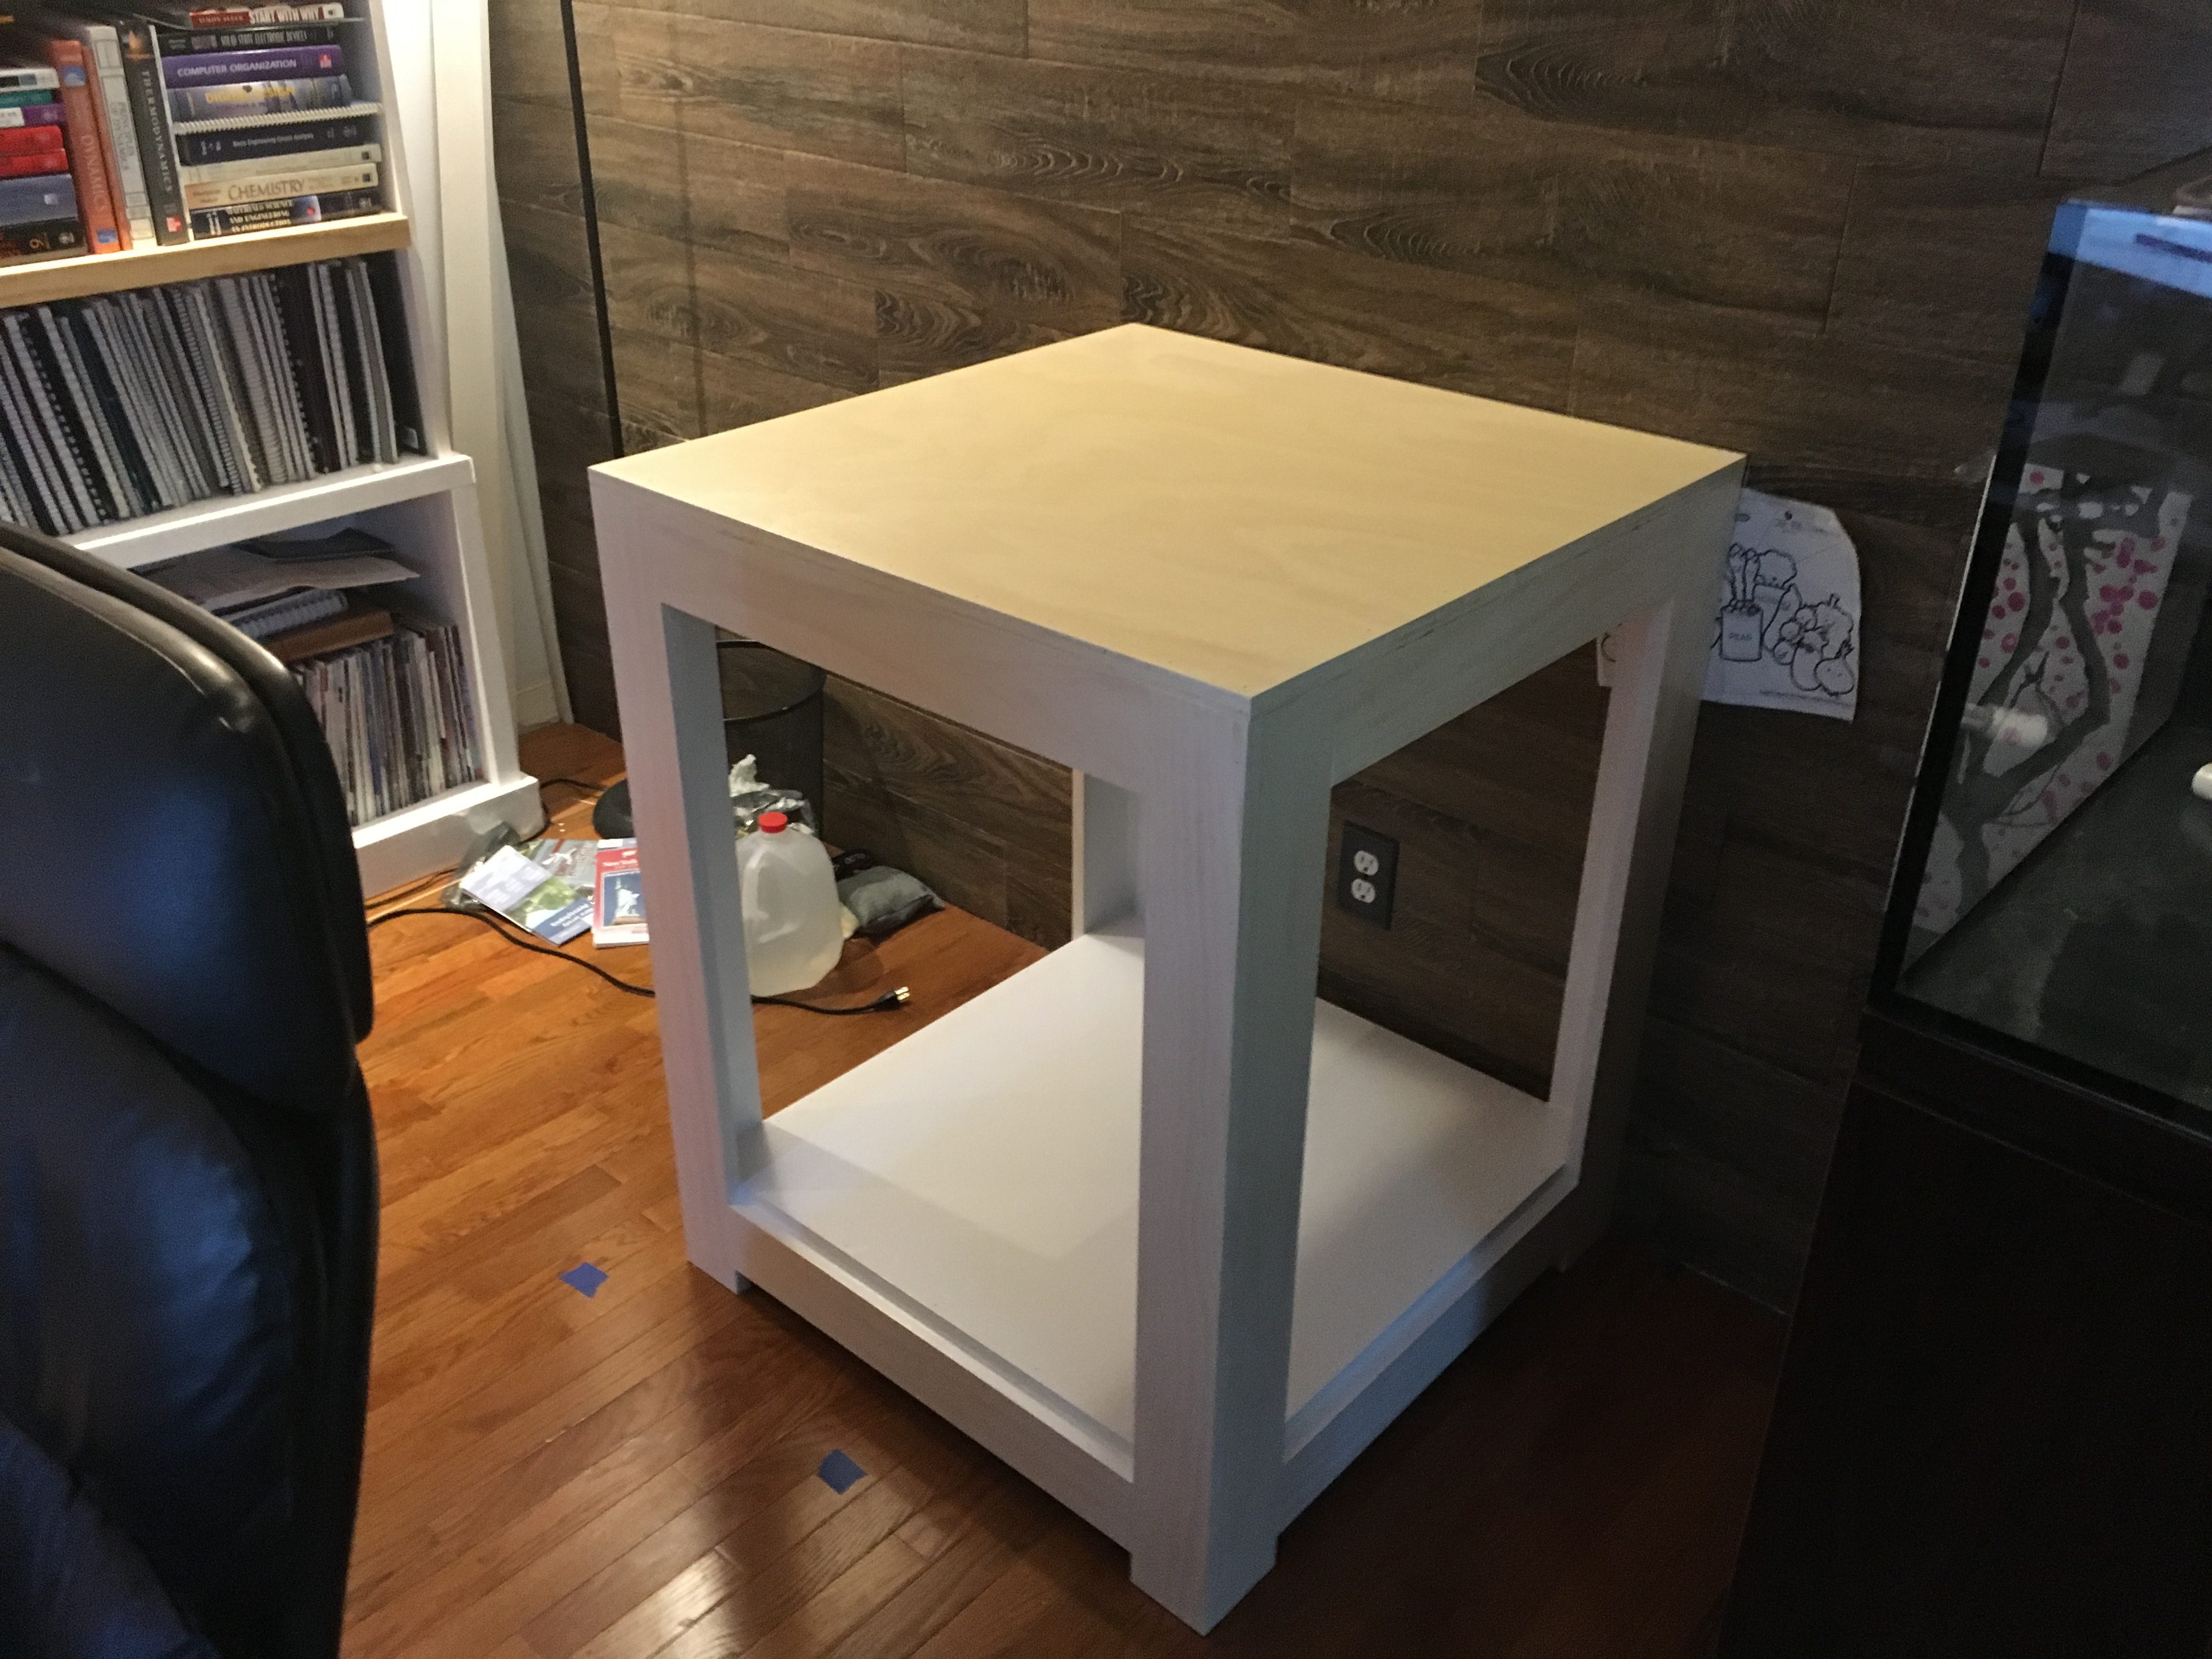
You can really tell the difference where the polyurethane went on top versus the polycrylic that went on the rest. Glad I caught that early! One nice surprise was just how light the stand is. It is 36″ x 36″ x 30″, so it is quite big and awkward to carry, but I easily got it up the basement steps by myself.
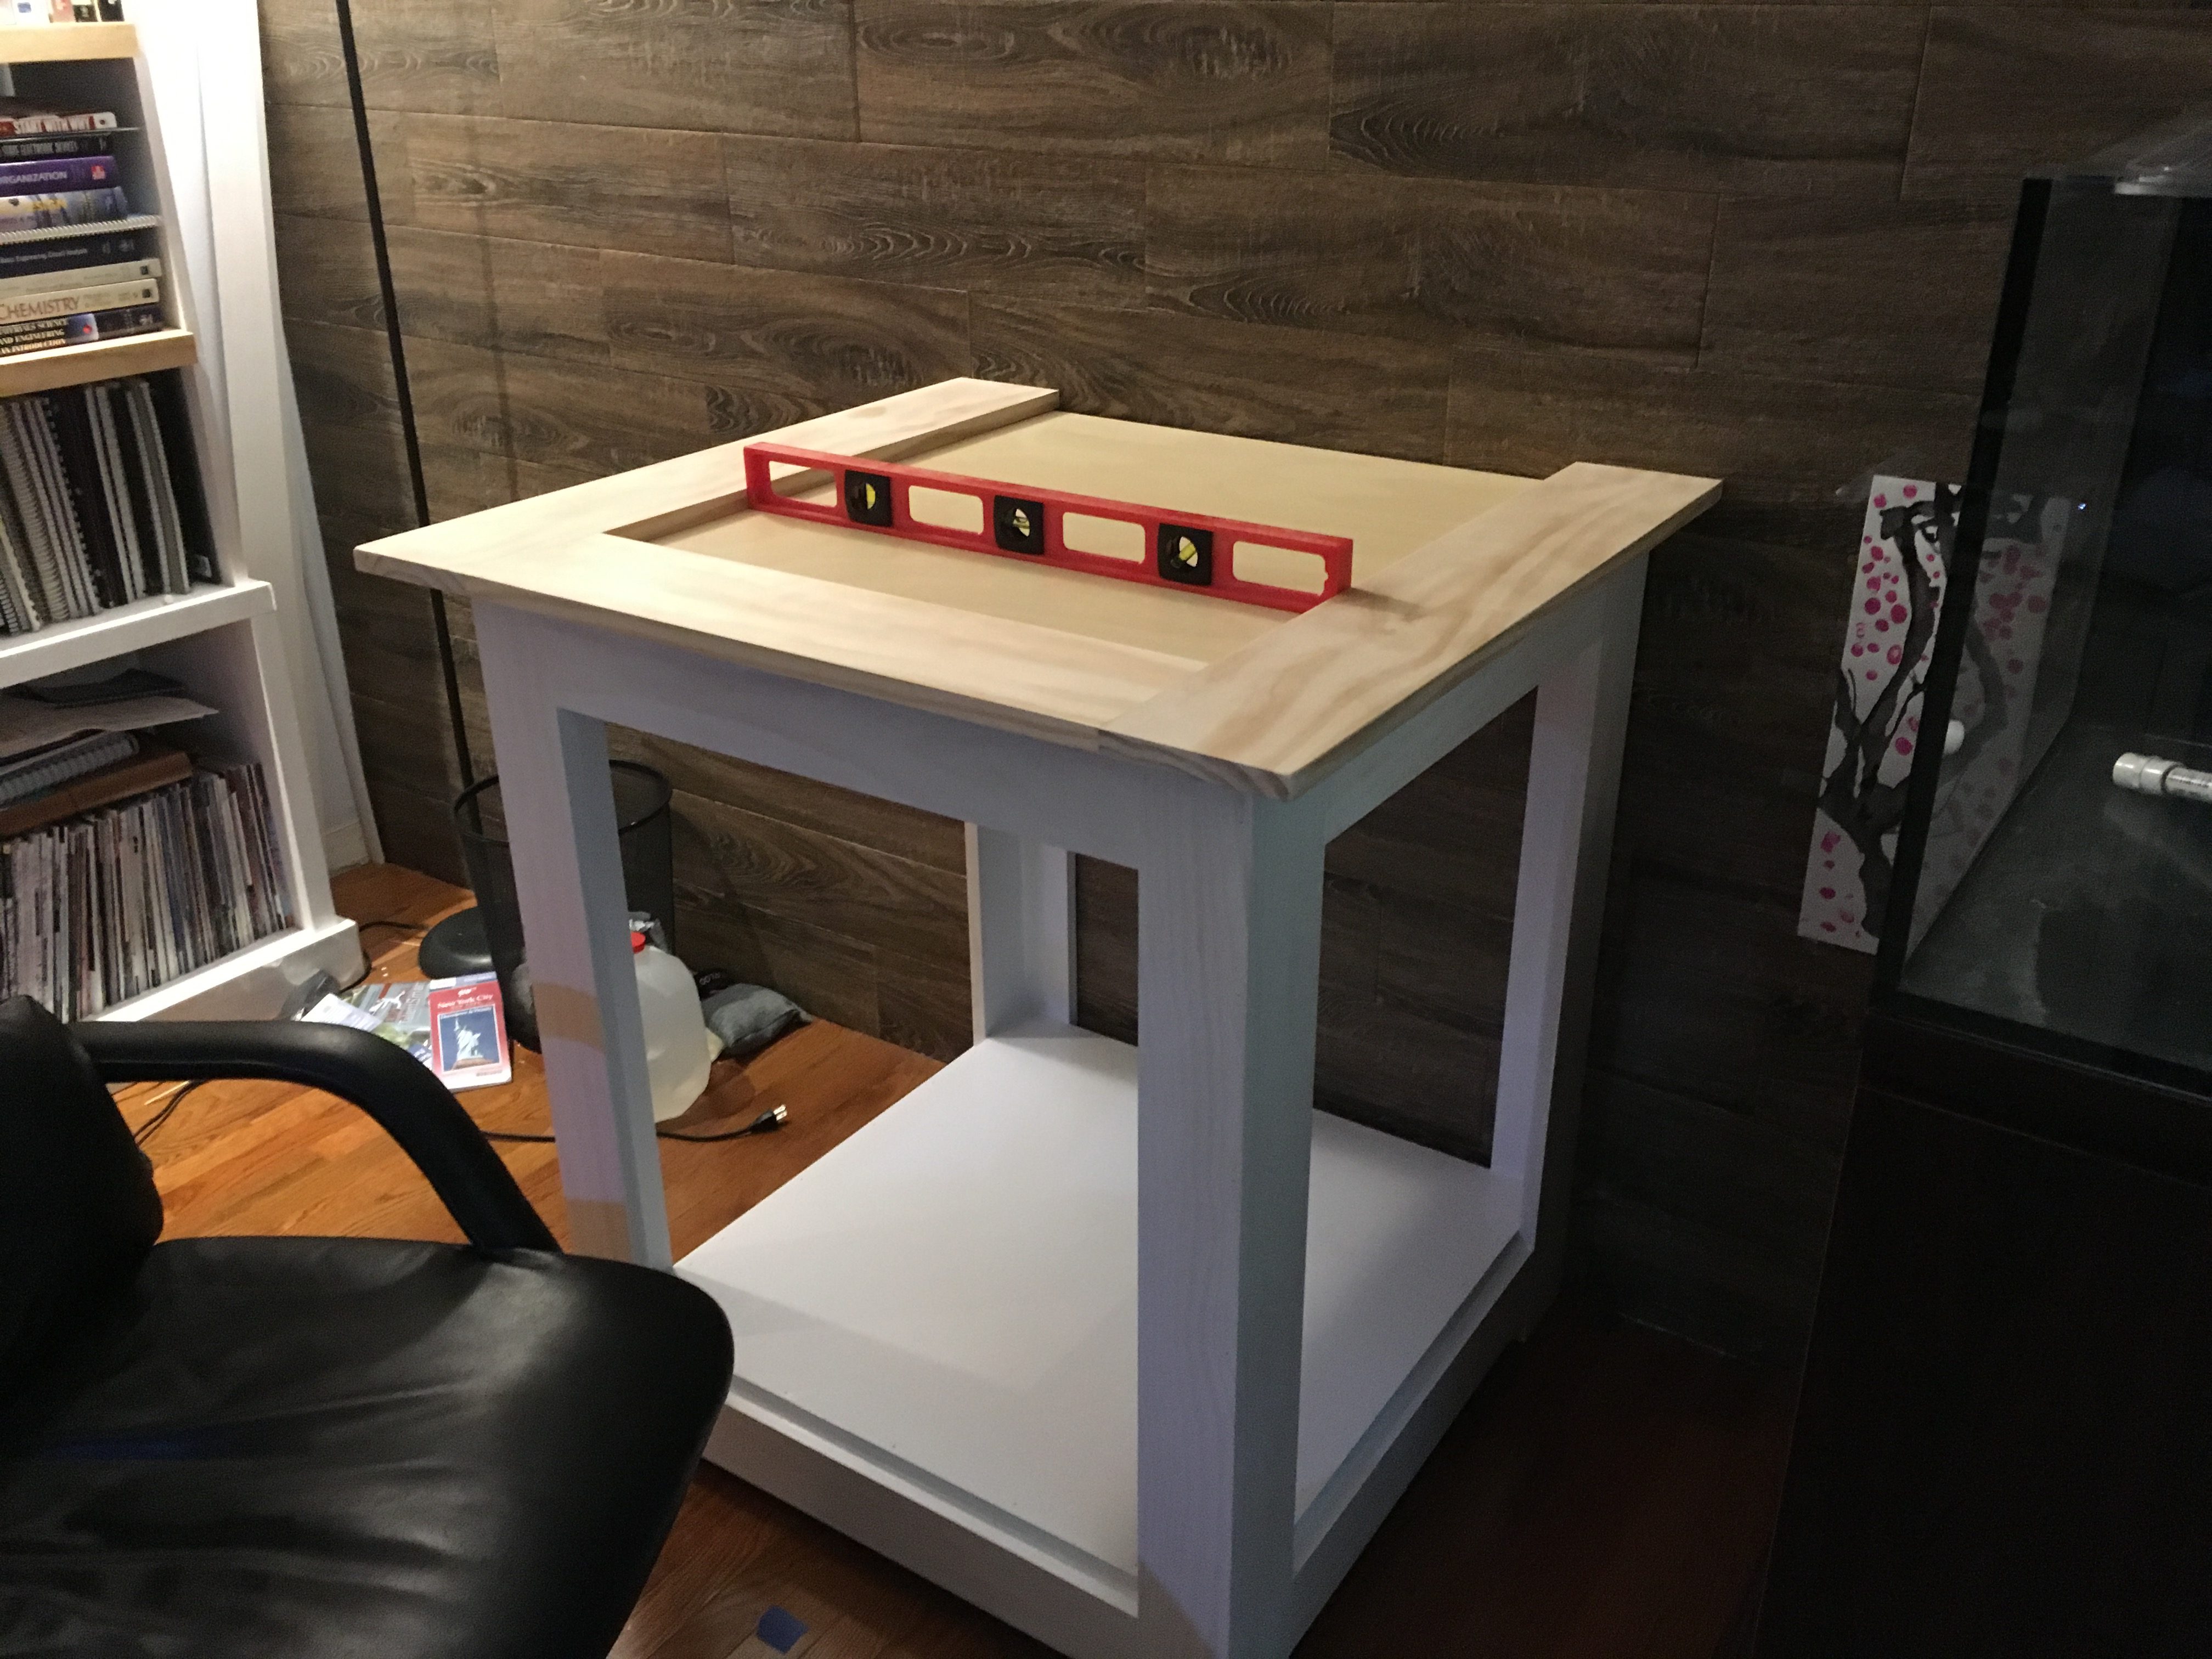
The moment of truth is to see if everything stayed level and survey says….
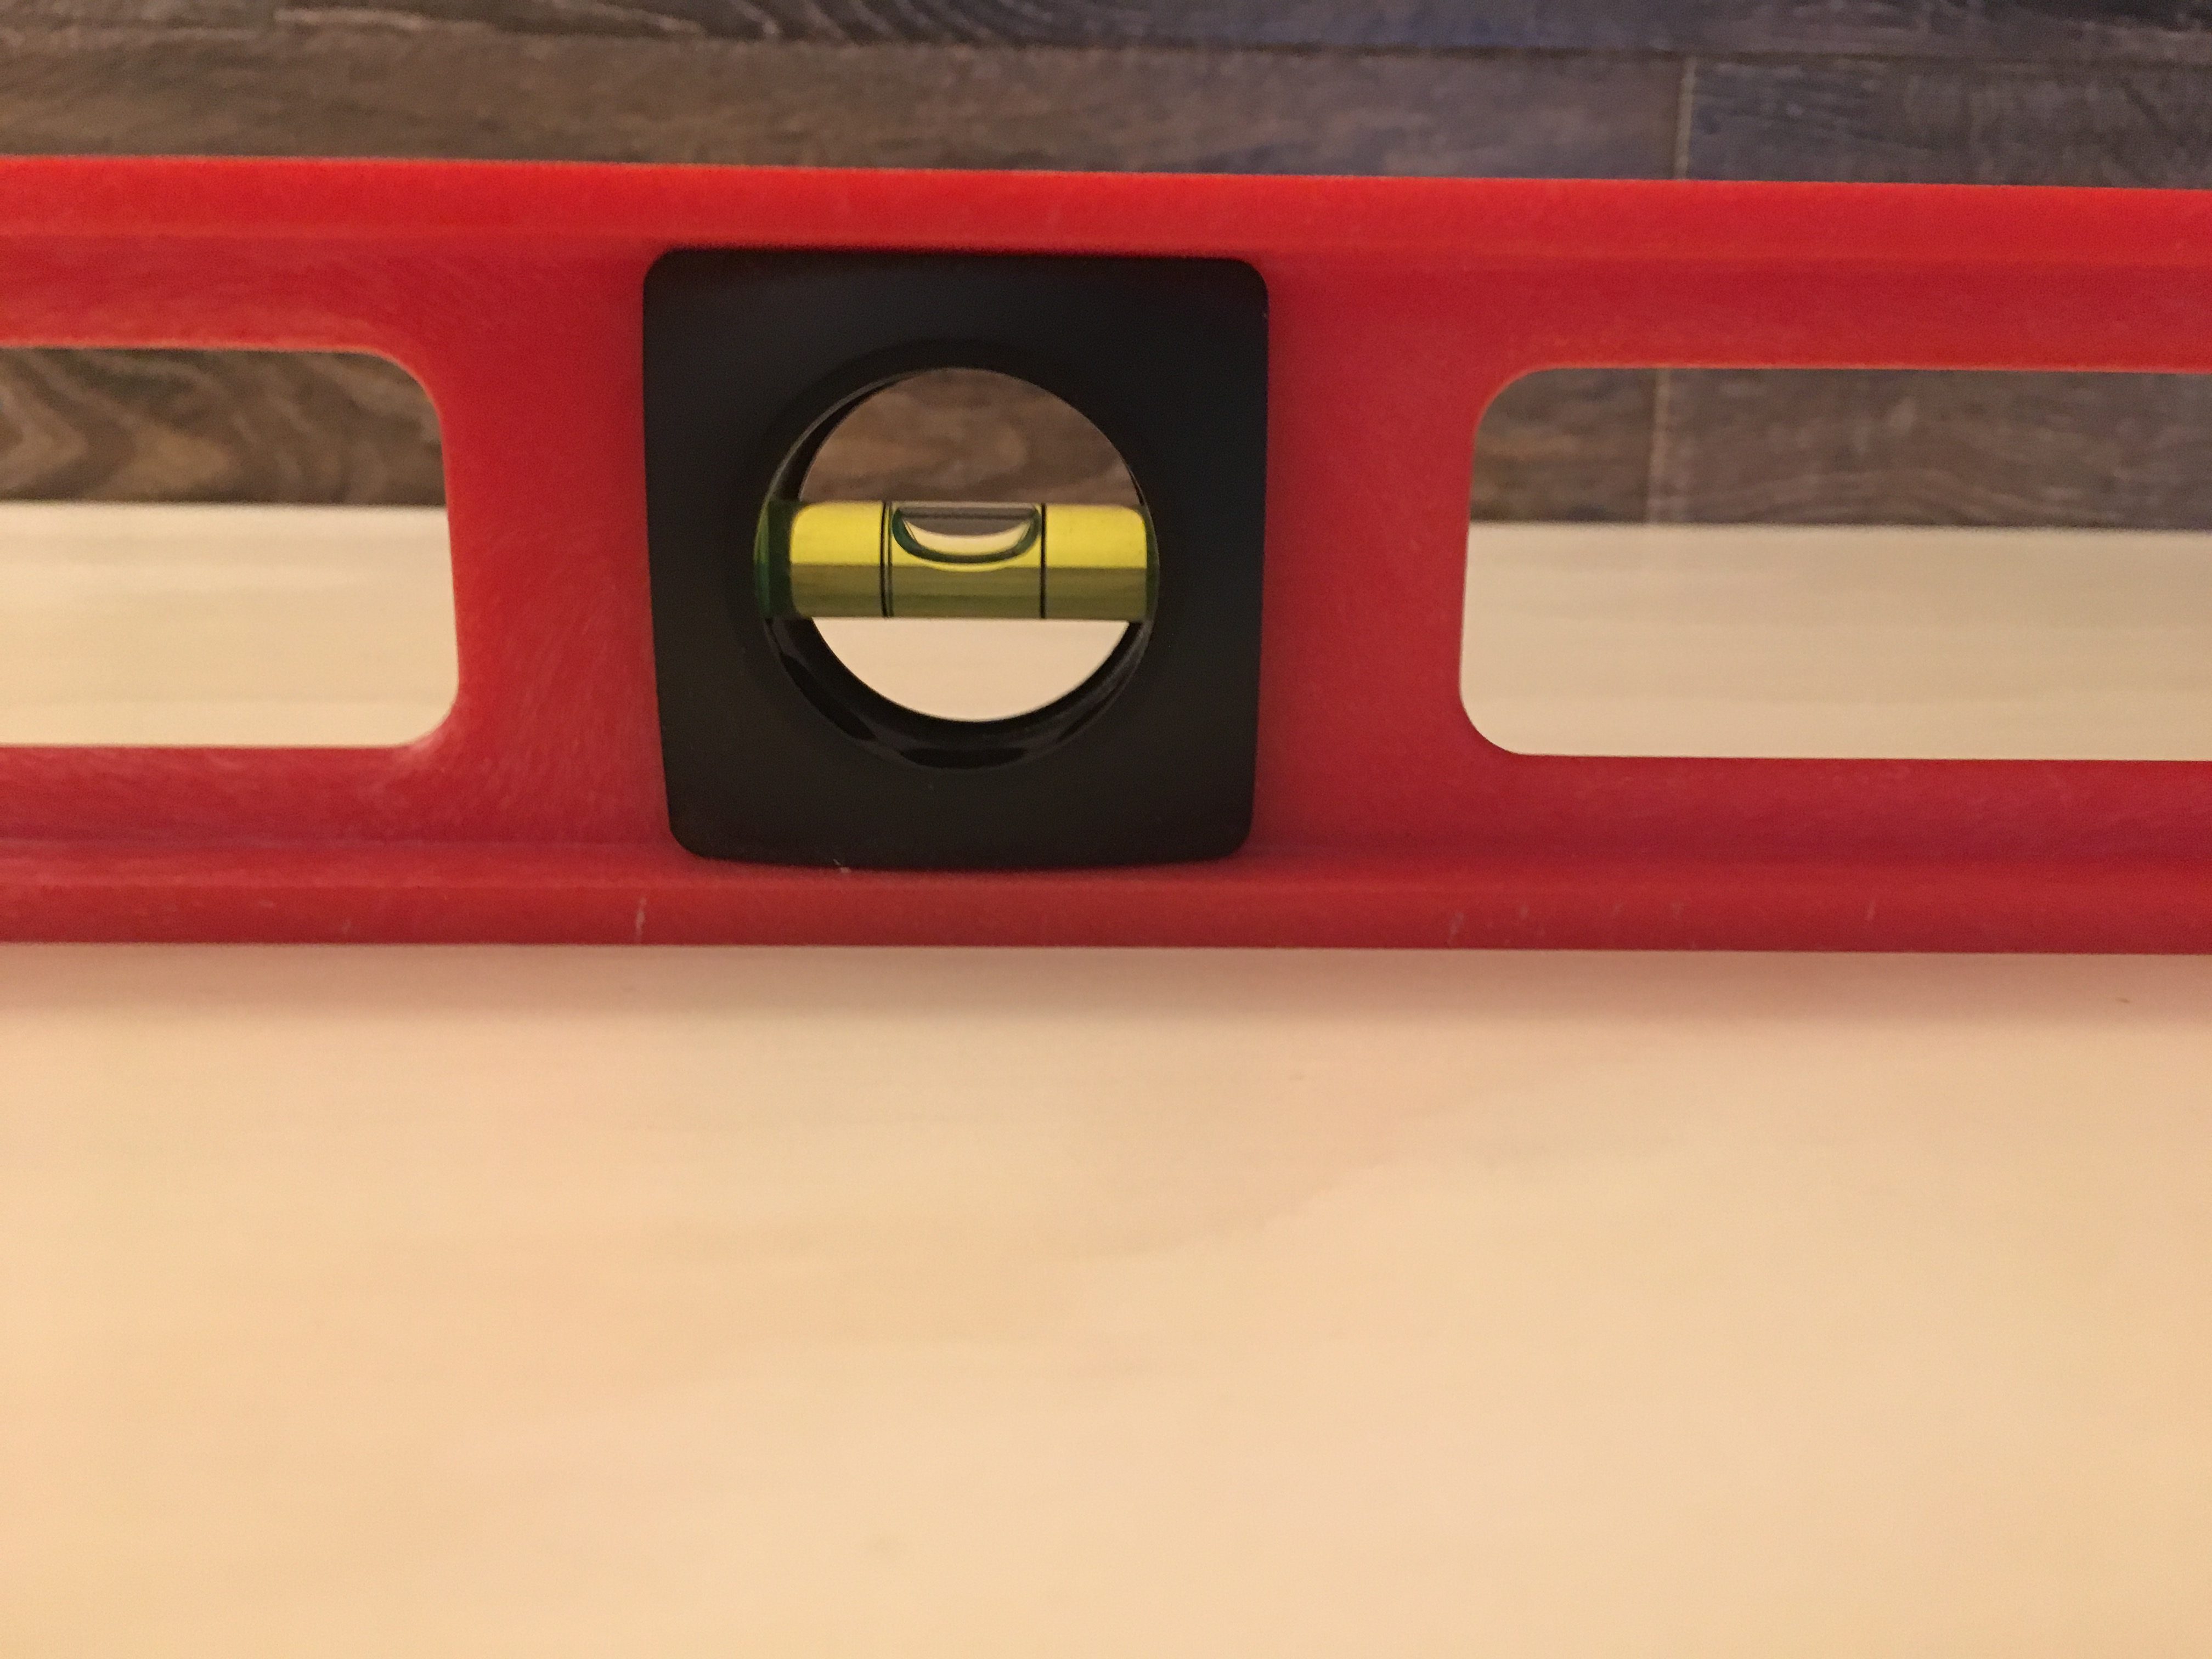
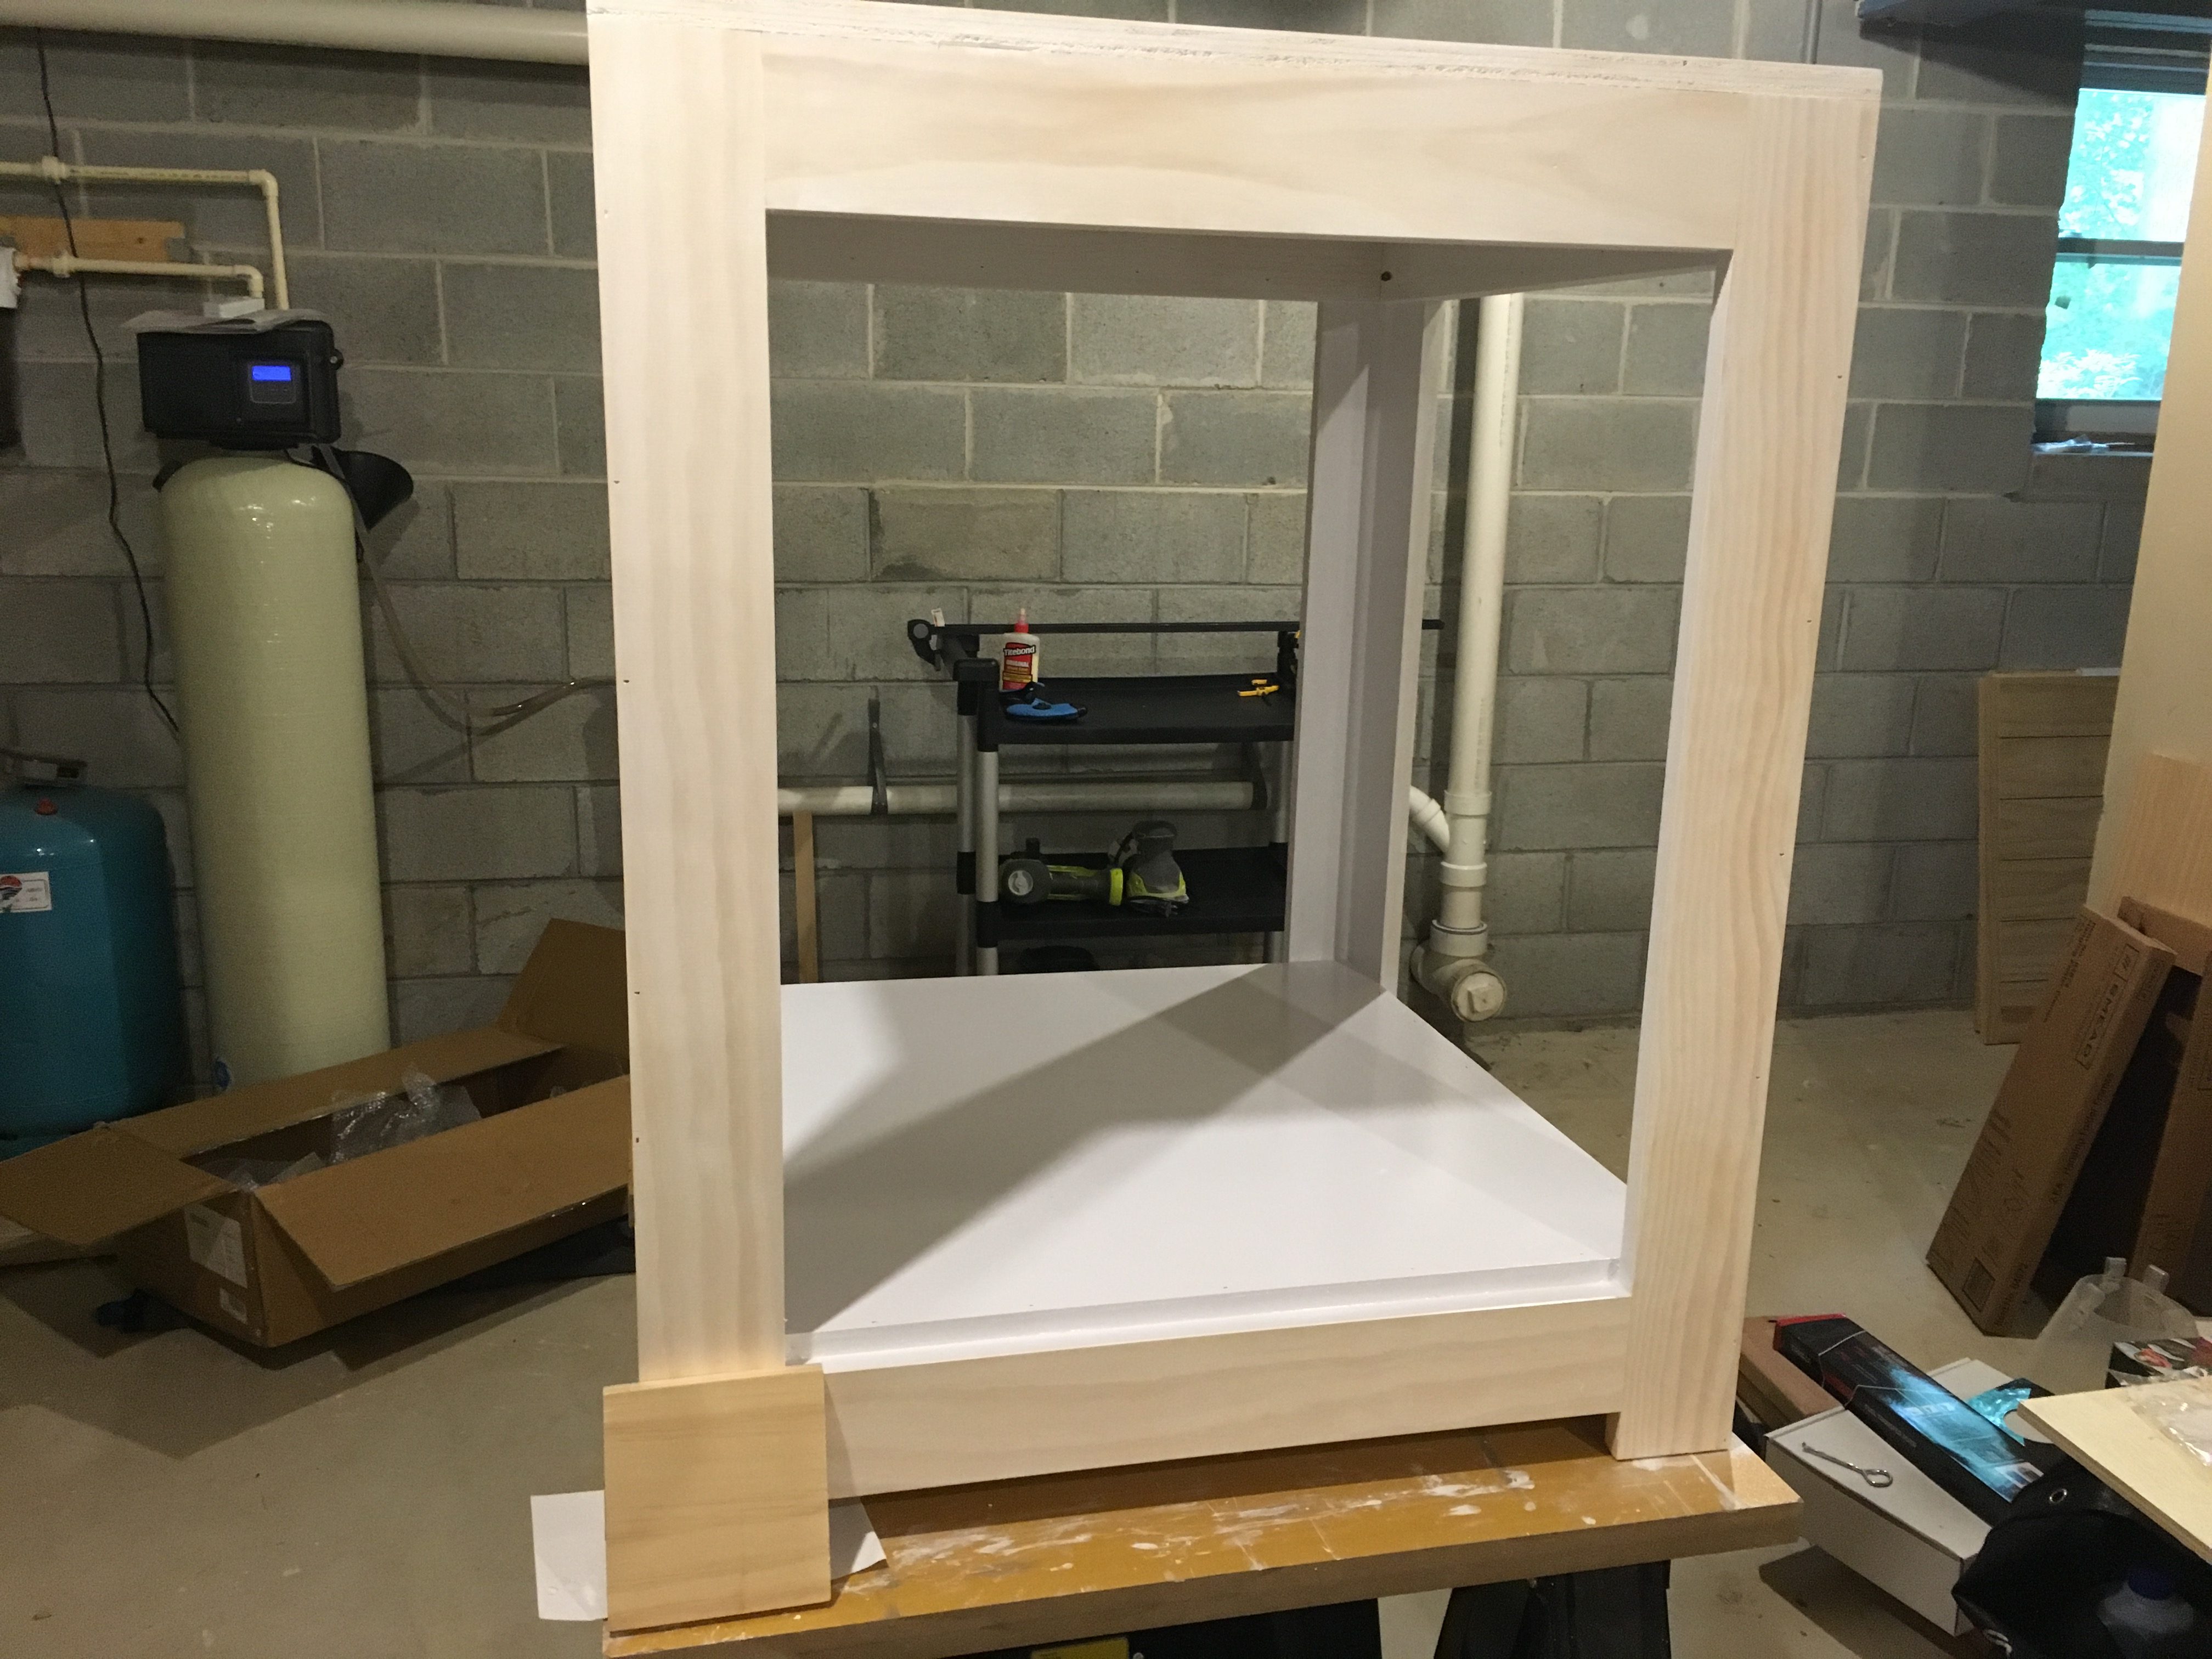
NAILED IT! Woot woot! Now the last bit of construction on the frame is to fit up the electronics section. A few pieces of plywood later (and several days because I did the same epoxy paint finish on this) and voila!
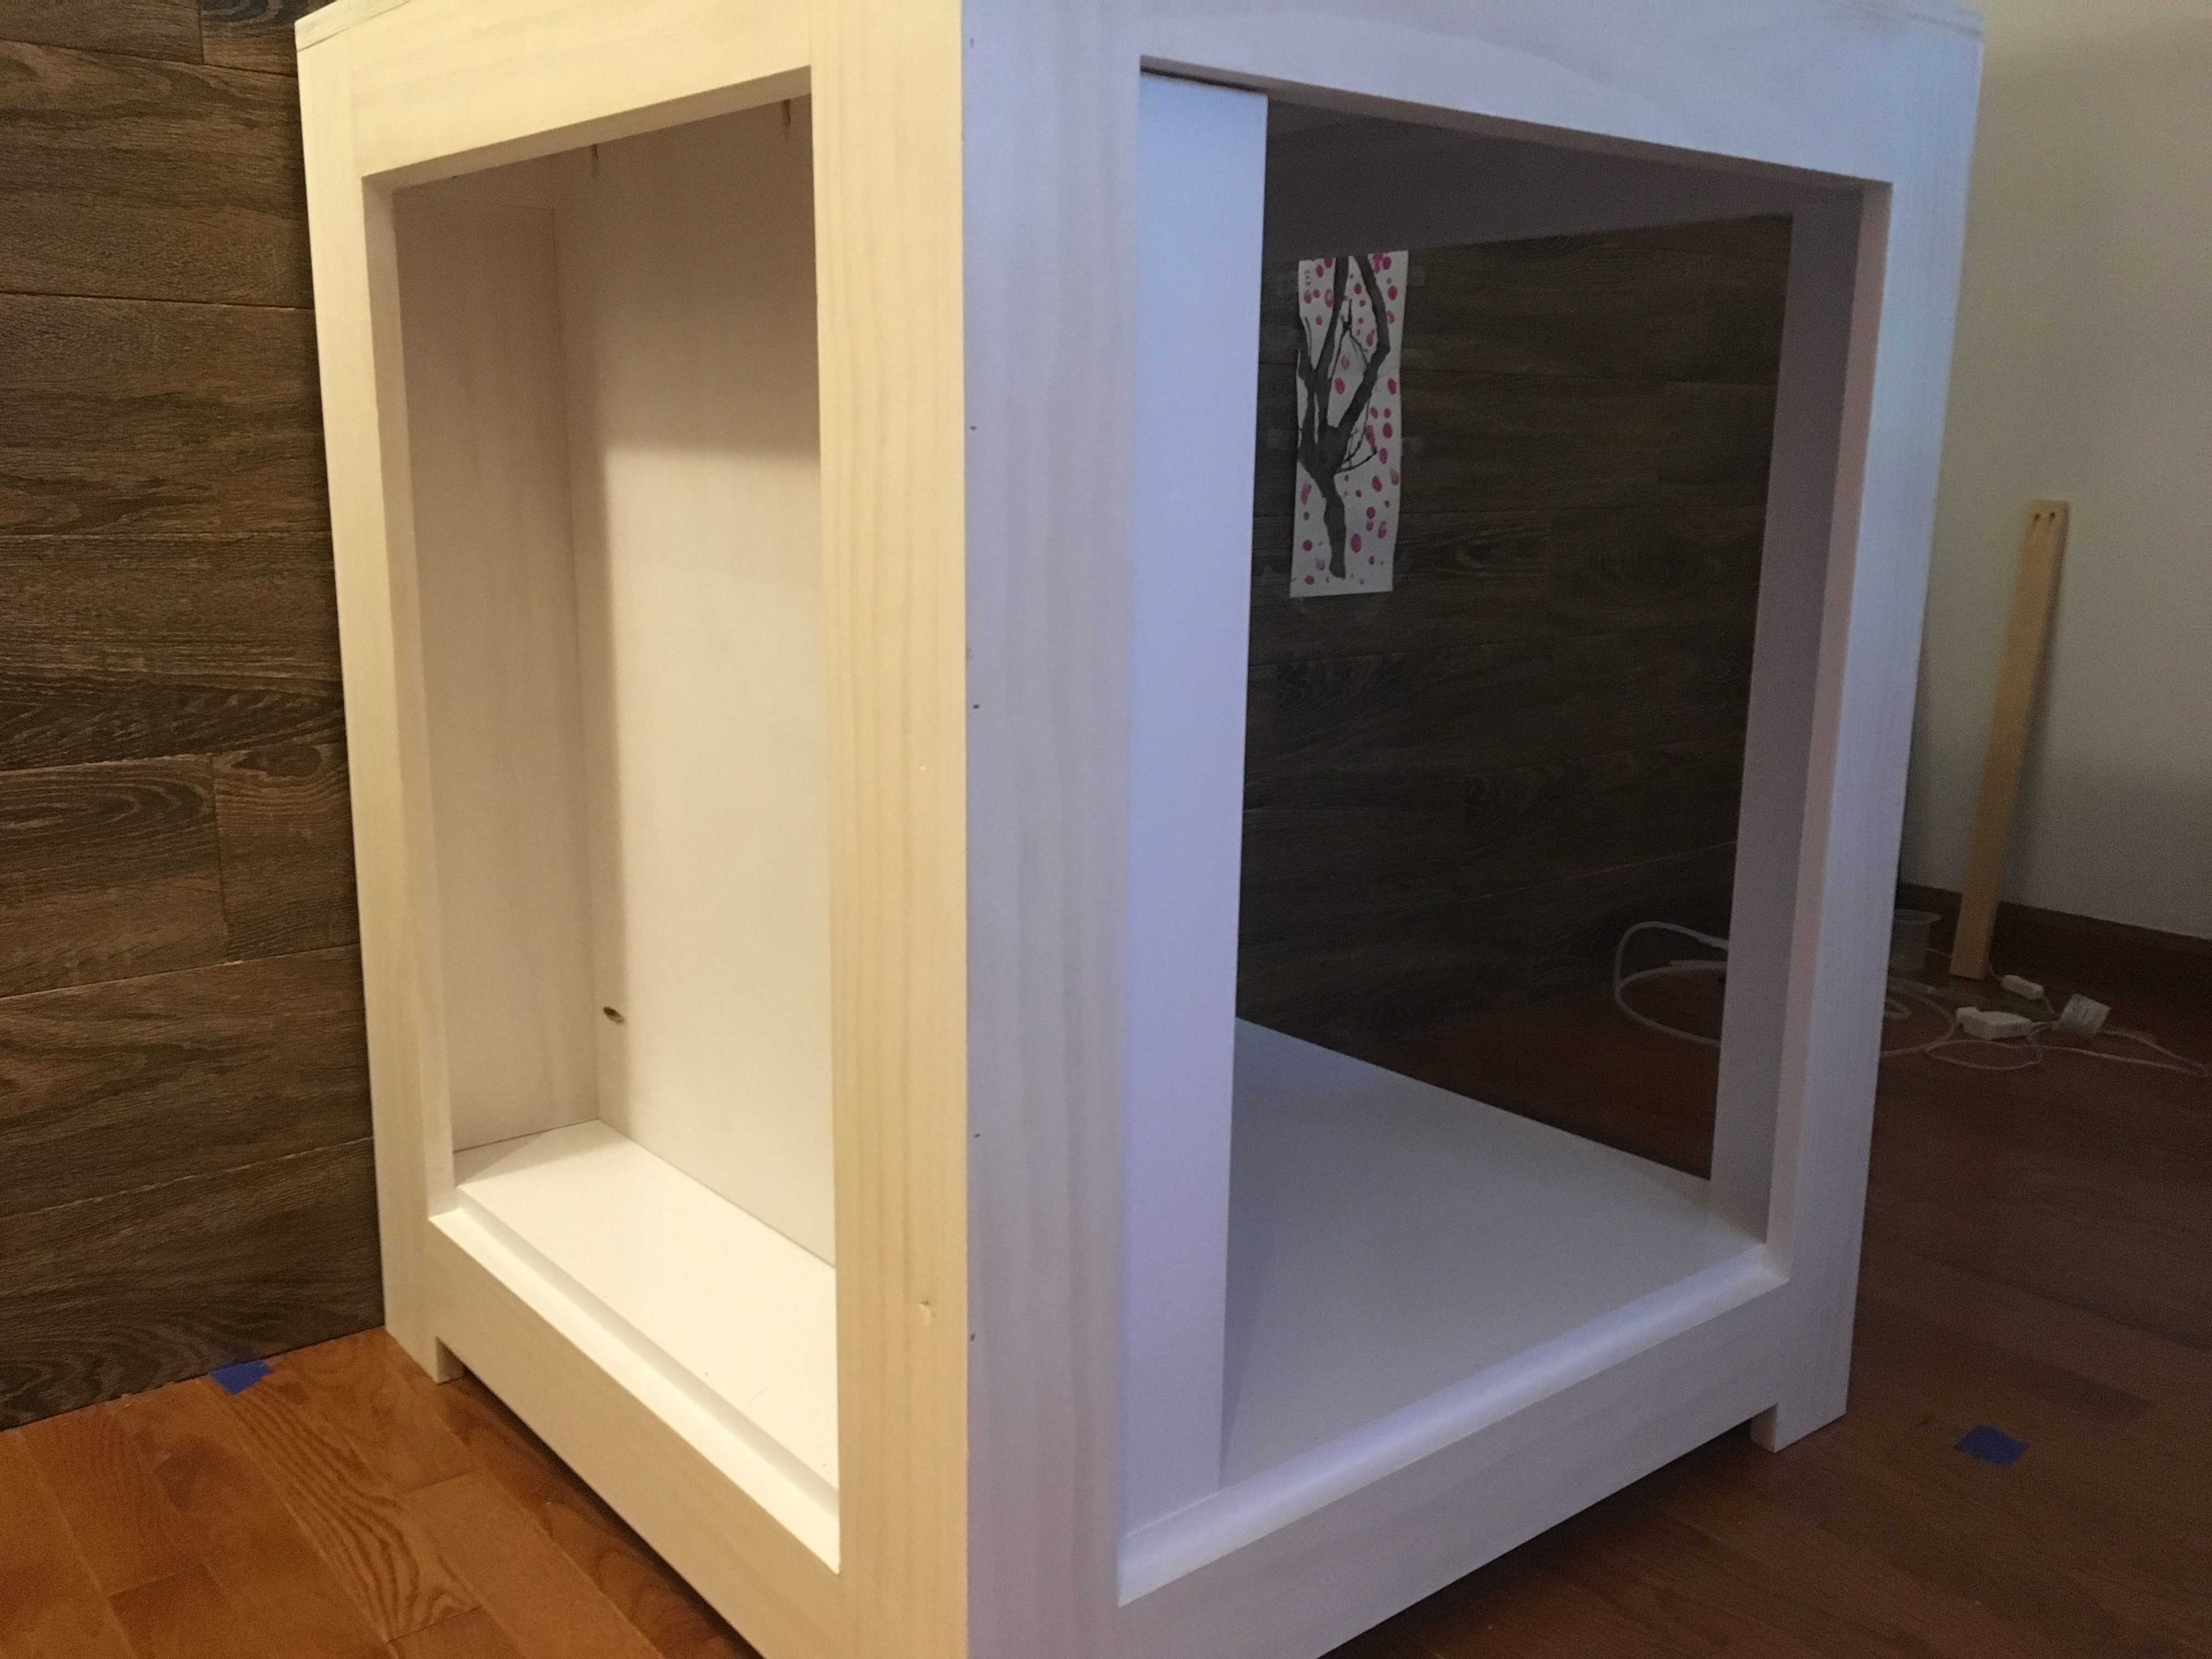
The last thing I’ll touch on in this post is the ledge for the top. It is just a simple butt joint for the three pieces of pine, but it really completes the look.
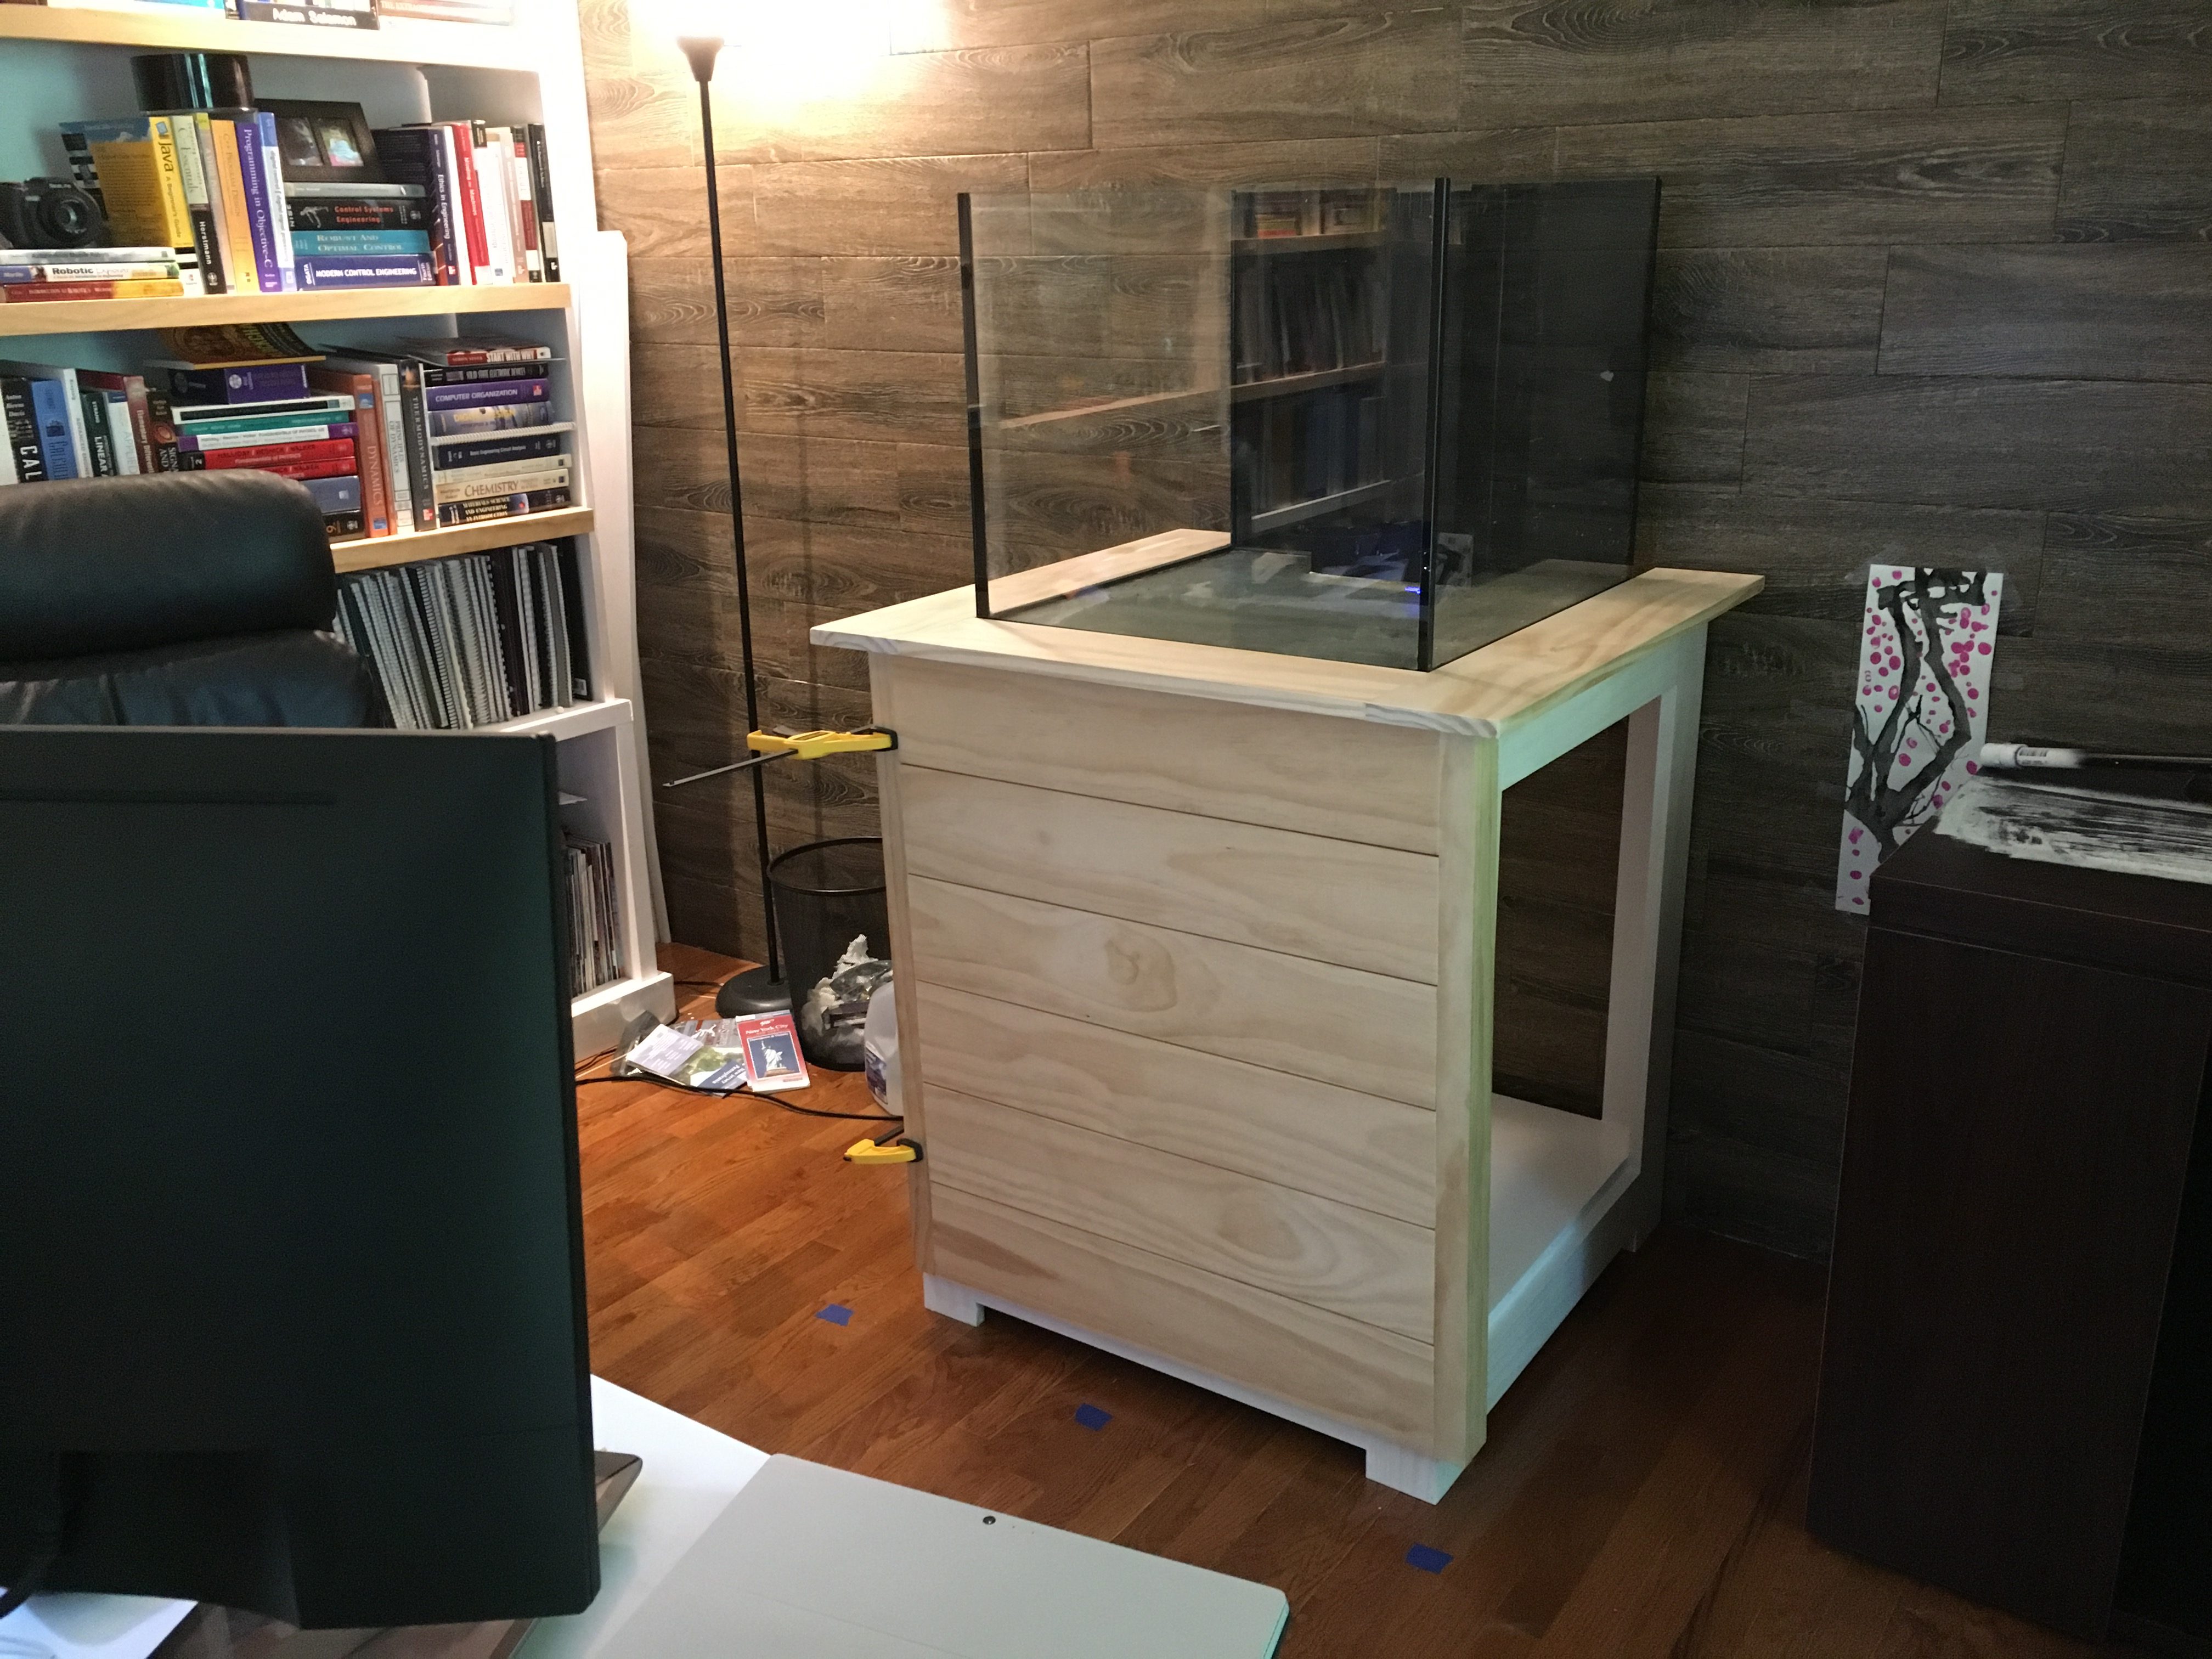
And I’ll leave you with this final picture. I couldn’t help myself and I had to slide the tank onto the stand and the front door clamped on to see how it would look. GLORIOUS!
Take a look at how things turned out (minus the doors) in this post. Look for my next post soon about the aquascape and mounting the light.