We all know that changing our T5 bulbs regularly is important, but seriously not many of us really stay that rigorously on top of the bulb changing schedule. BulkReefSupply, as part of their incredible BRSTV series, did an investigation into how true the generally accepted notion “change your lamps every 12 months” really is.
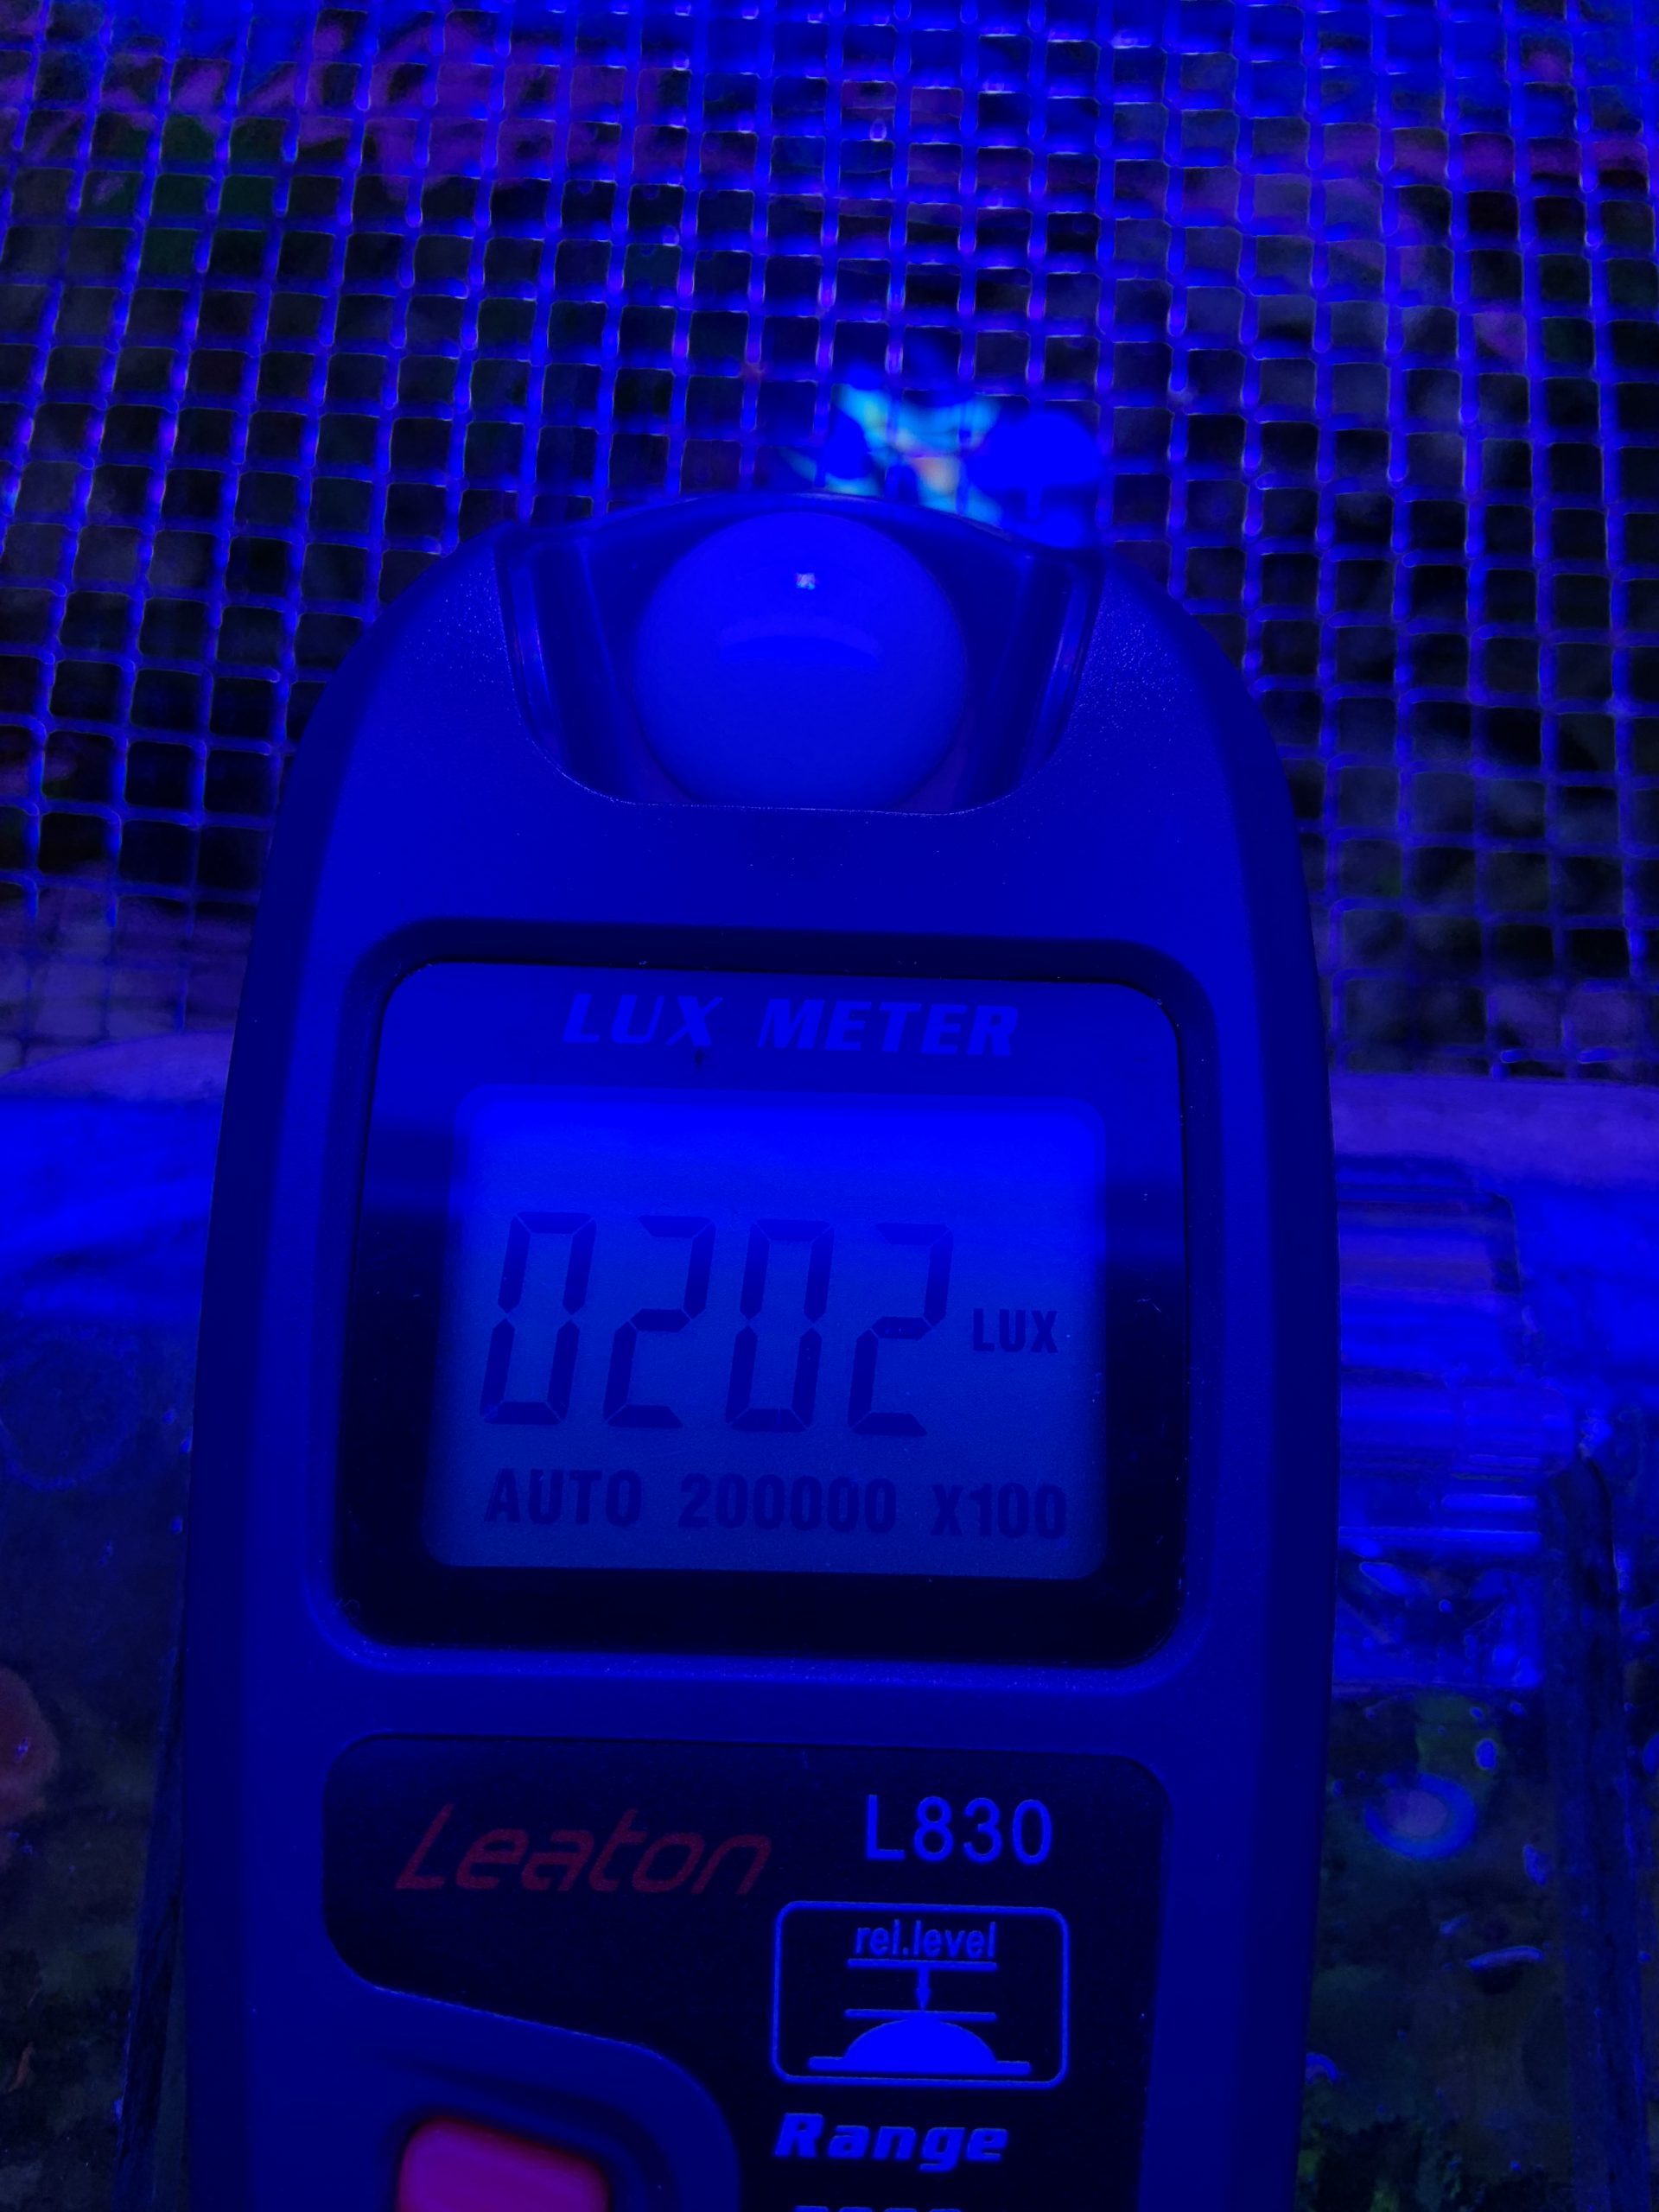
It finally dawned on me about 2 months ago that I couldn’t remember the last time I changed my T5s. My corals have been growing well, so I just let it be. One of the BRC club members brought up the subject of estimating PAR using a cheap lux meter. It reminded me, I HAVE A LUX METER! Wonder where my levels are….
Turns out they were lower than what I expected, but just how low? I ordered four new lamps from BRS and set out to find out.
Color Combination
I suppose a lot of this comes down to your personal preference. Some people like really blue tanks up above 12k, some people like a more natural 6500k look. I’m somewhere in the middle. I don’t like looking into a bowl of windex, but I want those fluorescent pops of color. I use a combo that’s pretty typical, I think.
2 ATI Blue Plus 1 ATI Purple Plus 1 ATI Coral Plus
From there, I adjust my color using my LED fixture to fine tune.
Aged Like a Fine Wine
When you’re going to be dimming your T5’s it is always recommended that you “burn in” or age your bulbs by running them for 50-100 hours so the phosphors all evenly distribute in the tube. I don’t know of anything saying you have to do this if you don’t dim, but I like to follow the process anyway. I have a 2 lamp fixture I use for QT that is perfect for this. I just pop two lamps in and come back for them in 2 days.
Watch out for the bump!
In this hobby, as we all know, only bad things happen quickly. That goes just the same for lighting. T5 lamps lose quite a bit of output as they age (see the YouTube video at the top for some numbers) and simply swapping in all new lamps can make for a huge bump in PAR and shock your corals. I decided to swap out one lamp per week for 4 weeks and chart the changes. Here are my results:
Week 0: Old Lamps @ 19,700 lux Week 1: Blue Plus @ 20,200 lux Week 2: Blue Plus @ 20,800 lux Week 3: Coral Plus @ 25,900 lux Week 4: Purple Plus @ 26,000 lux
From start to finish, that’s a whopping 35.6% increase in lux. Think your corals won’t notice a sudden jump that big? Trust me, they will!
Going Forward
Based on my own results and those from the BRS Investigation, I’m going to start swapping out on an 18 month cycle. I think that’s a good balance of lamp cost and lamp life. I don’t want to drop 35% again, but a 10-15% drop I can deal with.
My apologies if you’ve been to my page recently and came across thousands of SPAM posts. Apparently one of the plugins I was using to run this site had a vulnerability. I’ve since remedied the problem and deleted over 4,000 posts that were junk.
This is my Prusa Slicer profile for the Creality CR-10S Pro. This is built initially off of the CHEP Profile for the Ender 3 using Cura, but modified for Prusa Slicer and for the larger machine. This is a work in progress and I’ll keep updating this profile as I improve it.
I’ve built this using WordPress. It is absolutely fantastic for blogs like this and makes putting things together and managing them very simple. I recently had the need to move another one of my WordPress sites from one URL to another. Thankfully, there is a great (FREE!) plugin to do just that.
I’m sharing the link to the guide for doing this yourself if you ever come across the need:
This is a slight deviation from reefing, but it is related for all of you DIY electronics reefers out there. I stumbled across this video recently and it is AWESOME! It shows you how to make a modular design for a snap-fit case. You can change a few variables and it automatically resizes and adjusts to the new variables.
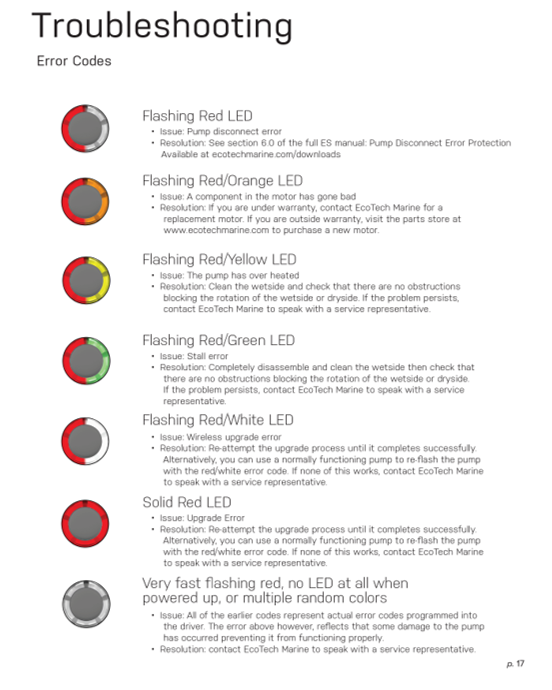
One thing that I notice comes up quite a bit in discussions about EcoTech’s Vortech propeller pumps is, “what does
LED color mean?” EcoTech really should have made life a lot simpler for everyone and made these codes readily accessible. Their website can be a bit troublesome to navigate and find what you are looking for.
I even know where these are and I have trouble getting to them quickly when I want them. Like other things I’ve included on this site, I’m going to add these to my list of useful items to have…
I got tired of having to open the Hanna Phosphorus to Phosphate table, so I wrote a calculator that does it for you! It is still under calculators in the same spot.
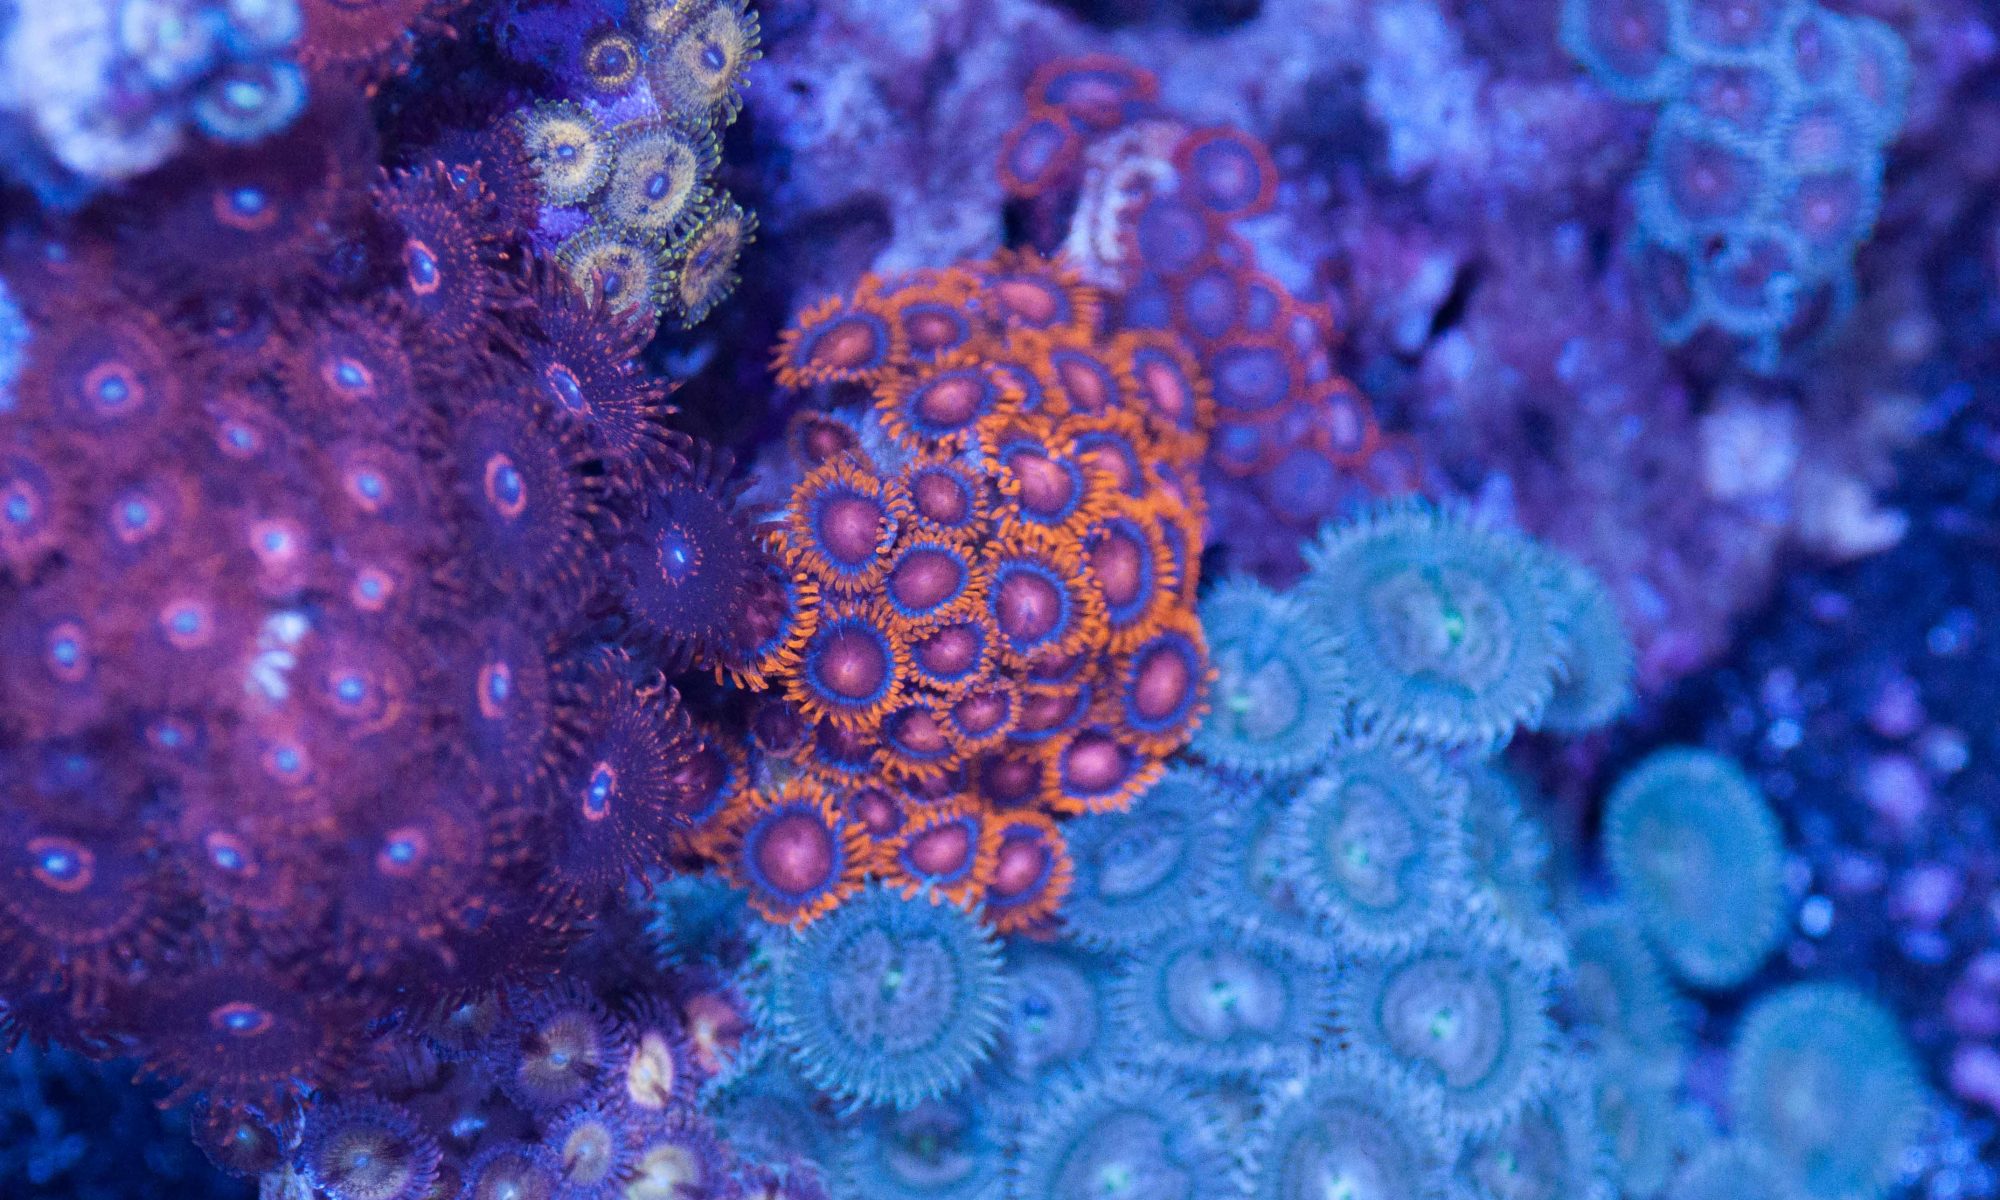
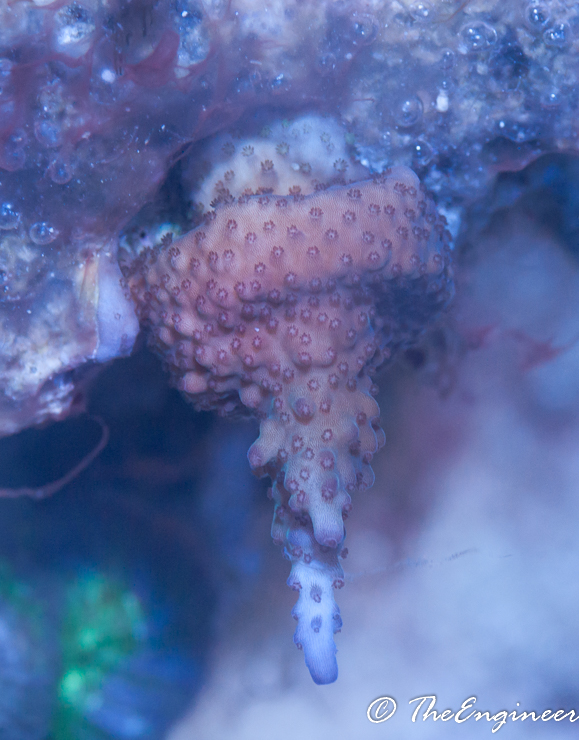
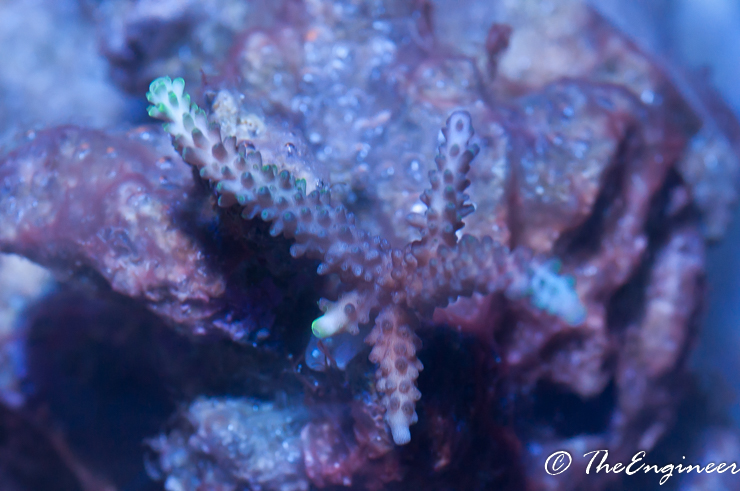
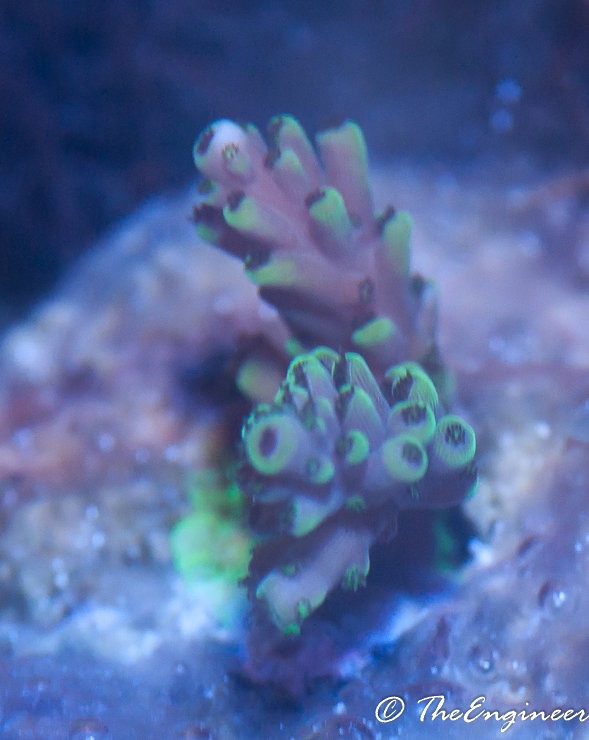
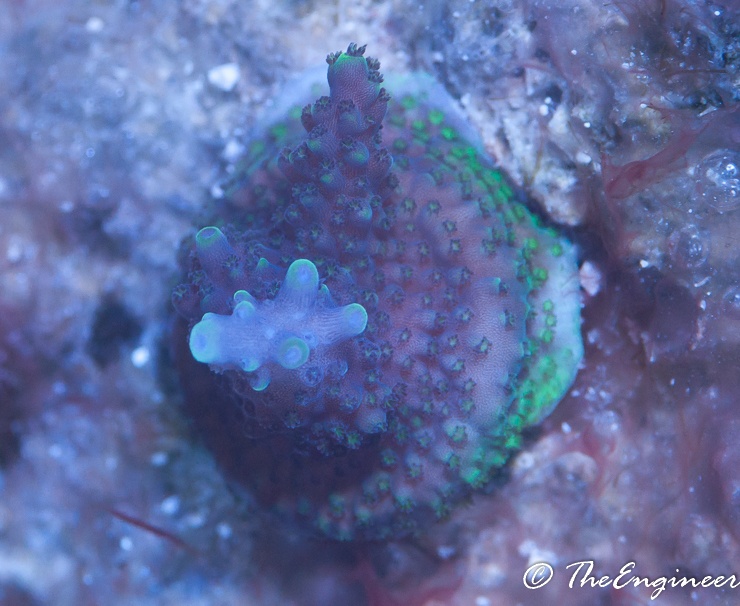
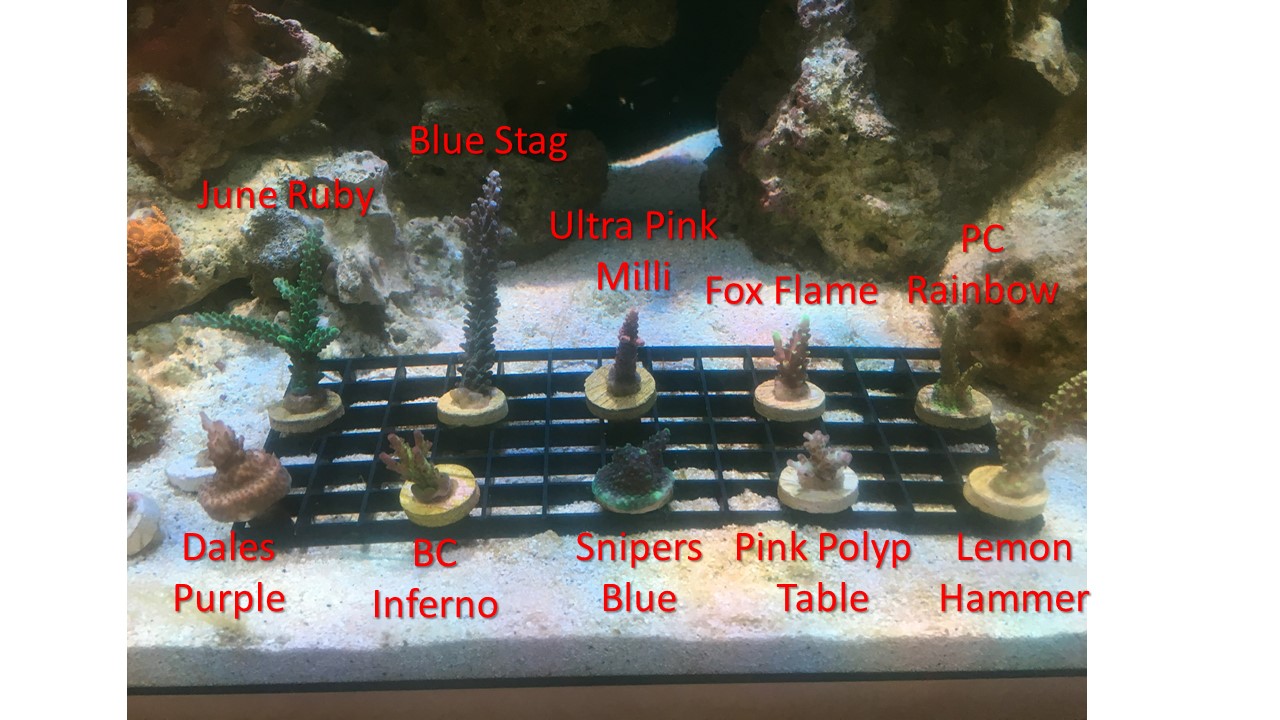
It’s been just over 2 months since I got my first Battle Box from Battle Corals. I could not be happier! Everything has been growing, encrusting and they are starting to show their colors.
Not pictured are the ultra pink milli, fox flame and pink tabling acro. The latter two haven’t colored up yet and I forgot to take a pic of the milli 🙂
The rest of the tank has been growing pretty well too. I’m battling some cyano, which you can see in the pictures, but it is starting to die back. My nutrients have been stuck at zero and I was dosing PolypLabs Aminos to try and feed the corals. Turns out I was mostly feeding the cyano.
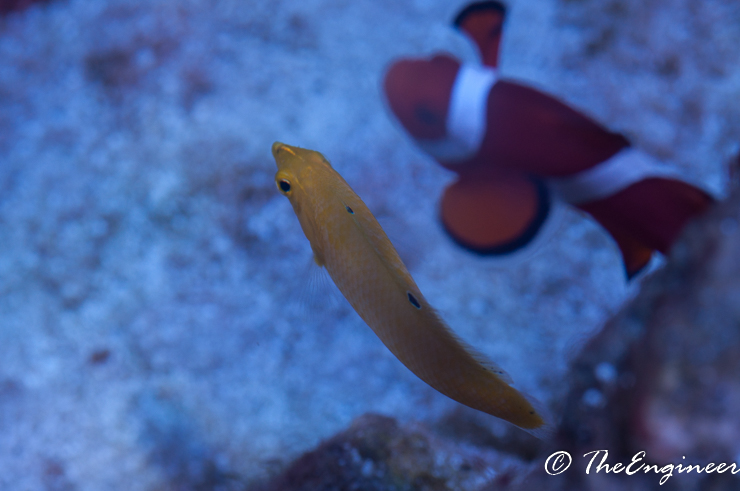
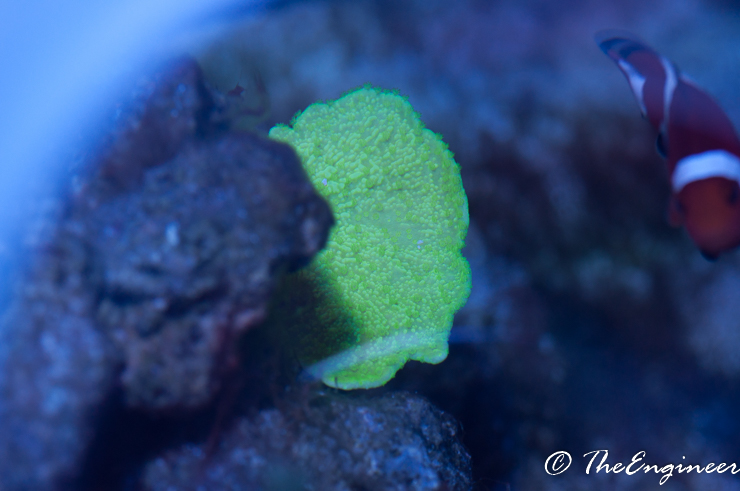
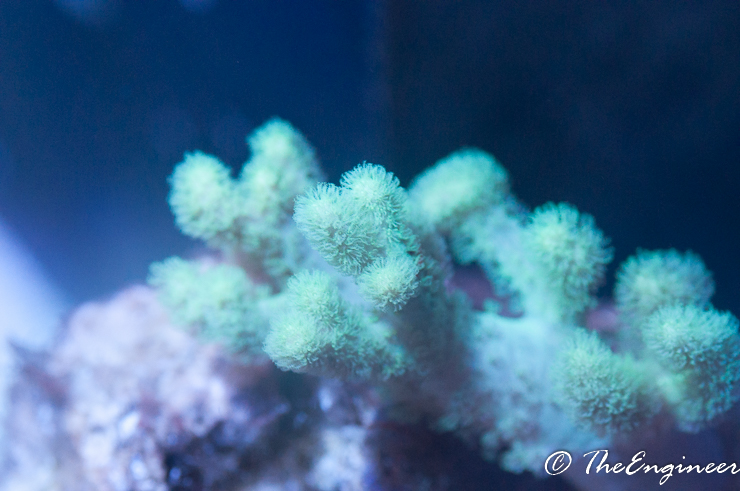
Here are just a few more random pics from the tank.
True to form, it has been a while since I came to the site to provide an update. There’s a lot I probably should talk about, but I don’t have pictures of too much and what good is a post without pictures!?
One cool update is that I got my very first Battle Box from Battle Corals. Adam (the owner of Battle Corals, not me Adam) is a super nice guy. I let him know that I wanted all branching corals, nothing encrusting, and not much green. We emailed back and forth a couple of times and I decided to place an order for the $300 Battle Box. That is supposed to come with 6-8 corals. Mine came with 10!
I was totally blown away by what I got. Take a look: (crappy cell pic)
Insane combo, right?! These corals have all since moved up to the rockwork and every single one has already shown significant encrusting. I’ll post up an update on each coral when I can get some pictures of them. Maybe today!
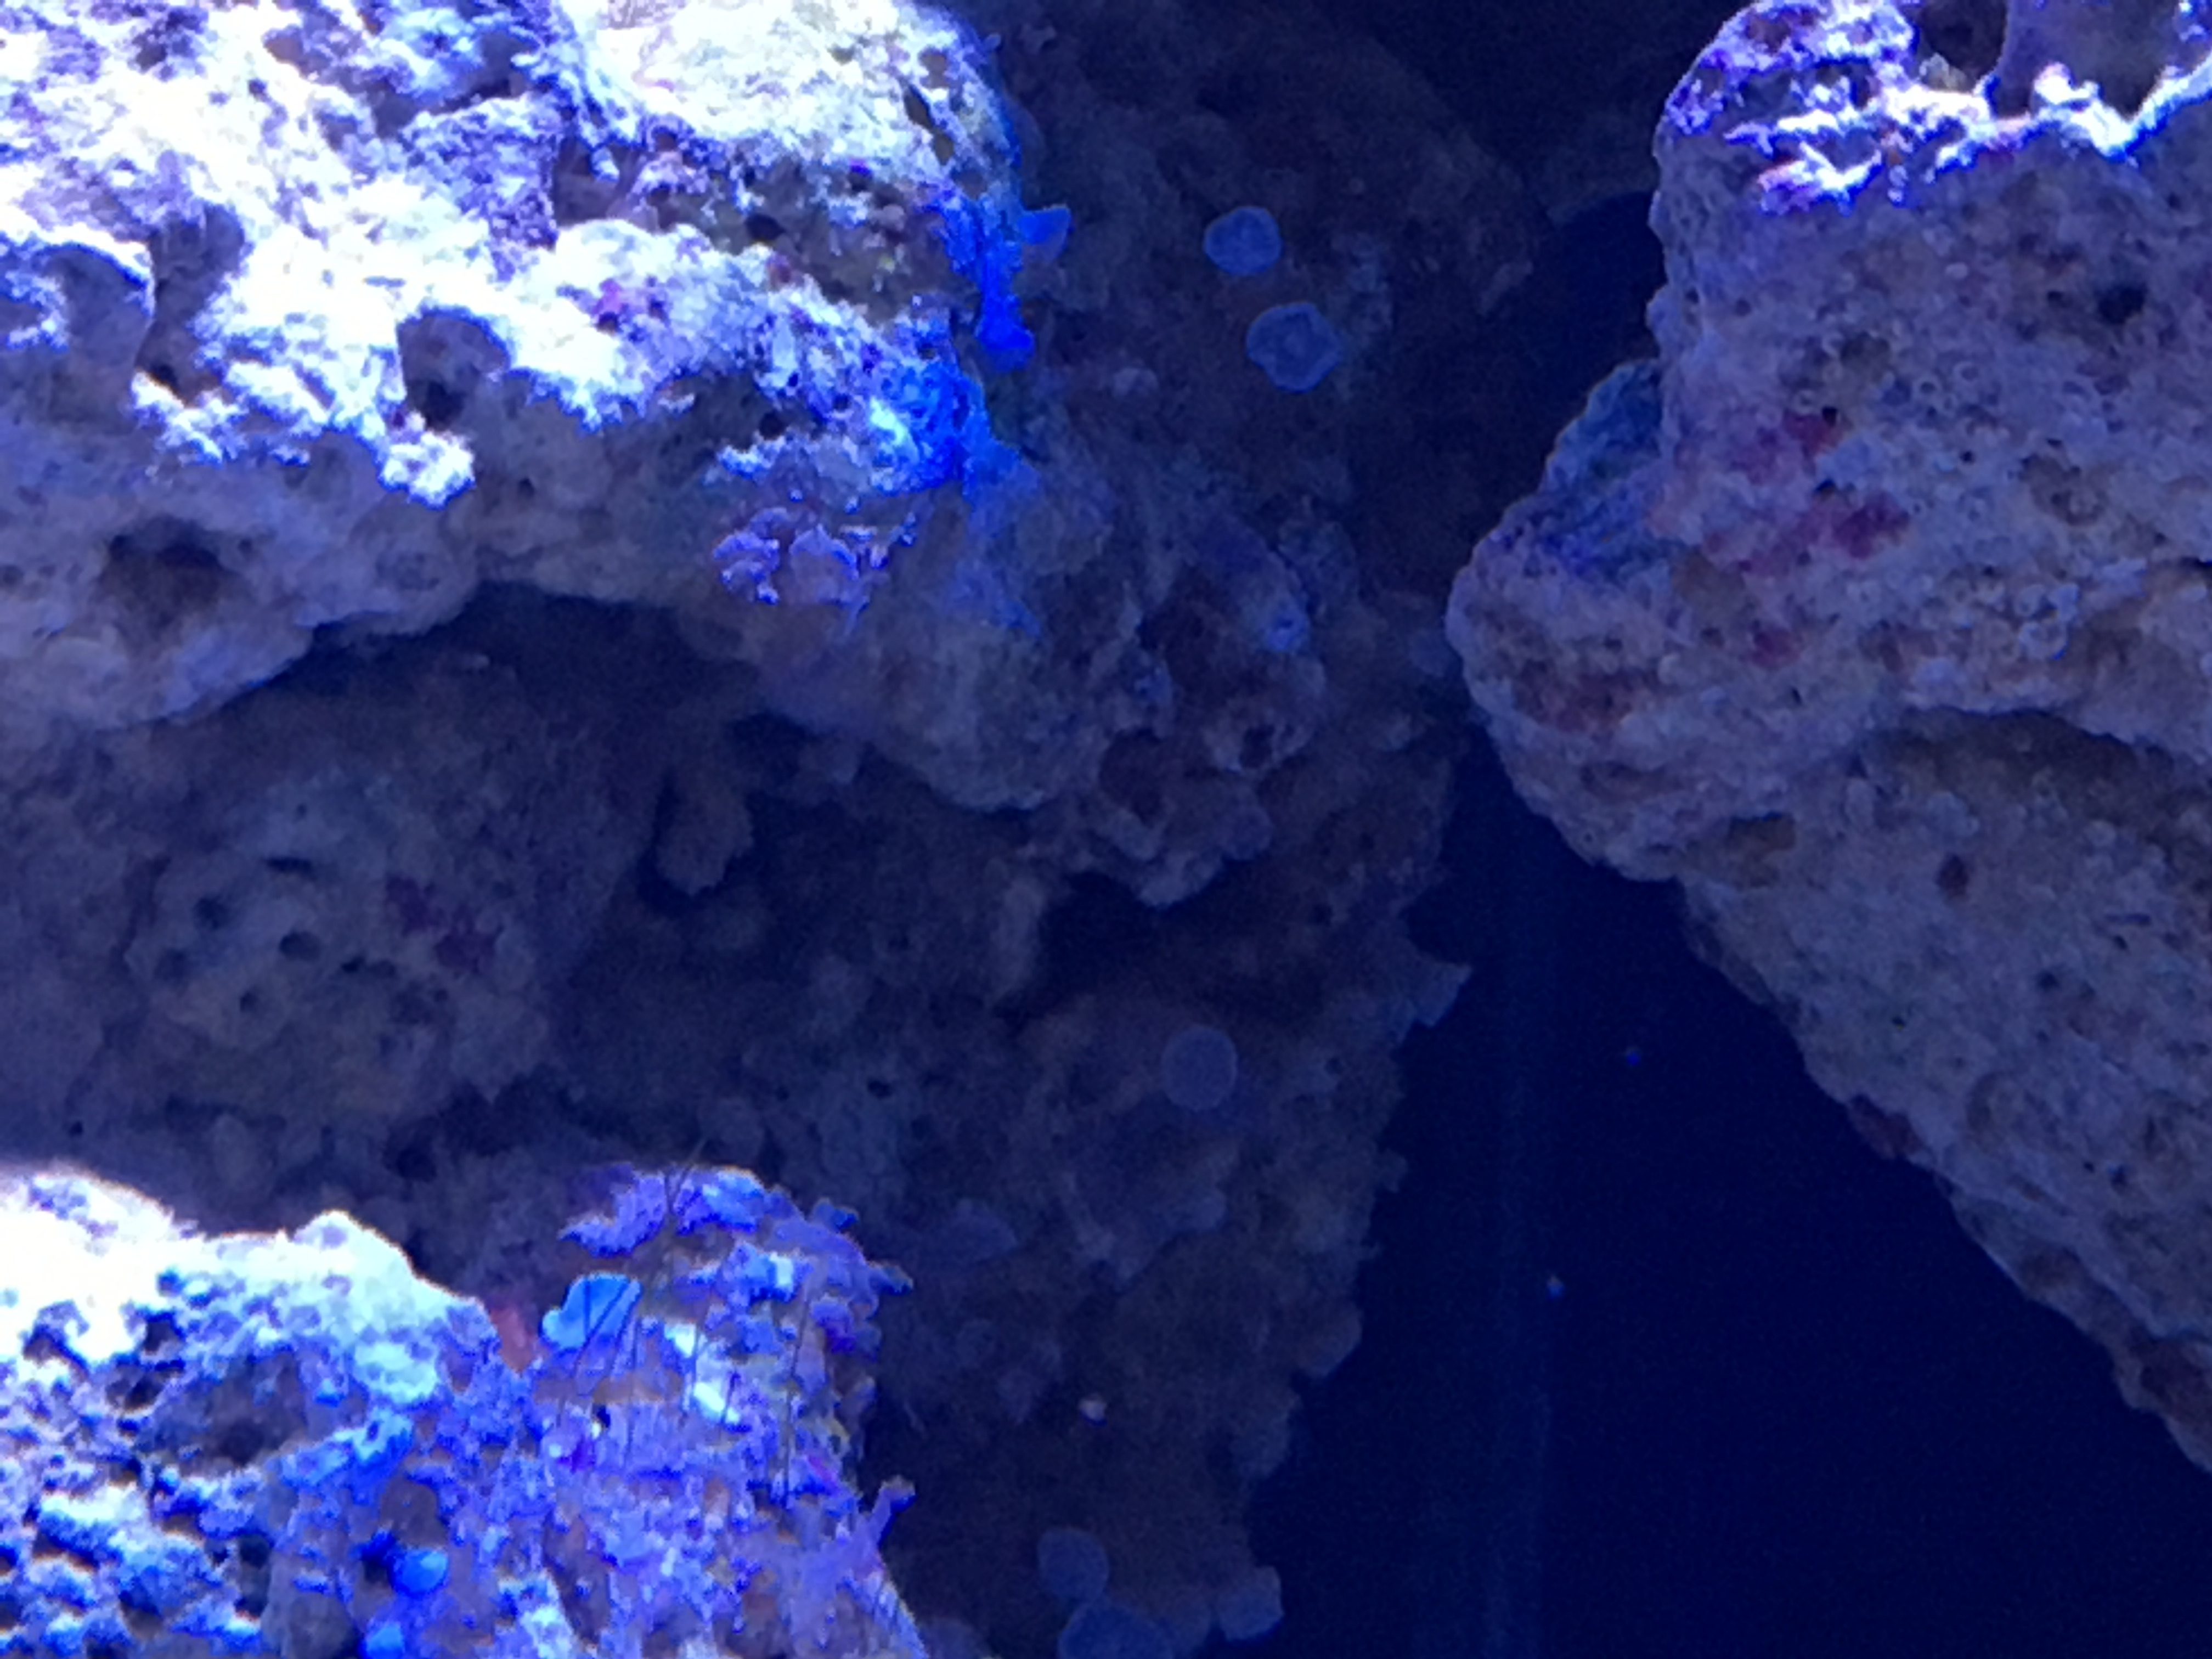
With the 50g Cube finally back up and running I was able to break down my two holding tanks. One was for my fish and the other was for my corals and inverts. This was a good window to finish quarantining the inverts and corals, but man the corals did not do well in holding. Only one actually died, but all of them receded back pretty severely. I’m not 100% on why since the water quality should have been great considering it was all new water to begin with. I suspect having zero nutrients was part of the problem. I did add some food to the tank each day to give it something, but nothing really helped. It was just a matter of time before either the new tank was ready and the corals could move in or they would all die. Thankfully it was the former and not the latter.
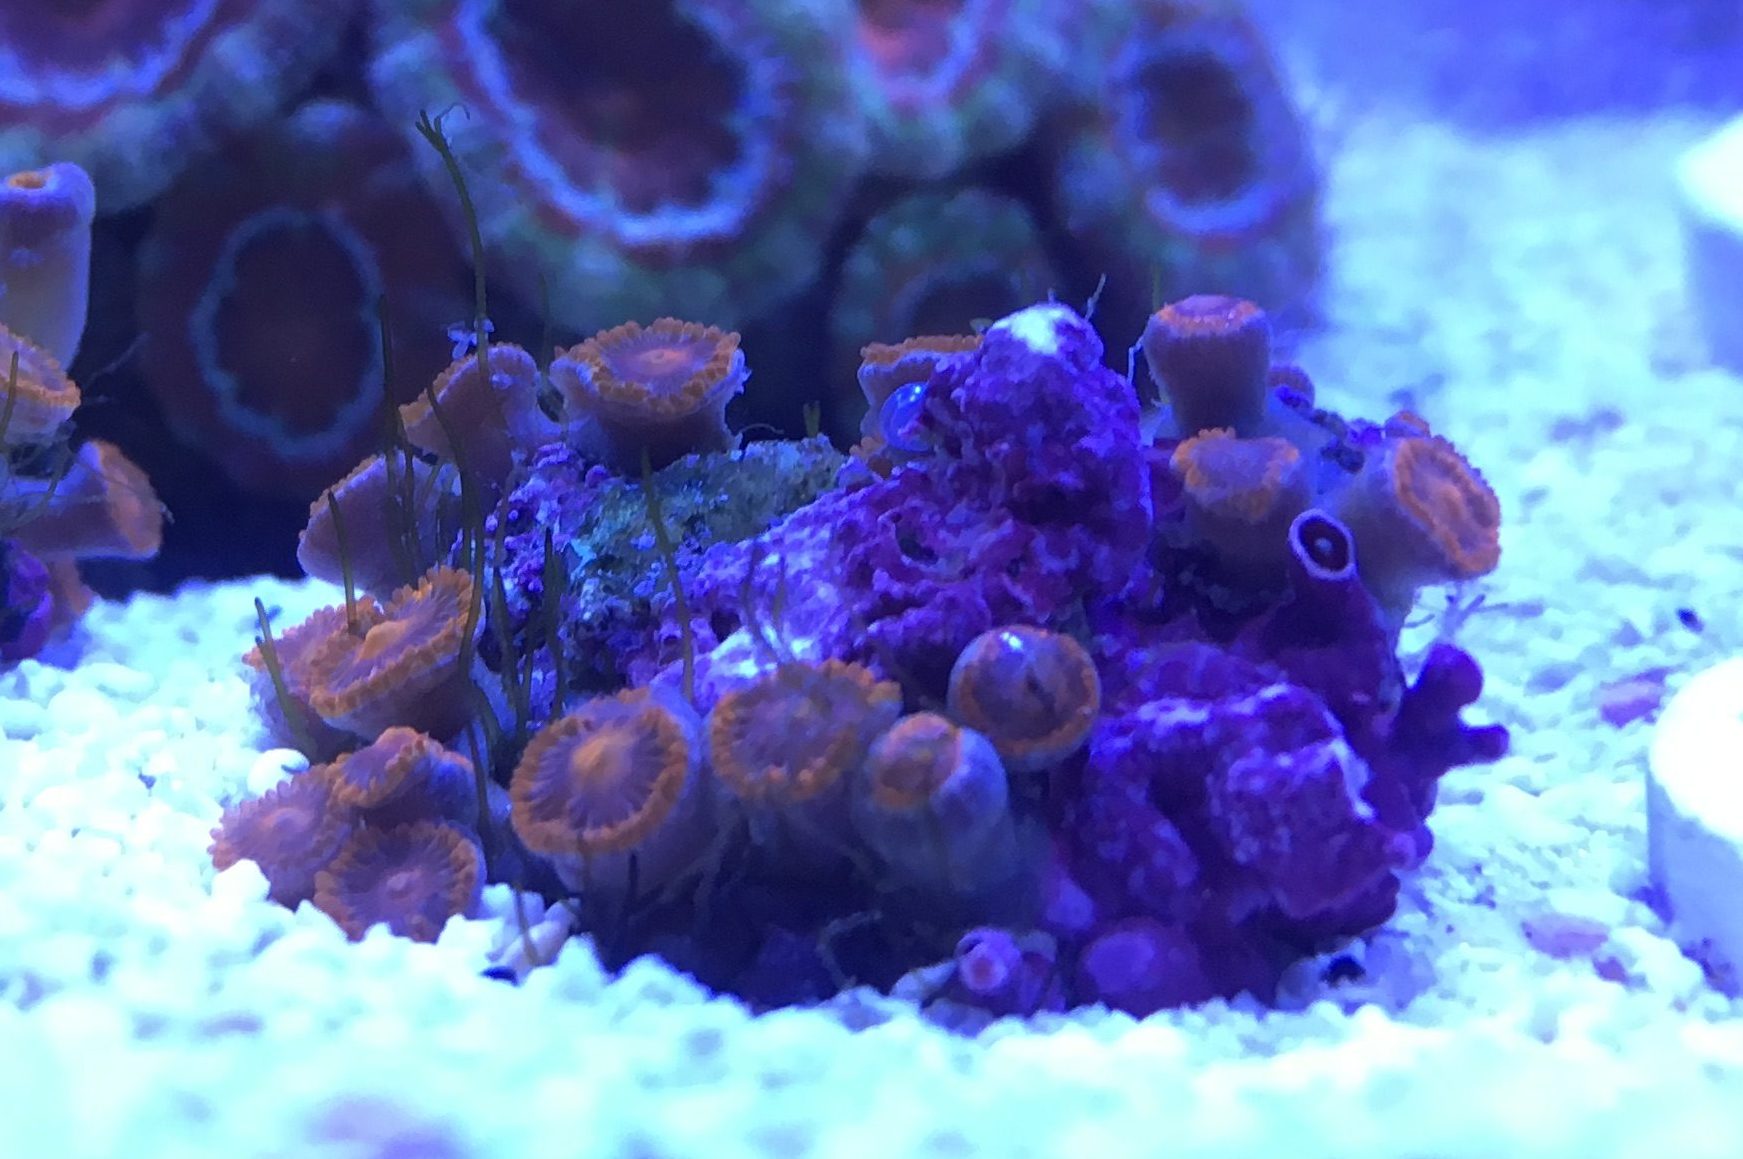
I should have taken some pictures on day 1 when they first went into the tank, but honestly I thought they were going to just fade away so I didn’t bother. To my surprise they started looking a lot better the very next day. The “before” pictures are from 6 days after going in.
Before – Zoanthids on Day 6
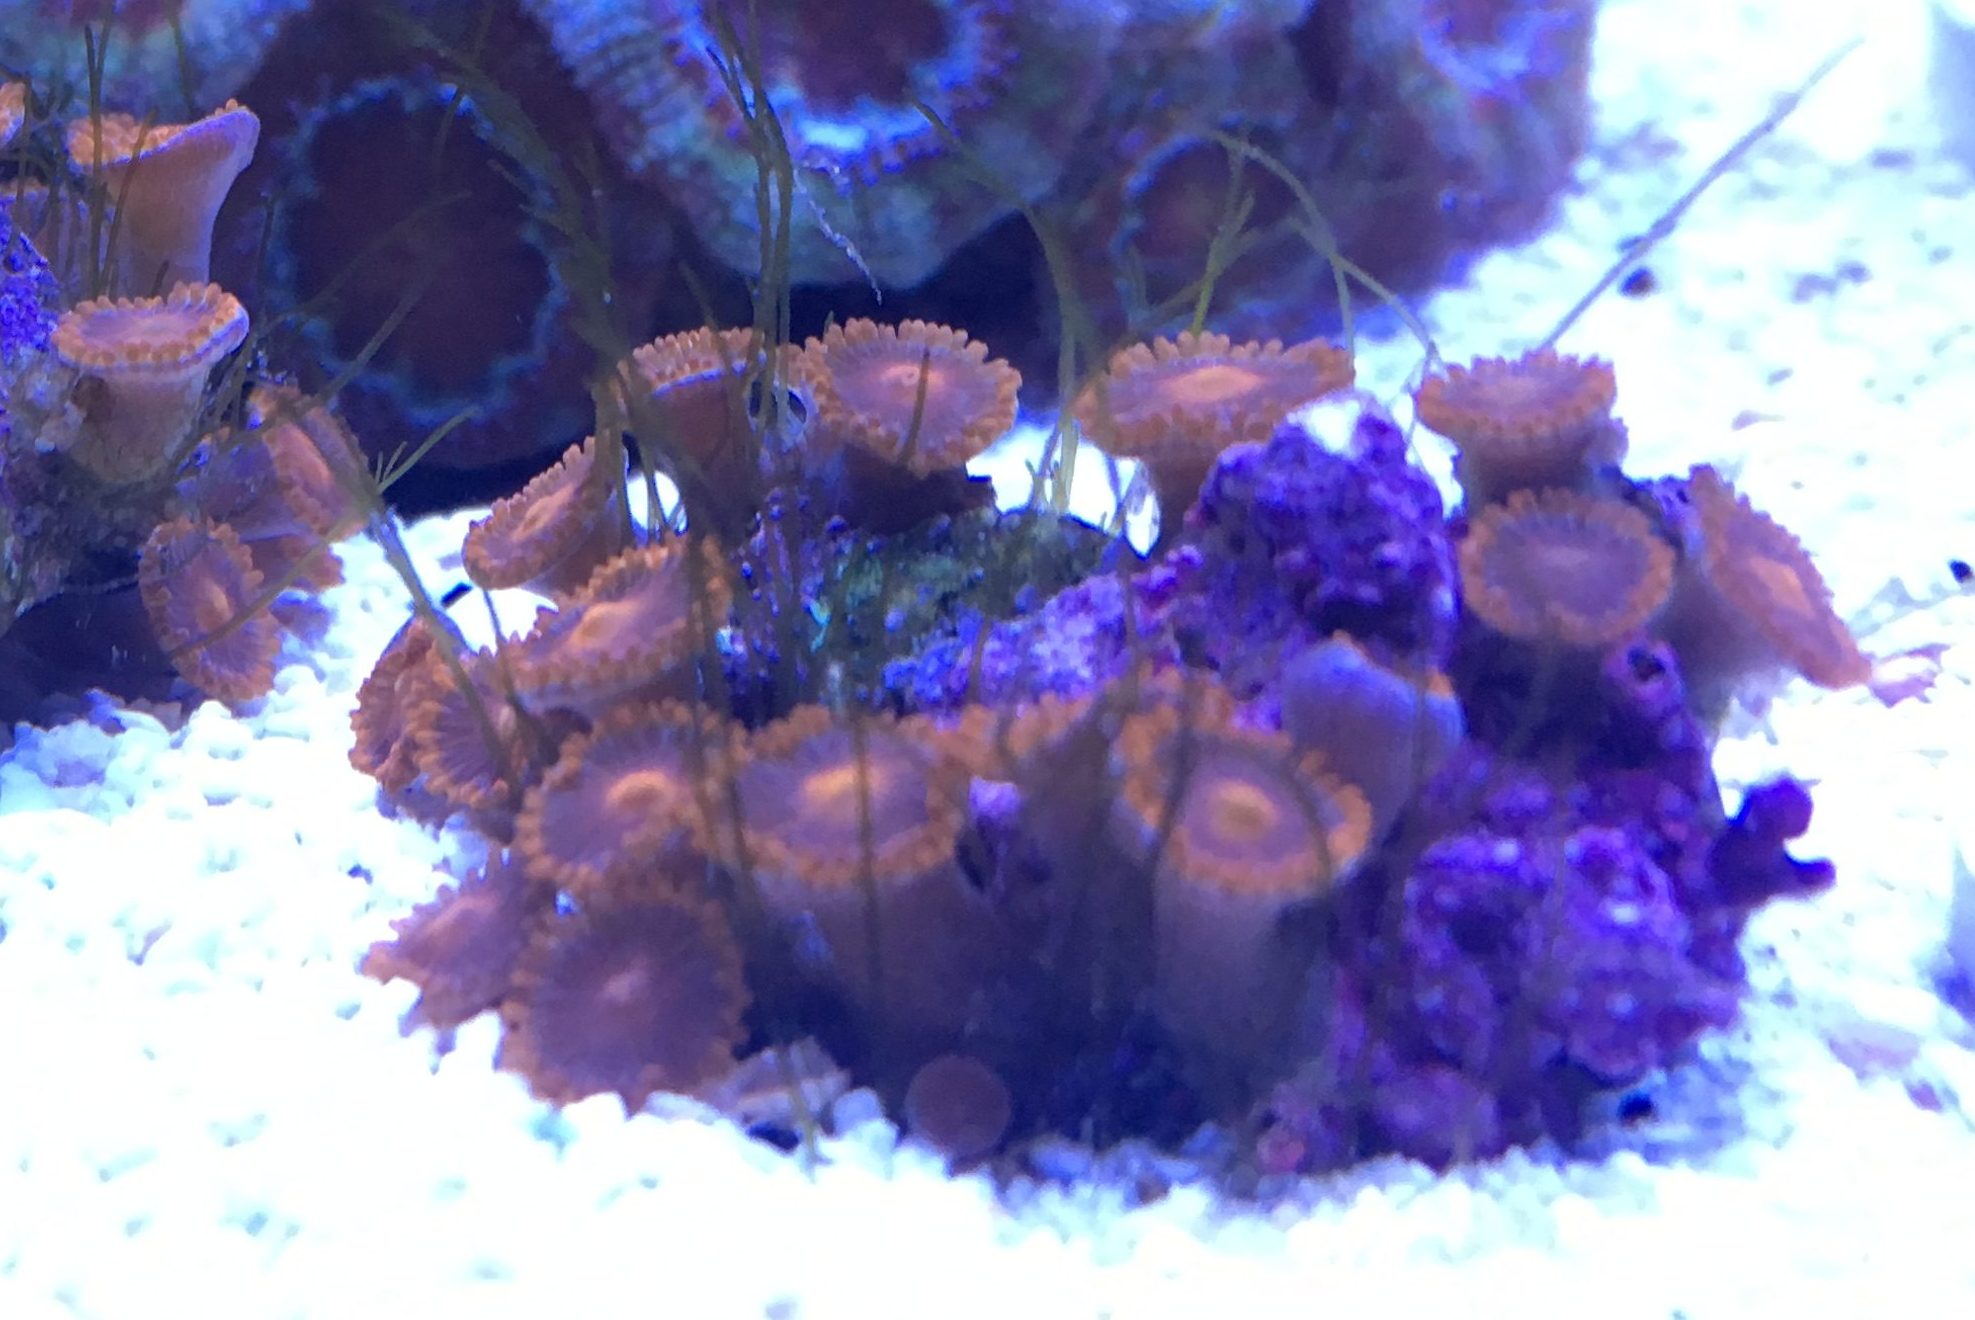
You can see the zoanthids (bam bams to be specific) in this image are clearly unhappy, but they’re opening up. When they first went in, they were barely opening at all. You could just see a hint of orange. And now here they are today, just 4 days after the last picture. Yes, there is some algae but it will die back. The polyps are starting to look right again! They’ve got lashes again and they’re wide open.
After – Zoanthids on Day 10
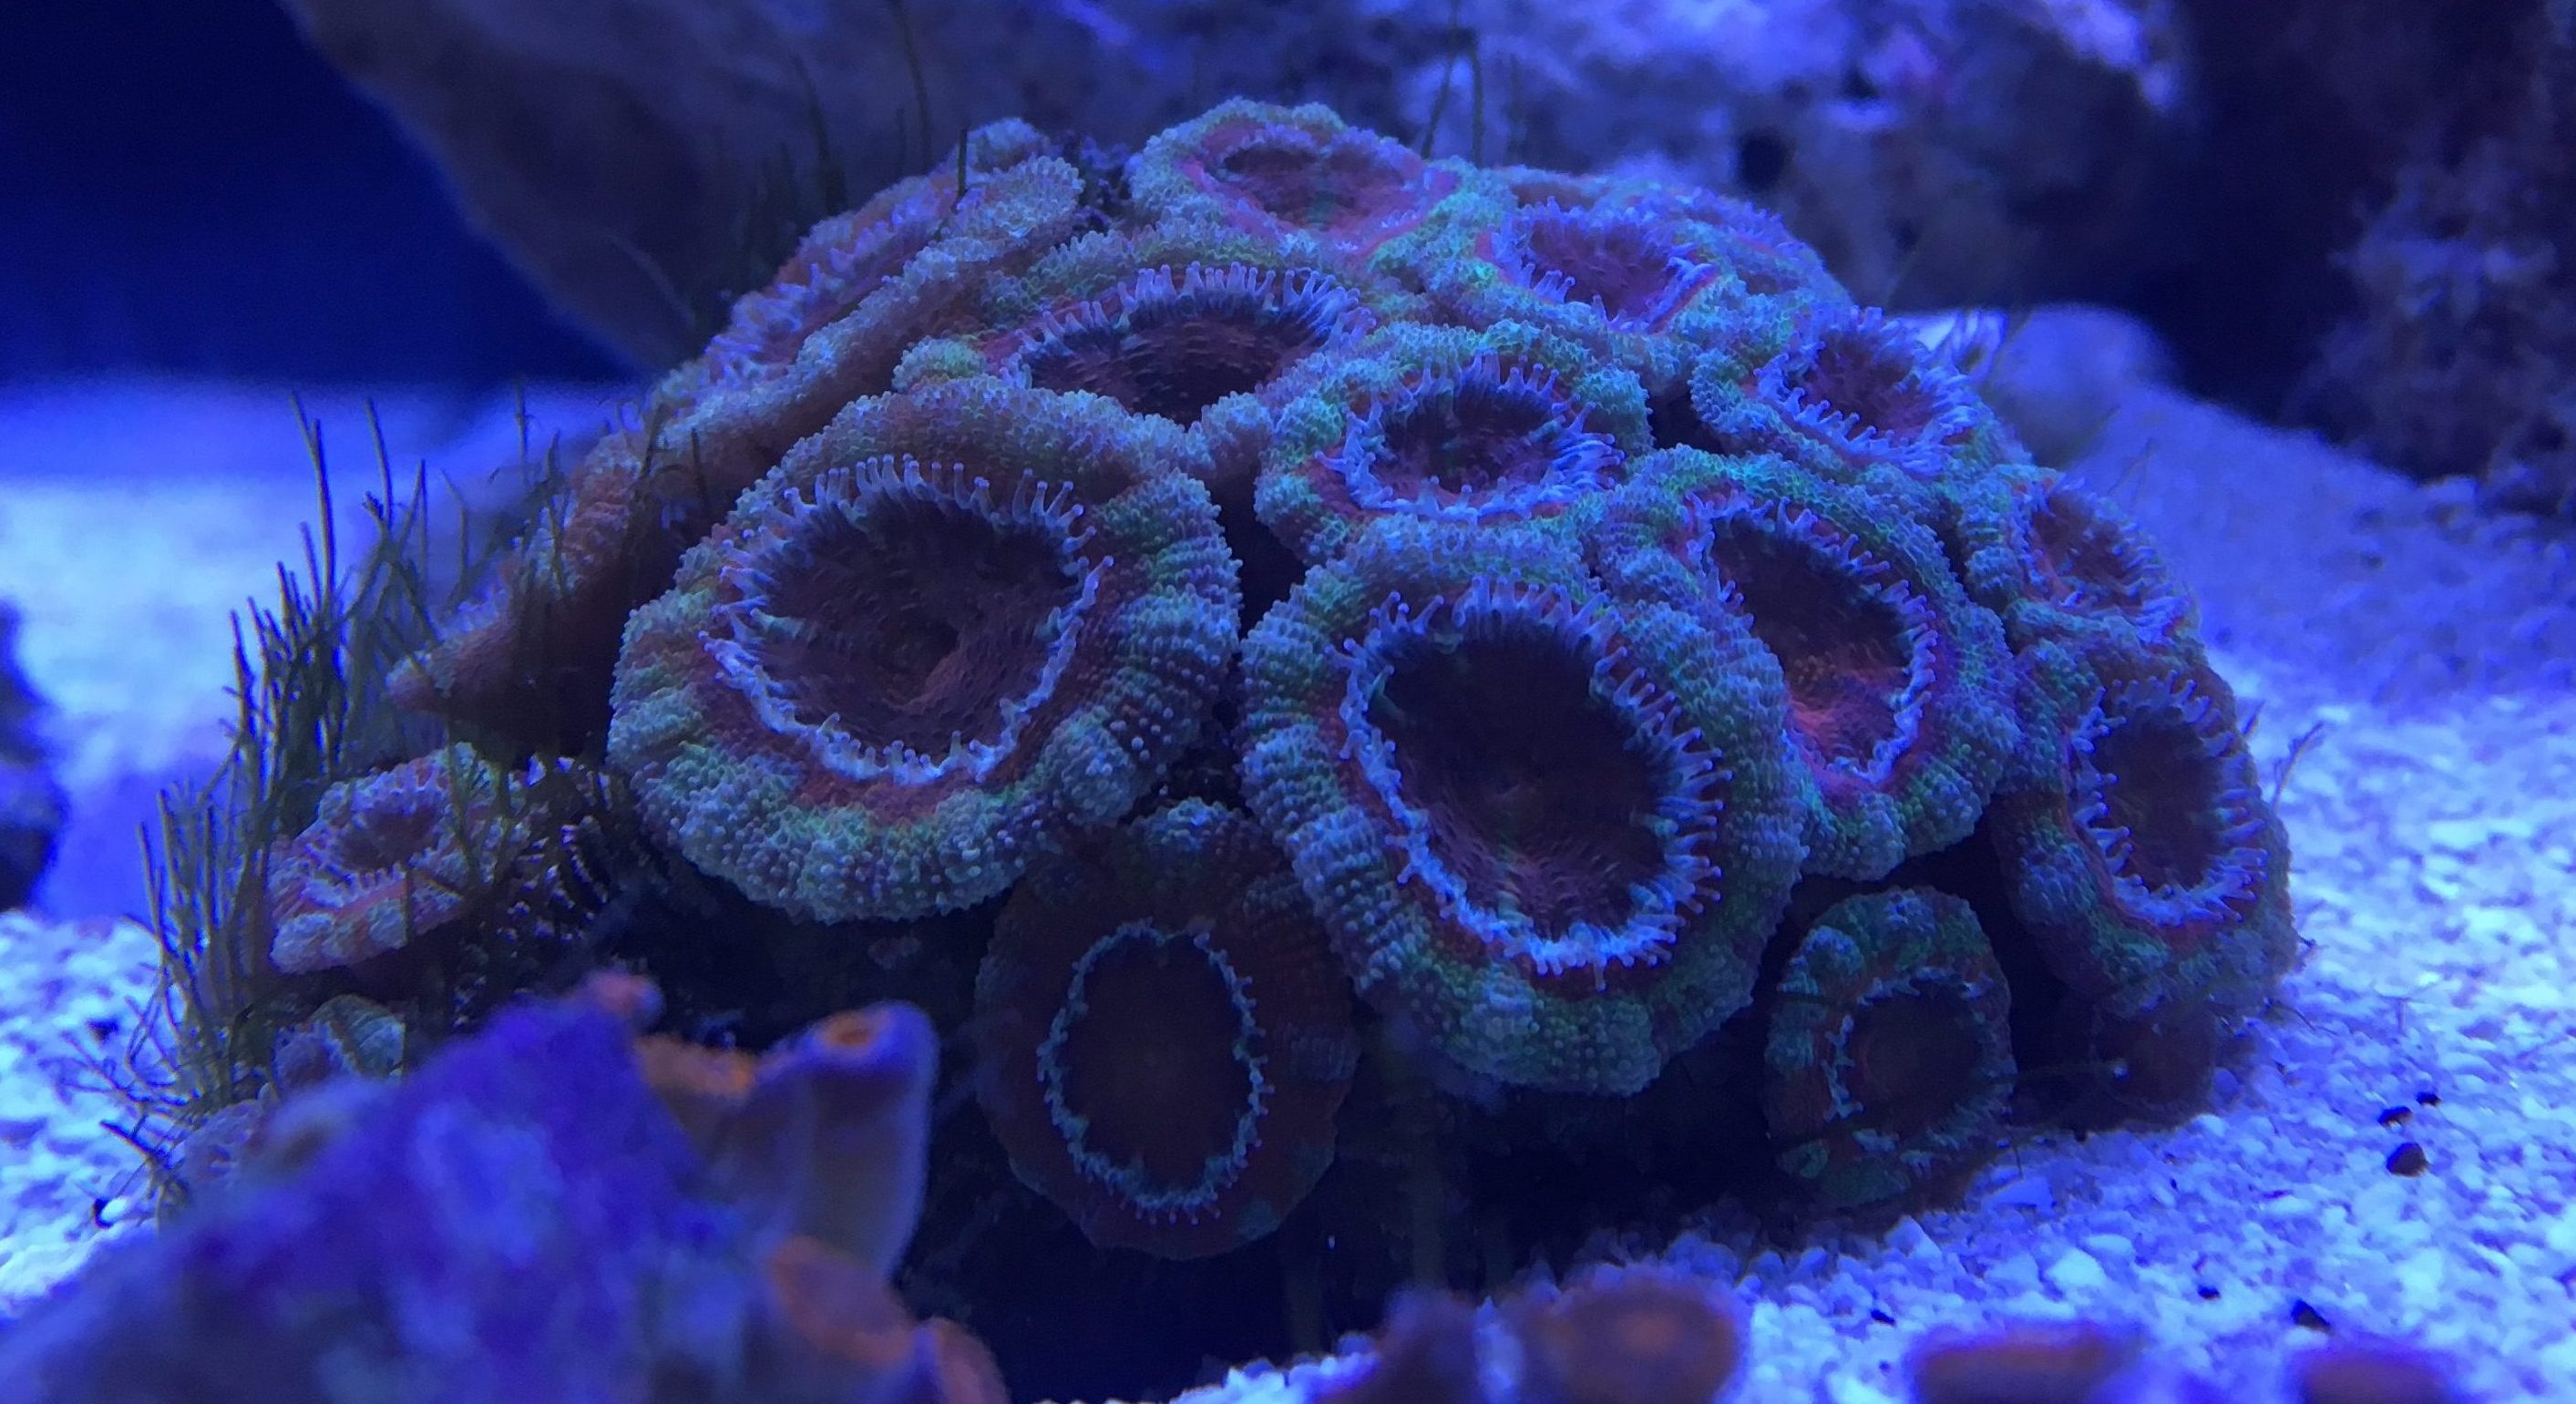
Same thing goes with these acans. These were shrunken down to mostly just exposed skeleton and a bit of tissue in the middle of each section. This coral came back from looking entirely dead once before so I had hopes it would recover. The rate at which it has recovered has been awesome! Again, here we are with the day 6 “before” picture.
Before – Acans on Day 6
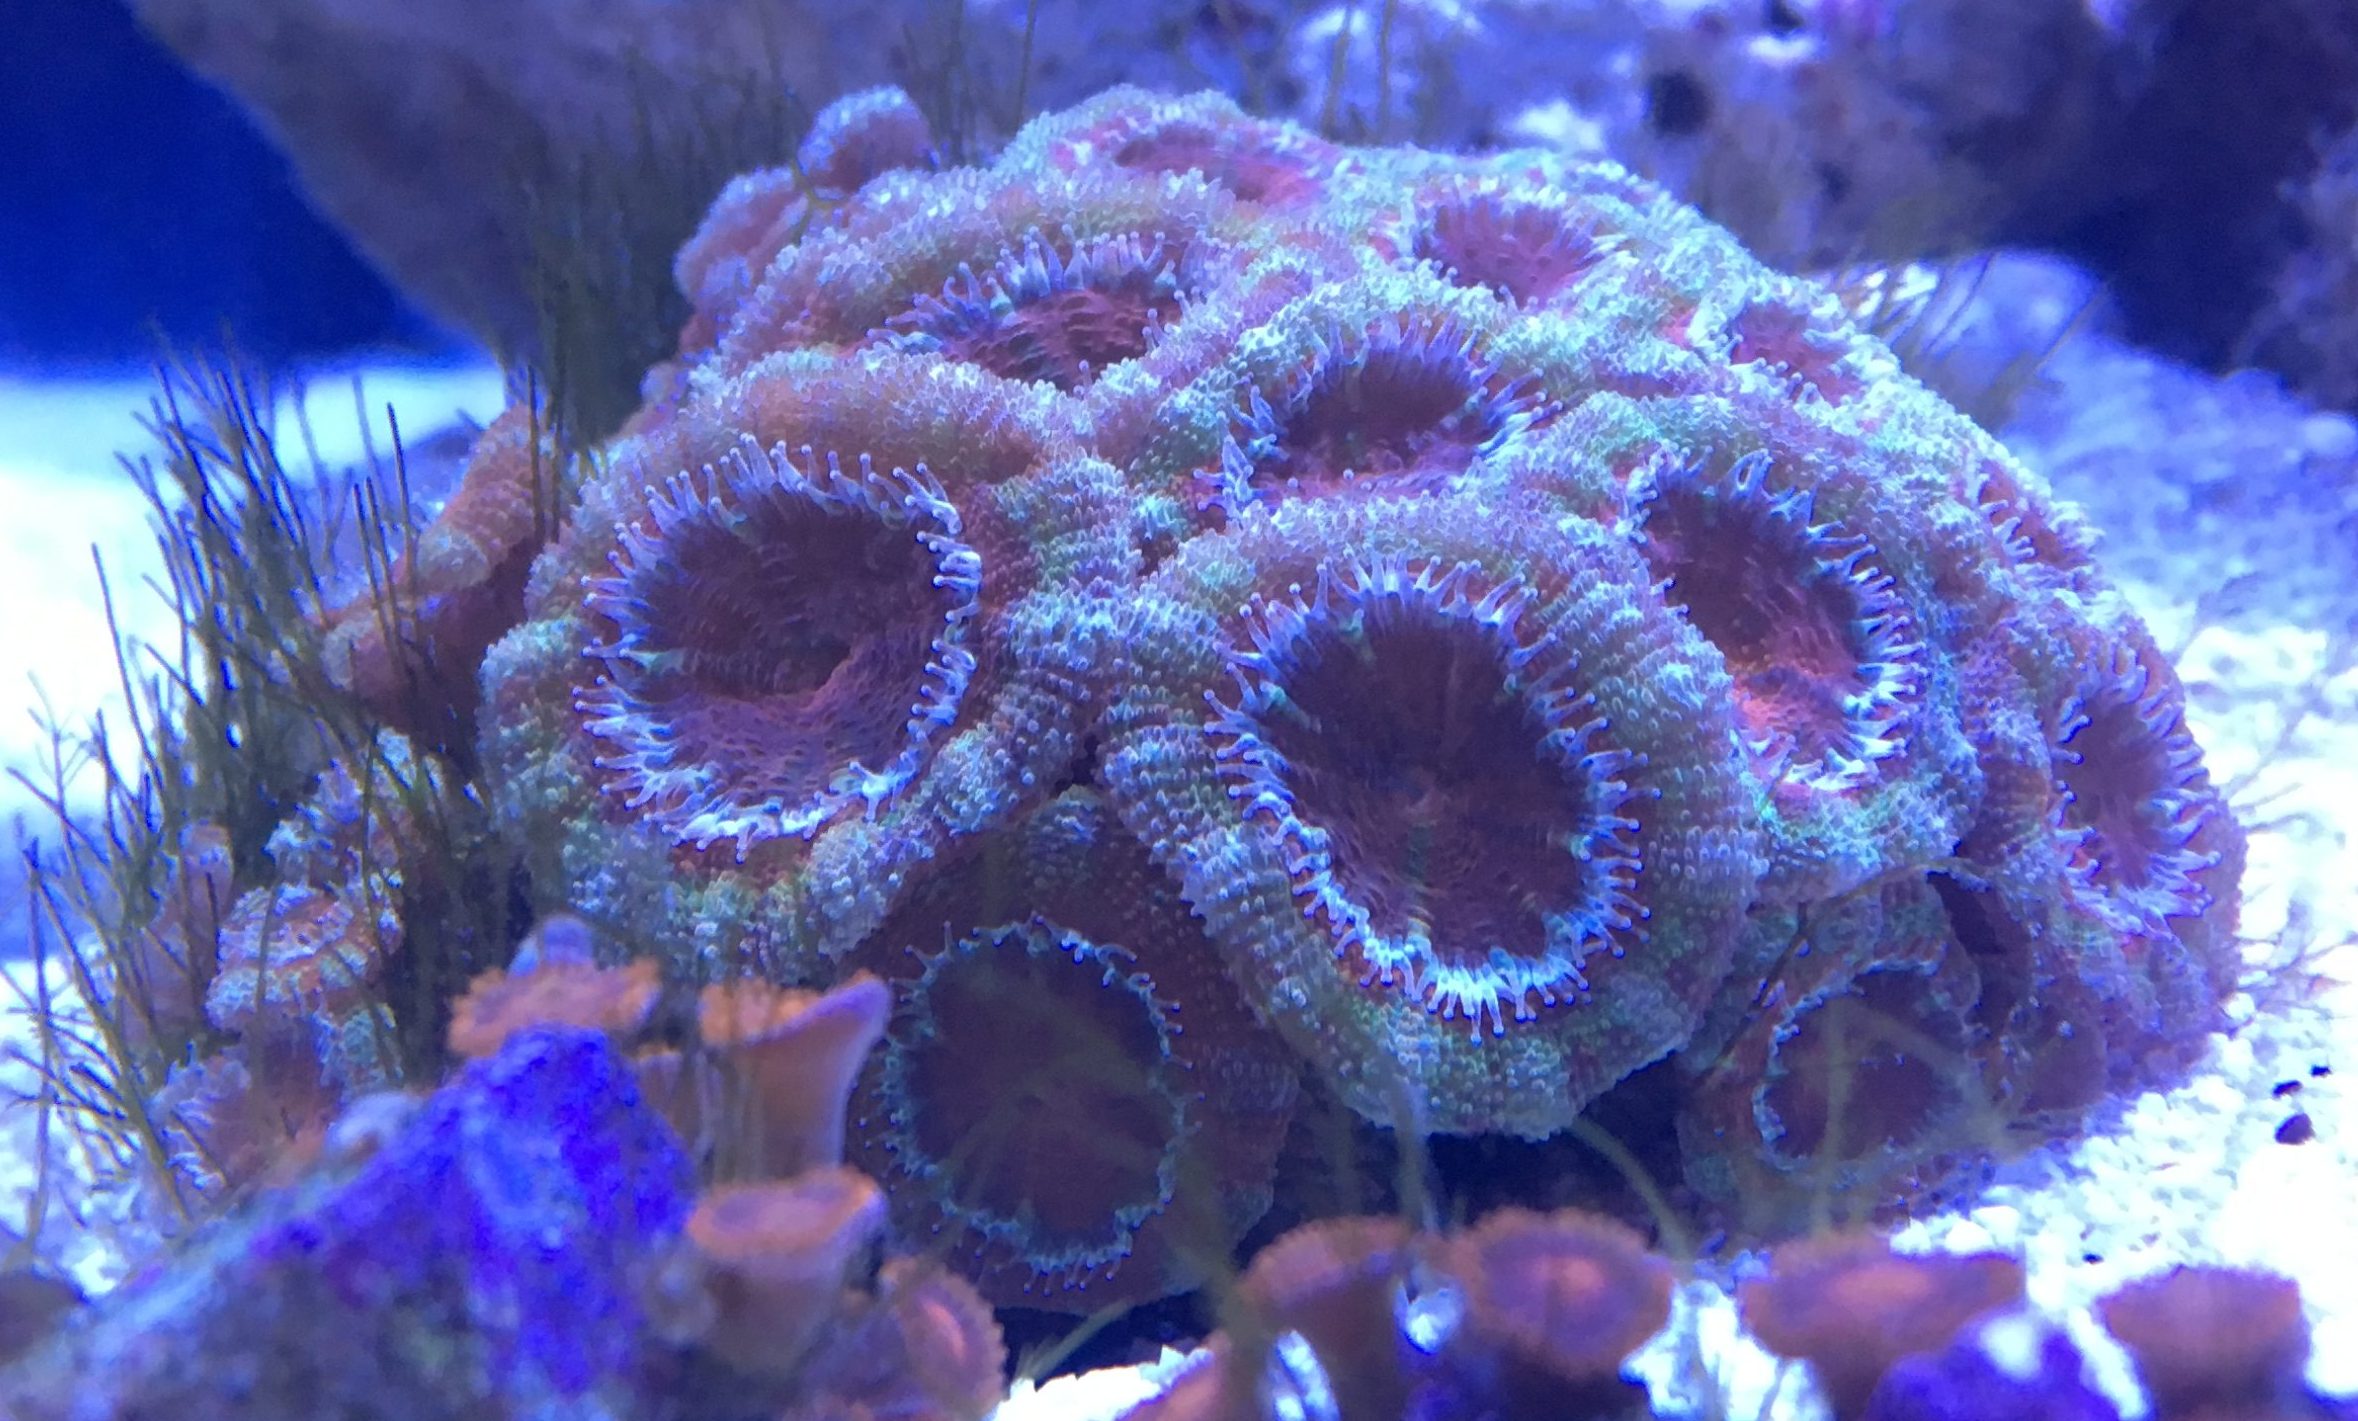
Already most of the polyps are back out and they have their feeding tentacles out. Wonderful! Then just another 4 days later…
After- Acans on Day 10
They’re all totally full and starting to jockey for space.
Needless to say, I’m really happy to see things coming around. Unfortunately it isn’t all good news. There are some things that I would rather have seen die but somehow they’ve survived… Texas. Trash. Palys. These things just won’t die!
Texas Trash Palys Back will Survive the Apocalypse
Can you see those son’s of b’s back there!? They were in an unheated tub of low salinity water in the dark for 4 months. HOW DID THEY SURVIVE!? I pulled the rock and saw these remnants and thought to myself, “Nah… they’re dead. There’s no way they lived through that…” I WAS SO WRONG! I think I’m going to pull this rock out before they have a chance to take hold. They’re damn near impossible to eradicate otherwise.
All in all this is great news. My tank is back up and running and corals are growing. Not much more than that to ask for 🙂


 With the 50g Cube finally back up and running I was able to break down my two holding tanks. One was for my fish and the other was for my corals and inverts. This was a good window to finish quarantining the inverts and corals, but man the corals did not do well in holding. Only one actually died, but all of them receded back pretty severely. I’m not 100% on why since the water quality should have been great considering it was all new water to begin with. I suspect having zero nutrients was part of the problem. I did add some food to the tank each day to give it something, but nothing really helped. It was just a matter of time before either the new tank was ready and the corals could move in or they would all die. Thankfully it was the former and not the latter.