Two Steps Forward, One Step Back

On 2/23 my three new fish successfully transitioned from the hospital tank into observation! This is only the second time I’ve quarantined fish and only the first time I’ve gotten fish to this stage. The last group of fish had velvet and then uronema and ultimately died when I forgot to turn a pump back on after feeding. These three came through without a hitch. I had a few days when ammonia crept up, but a 10% water change took care of the problem.
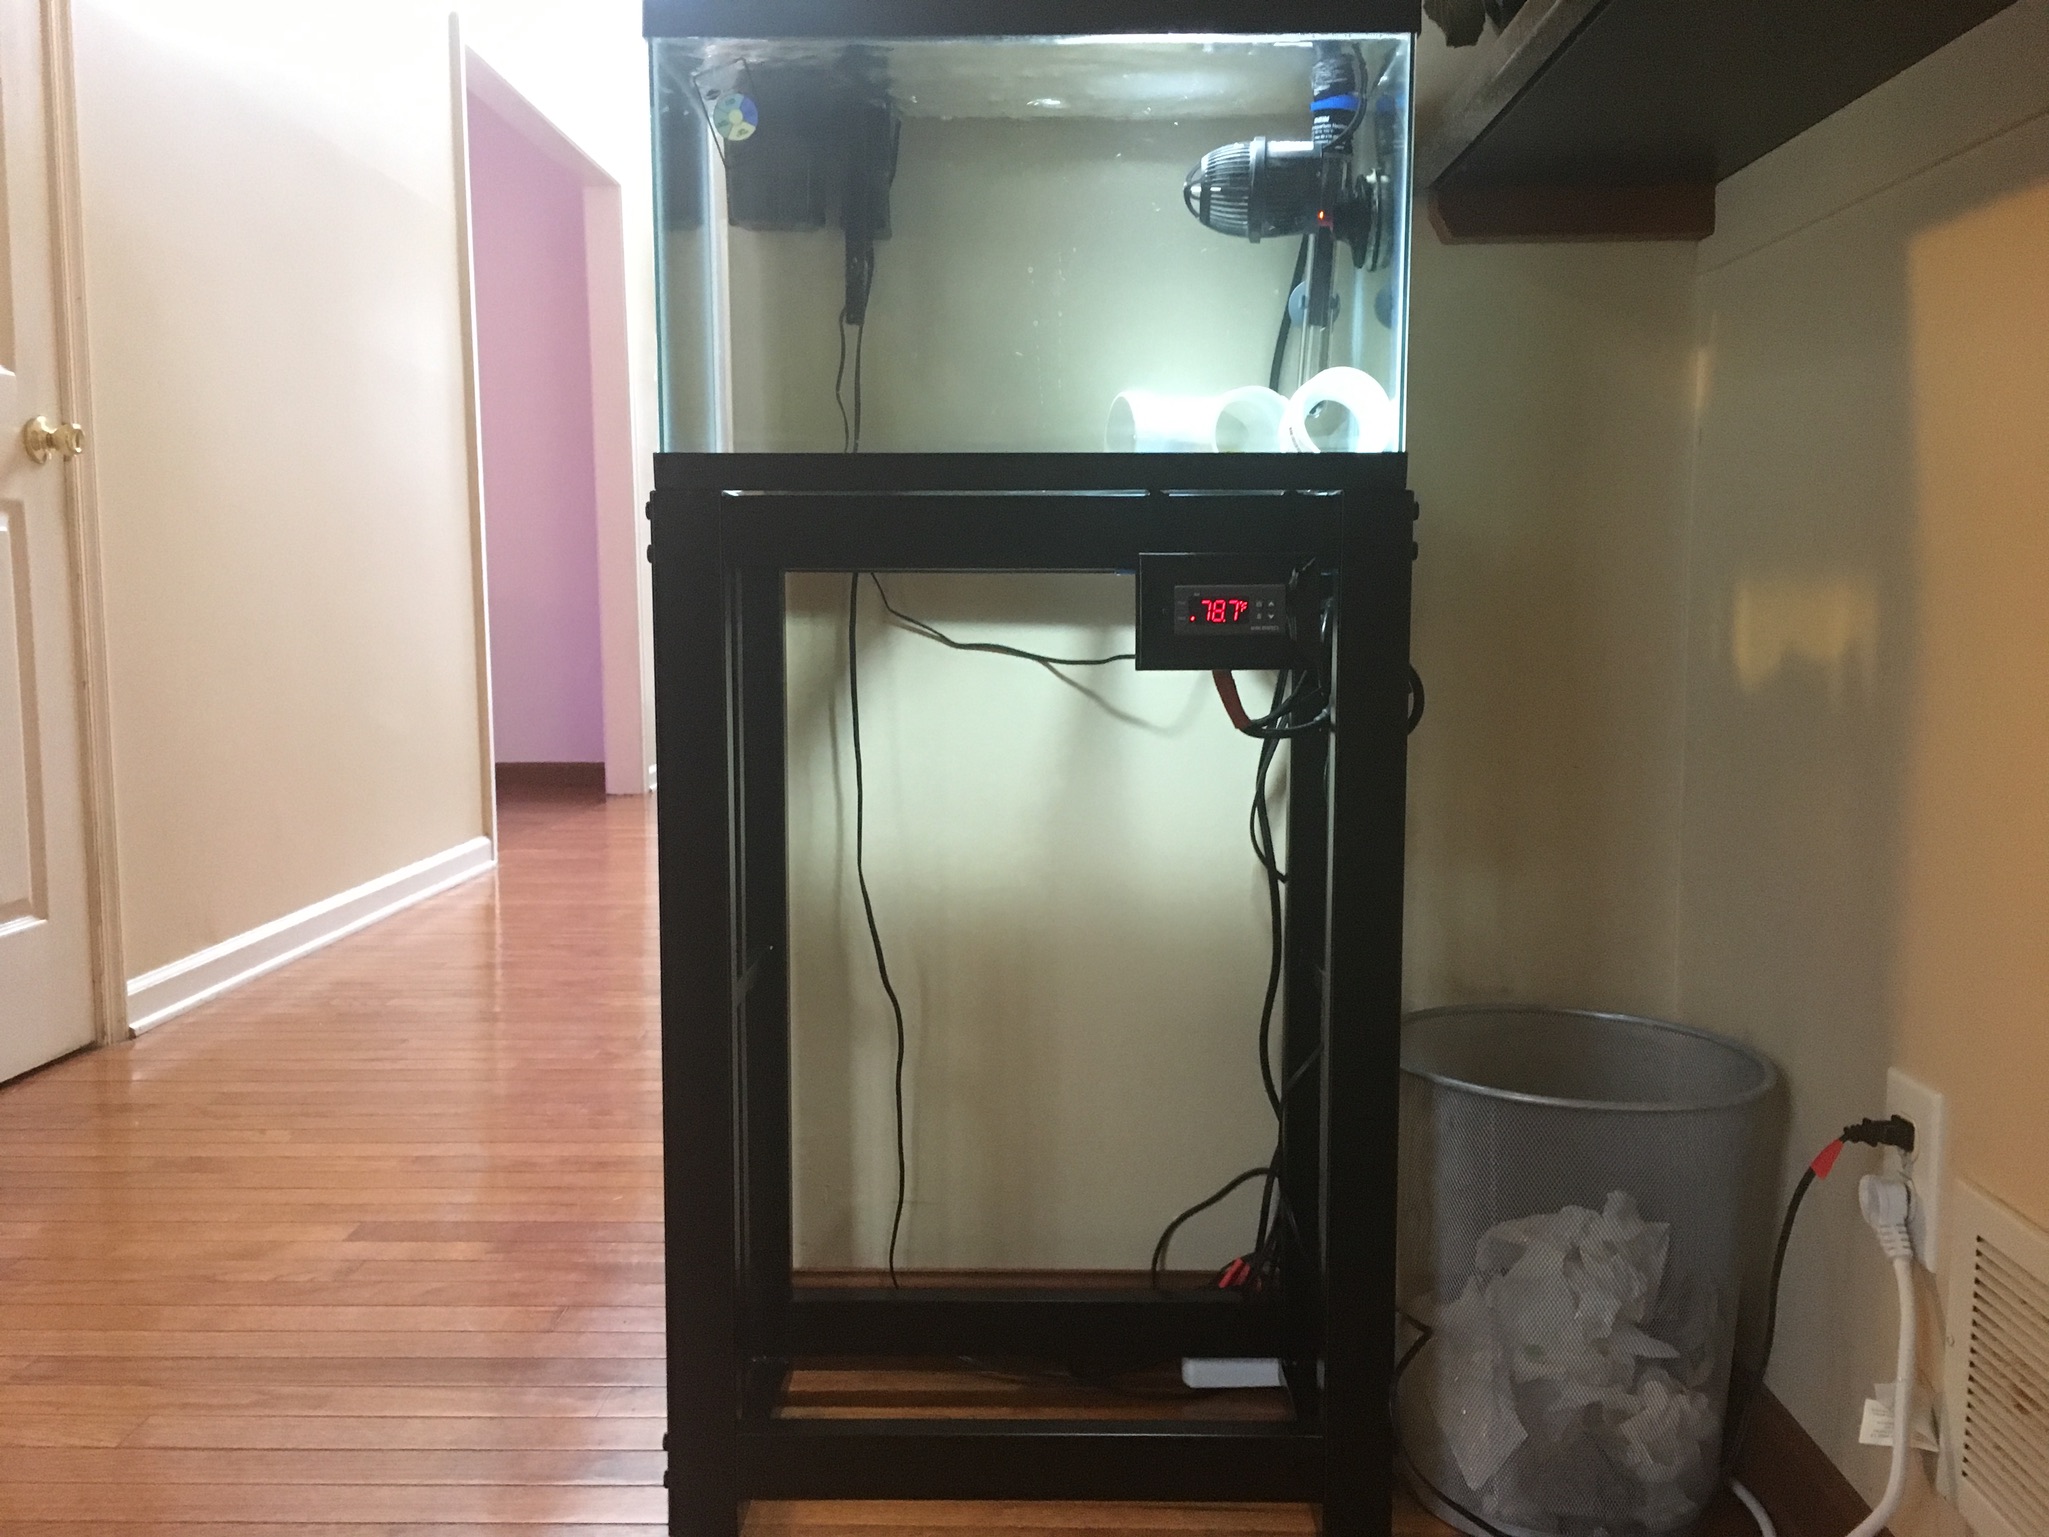
The picture above is the observation tank. It is a simple 10 gallon tank with a steel stand from a big box store. I’m using a hang-on-back power filter with a pre-seeded sponge from my DT and a Koralia K2 for flow. I built a heater controller from an Inkbird ITC1000 that I got cheap on Amazon. (I’ll post a link to my DIY on that here after I post it)
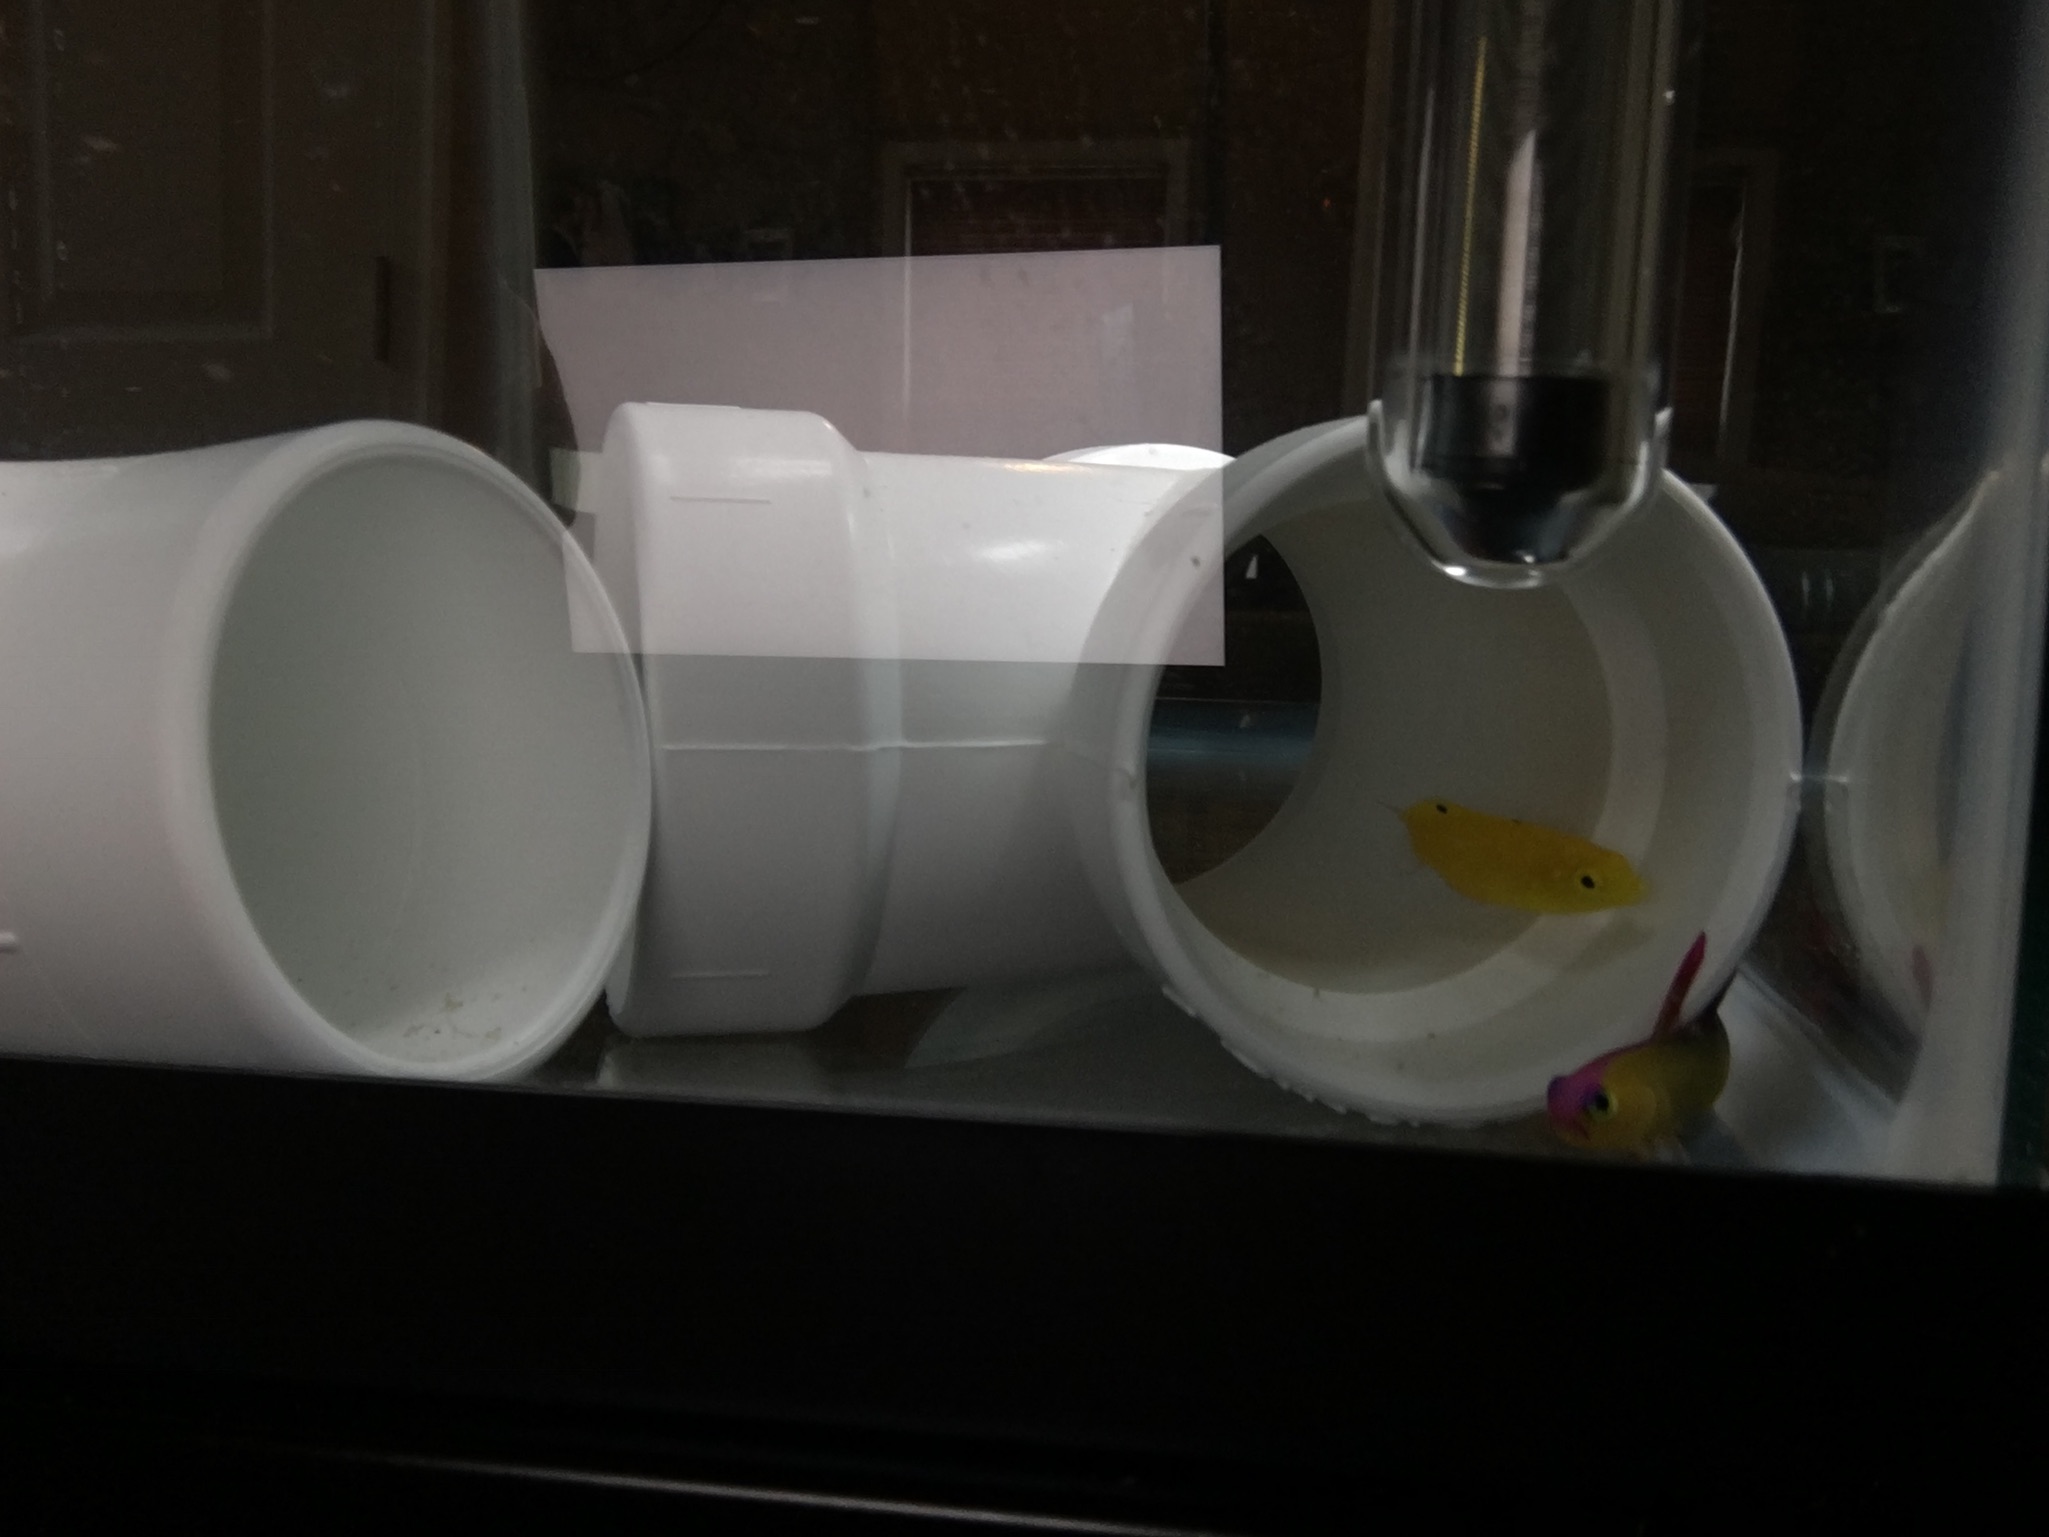
Sorry the picture above is a little dark, but this is right after moving the fish over to the observation tank. The yellow watchman goby is there too, but he likes to hide under that piece of PVC on the left. The fish came out to eat thirty minutes after I moved them.  Everything seemed to be going perfectly, until….

I noticed a fuzzy white patch on the firefish’s tail. DANG IT! It looked a lot like the infection my clownfish had not too long ago. Lucky for me I had Kanaplex on hand already and started dosing it right away. This is why we do observation after QT! It isn’t uncommon for fish to come through copper and wind up with a secondary skin infection. Treatment in observation is super easy, but it would have been a pain if they were already in the DT.

It’s a little hard to see, but watch the firefish’s tail in this video and you can see the white spots flash on his tail.

The last thing I found out I did wrong was the prazipro treatment. There’s a calculator that tells you dosage intervals and I didn’t know that. I just followed the plan of dose, waiting 72 hours, dose again, wait 72 hours and do a water change. Apparently I was supposed to dose and then dose again after 6-8, then repeat.
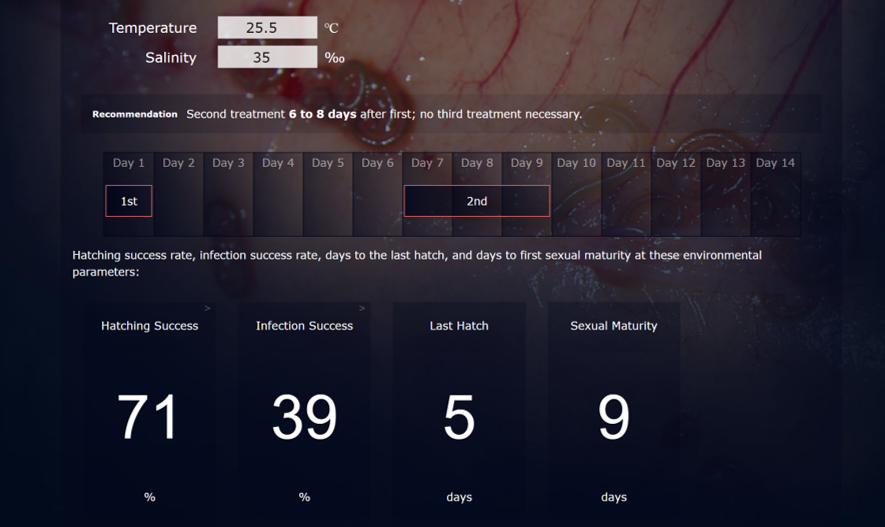
^– That’s what the calculator outputs. I’m going to dose Kanaplex two more times, two days apart. Then I’ll run carbon for 24 hours and redo the prazi treatment.
 

It’s Copper Time!

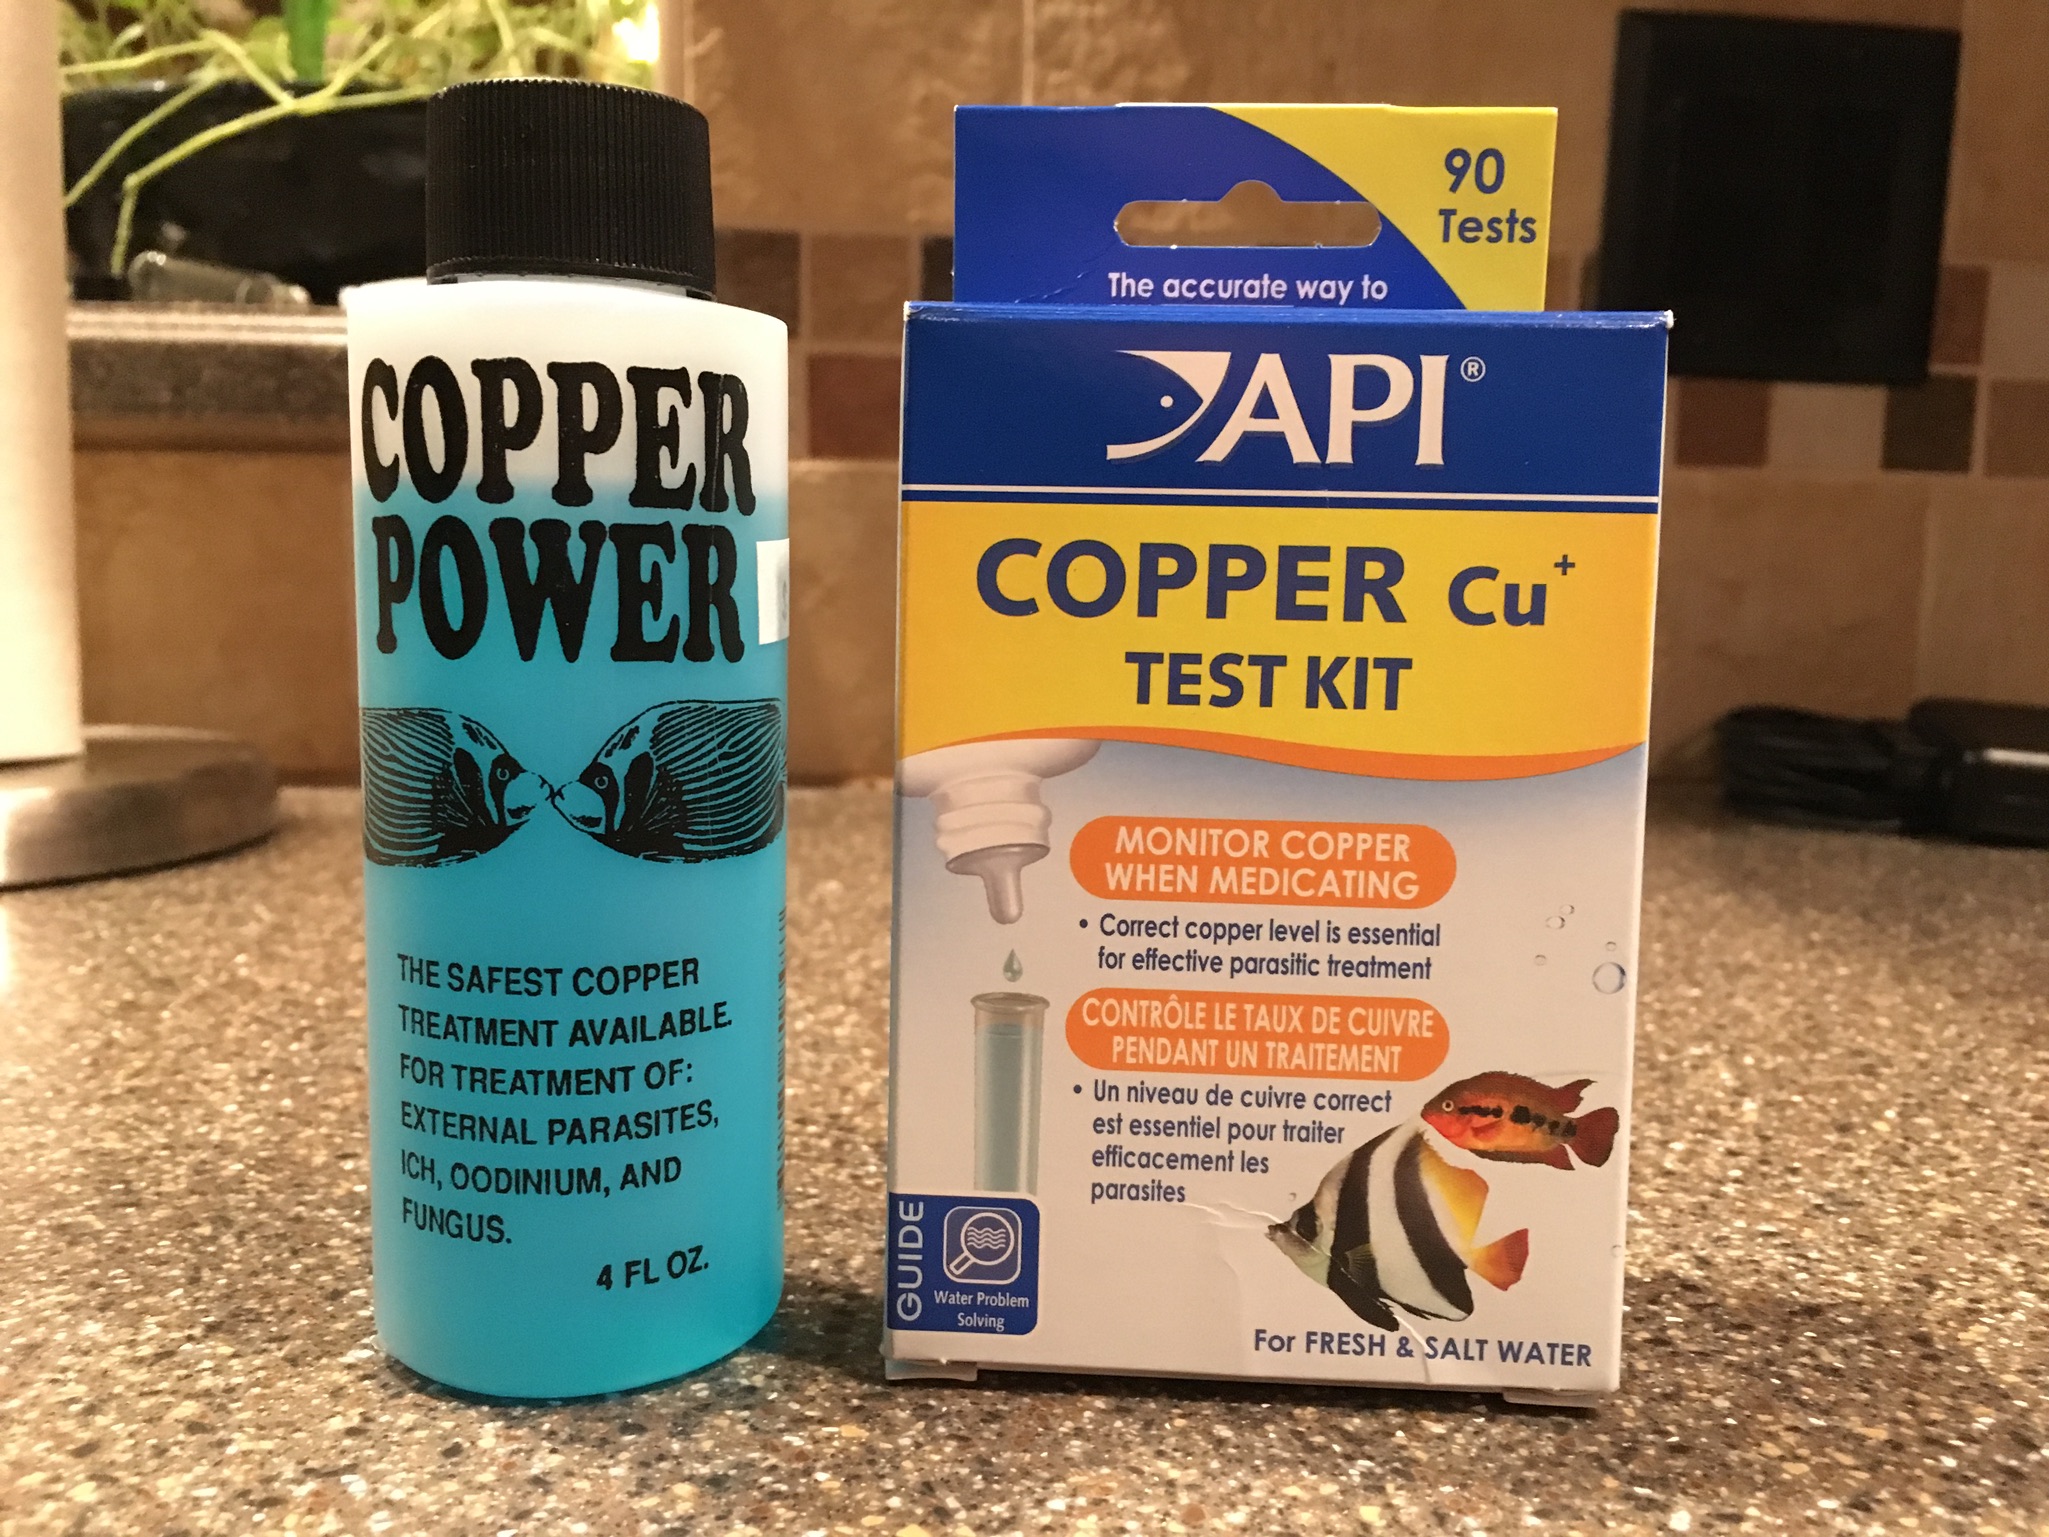
Tomorrow is the big day! Starting to run copper.  I’m going to raise it up over the course of 10 days since wrasses are particularly sensitive to copper. People have found that chelated copper, like Copper Power and Copper Safe, tend to be easier on fish. The therapeutic range is also higher which means it is a bit harder to overdose. Lucky for me, it is readily available at most local fish stores. Chelated copper levels can be tested using API’s Copper test kit.  It can not be tested using Seachem’s or Salifert’s.

The therapeutic level for Copper Power is 2.5ppm.  Over 10 days, I’m going to raise by 0.25ppm per day.  It takes 0.5 oz (according to the bottle) to reach that level in 10 gallons of water.  On day 1 (tomorrow), I’m going to dose 0.025 oz (~0.75 mL) in the morning and again in the afternoon.  I’ll test after the first dose and in theory, I won’t see much if anything detectable on the test kit.  Repeat for the next 9 days and I should get to 2.5ppm.  I have sand in there for the wrasse, so this might take more than expected to reach therapeutic levels.  It also might get absorbed, so daily testing for 30 days is a must.

Wish me luck!

How to sterilize a Quarantine Tank

I came across a fantastic article on Reef2Reef today about how to properly sterilize a quarantine tank and its equipment.  It is really very simple and should only take you about 10 minutes to complete.  From that article:

1. Gather your cleaning equipment: Vinegar or Bleach, old rag or sponge, and all equipment used during QT like hoses, HOB filter ect. Be sure to dispose of any media inside the HOB filter and use new for the next batch of fish. Dispose of any air stones used as well.

2. Empty all the water out of the tank, leaving all the pvc elbows, heater, thermometer and any other equipment inside the tank.

3. Refill the tank with freshwater from the hose to about half way. Add 1 teaspoon of bleach per gallon of water if you choose to use bleach. Or just splash in about a ½ cup of vinegar. Vinegar won’t hurt you if you add too much, so the instructions are meant to keep you from wasting it or making your hands smell really bad. You can take this opportunity to soak everything in bleach or vinegar, but it’s not necessary.


4. Use your old rag or sponge to wipe everything down individually including each piece of equipment and the walls and bottom of the tank.


5. Fill the tank again with fresh water to rinse and empty. Take each piece of equipment out and rinse individually, then rinse the tank individually.


6. Set each piece aside to dry for several days to be sure every little nook and cranny has dried completely. The drying is the most important part of the whole process.

Super easy, right?!  Meredith was even kind enough to provide a video if you don’t like reading 🙂

Source: Video – How to sterilize a Quarantine Tank | REEF2REEF Saltwater and Reef Aquarium Forum

How to Quarantine Fish (Part 1) – Equipment

Quarantining fish has always seemed like a time consuming, expensive and complicated process.  I’ve been lucky and haven’t had any fish with ich, velvet or other parasites in my display tank in the past.  That said, there are more and more reports of fish coming in with ich and velvet from the major US importers.  I have a clownfish in my tank, Jaws, that has been with me for over 7 years as of writing this.  I’m just not willing to risk her health to take a shortcut when adding new fish so I decided to learn what quarantine is really about and what equipment it takes to accomplish it successfully.  There is a process that is entirely different for quarantining inverts and corals which I’ll talk about in a later post.  For now, let’s focus on fish.

We will start the conversation looking at the equipment needed to successfully quarantine…

Continue reading “How to Quarantine Fish (Part 1) – Equipment”