When breaking down my tank for a reboot, I discovered that my stand had pretty sever water damage and needed to be replaced. Originally I just wanted to paint the stand white to match the rest of the room. Since that was no longer an option, I decided to build one myself. I have 6 weeks to get this done, so it is going to be a lot of little bits of work between work and dinner most nights.
The nice thing about starting over is that I can design it the way I want it, not the way it came. I would love to have a “dry” compartment for electronics and a larger sump area that can fit my top off and dosing containers. I did some digging and found a few design elements that I liked and then I jumped into SketchUp to draw it all out.
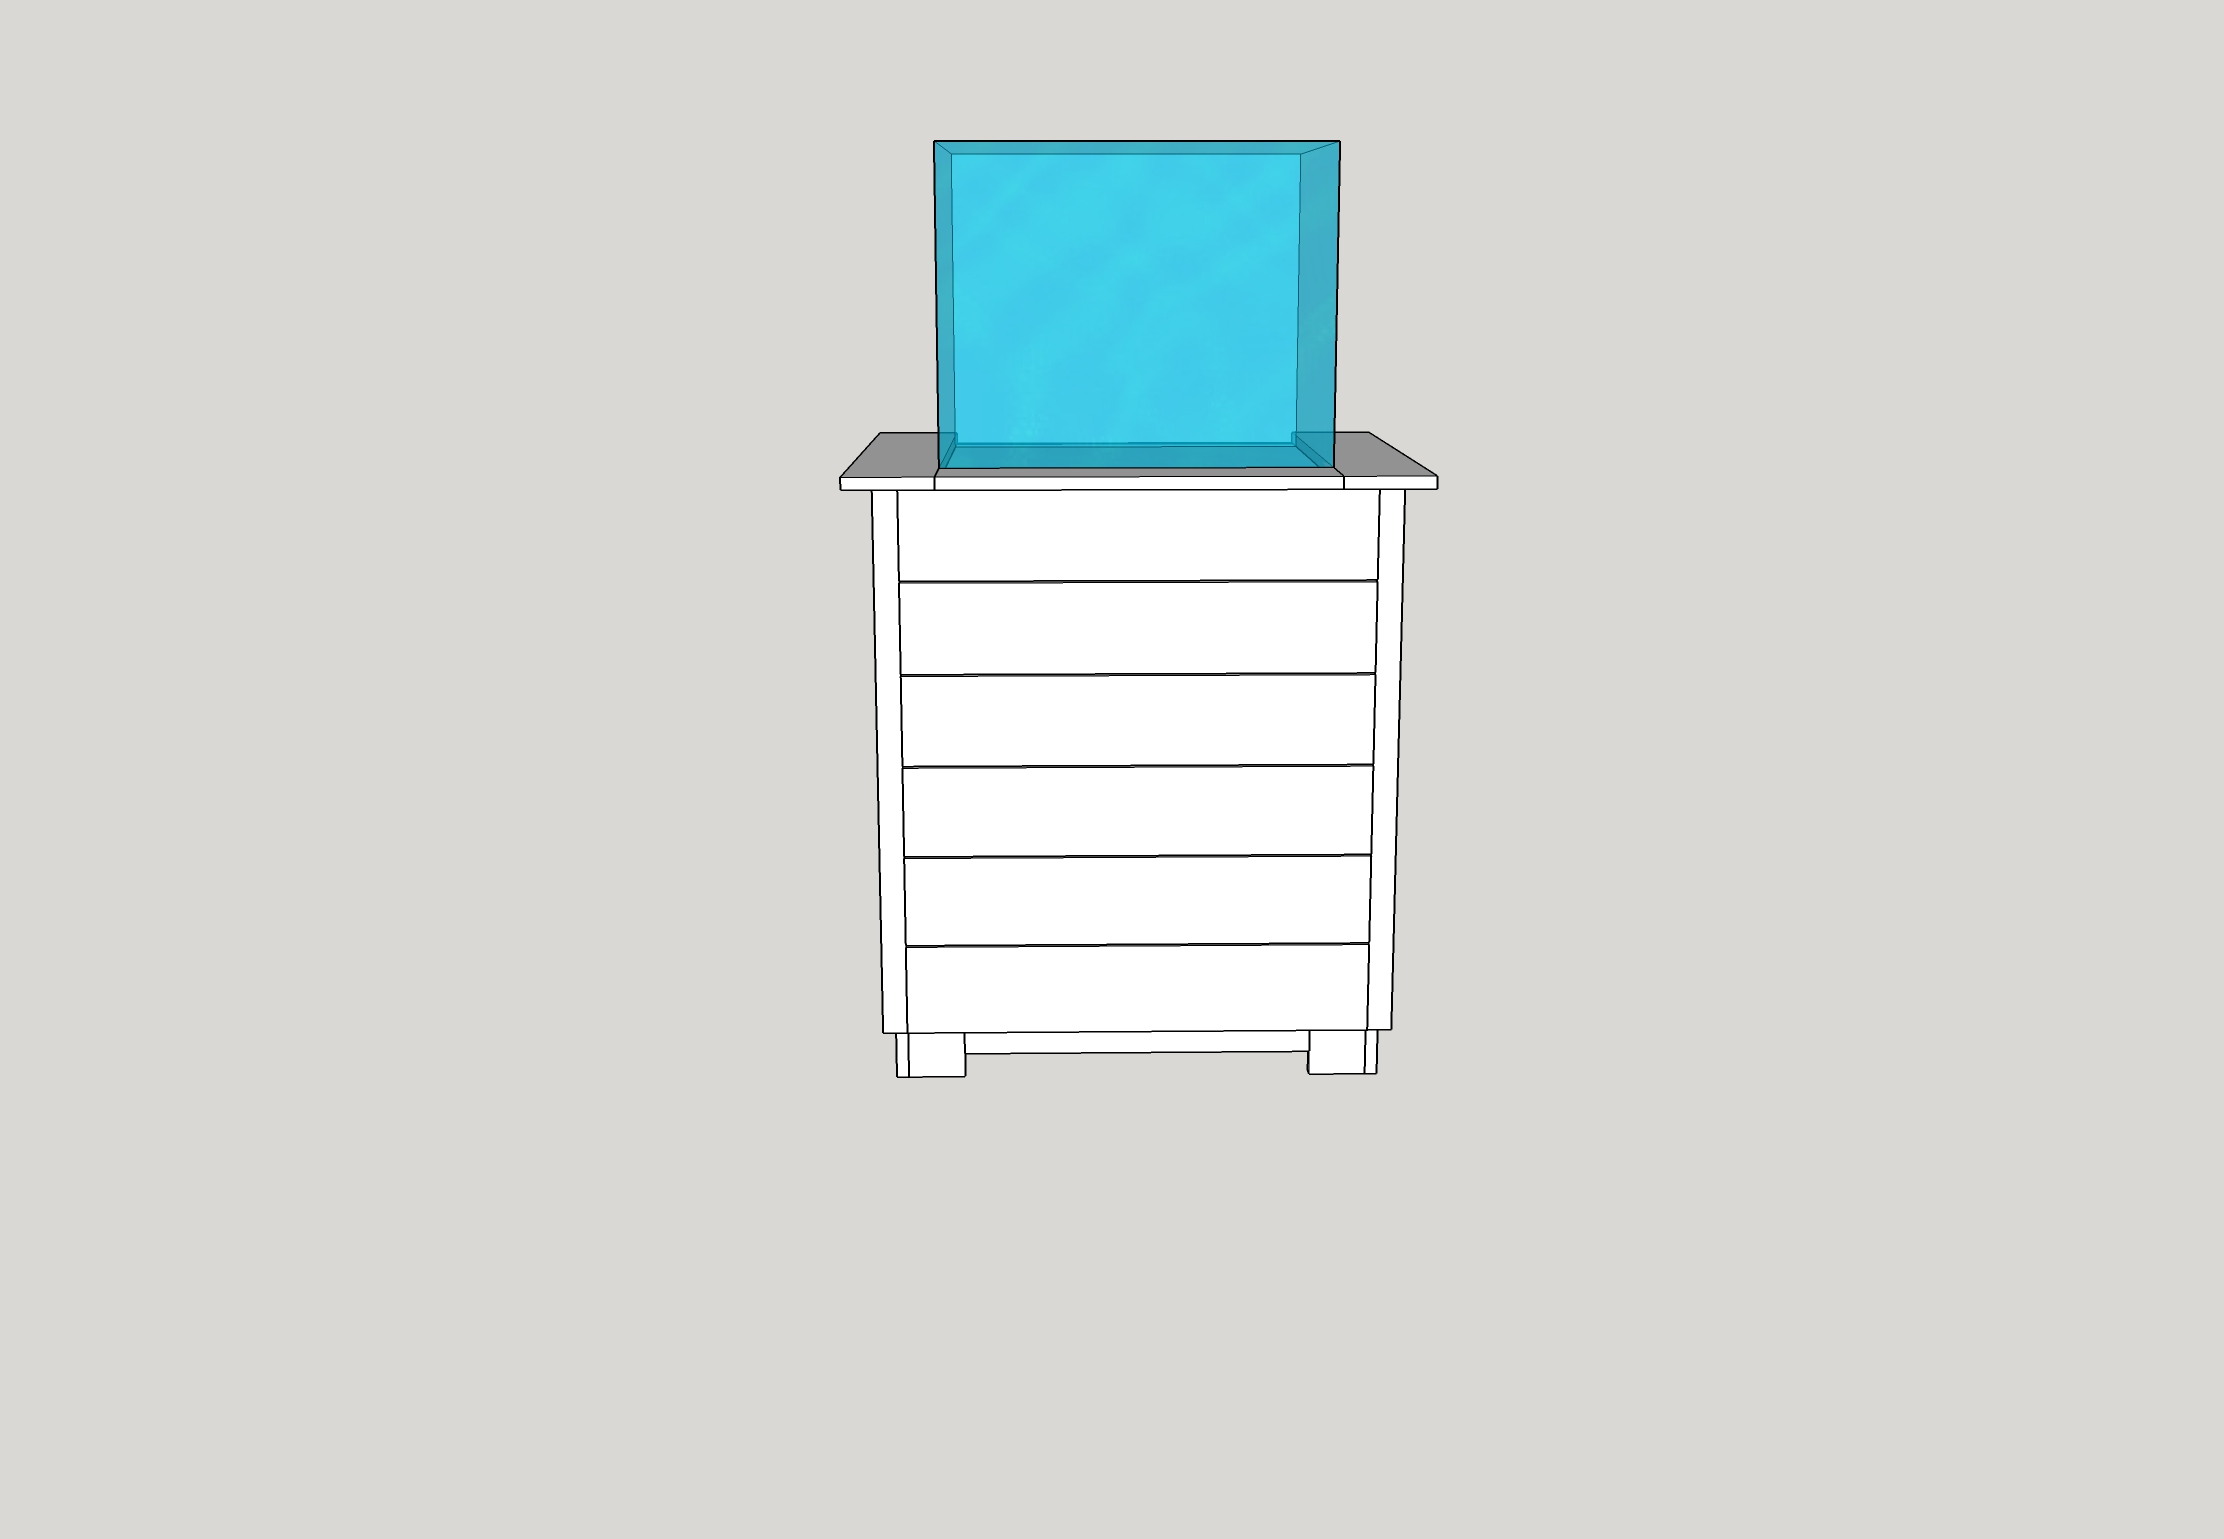
Here’s what I came up with:
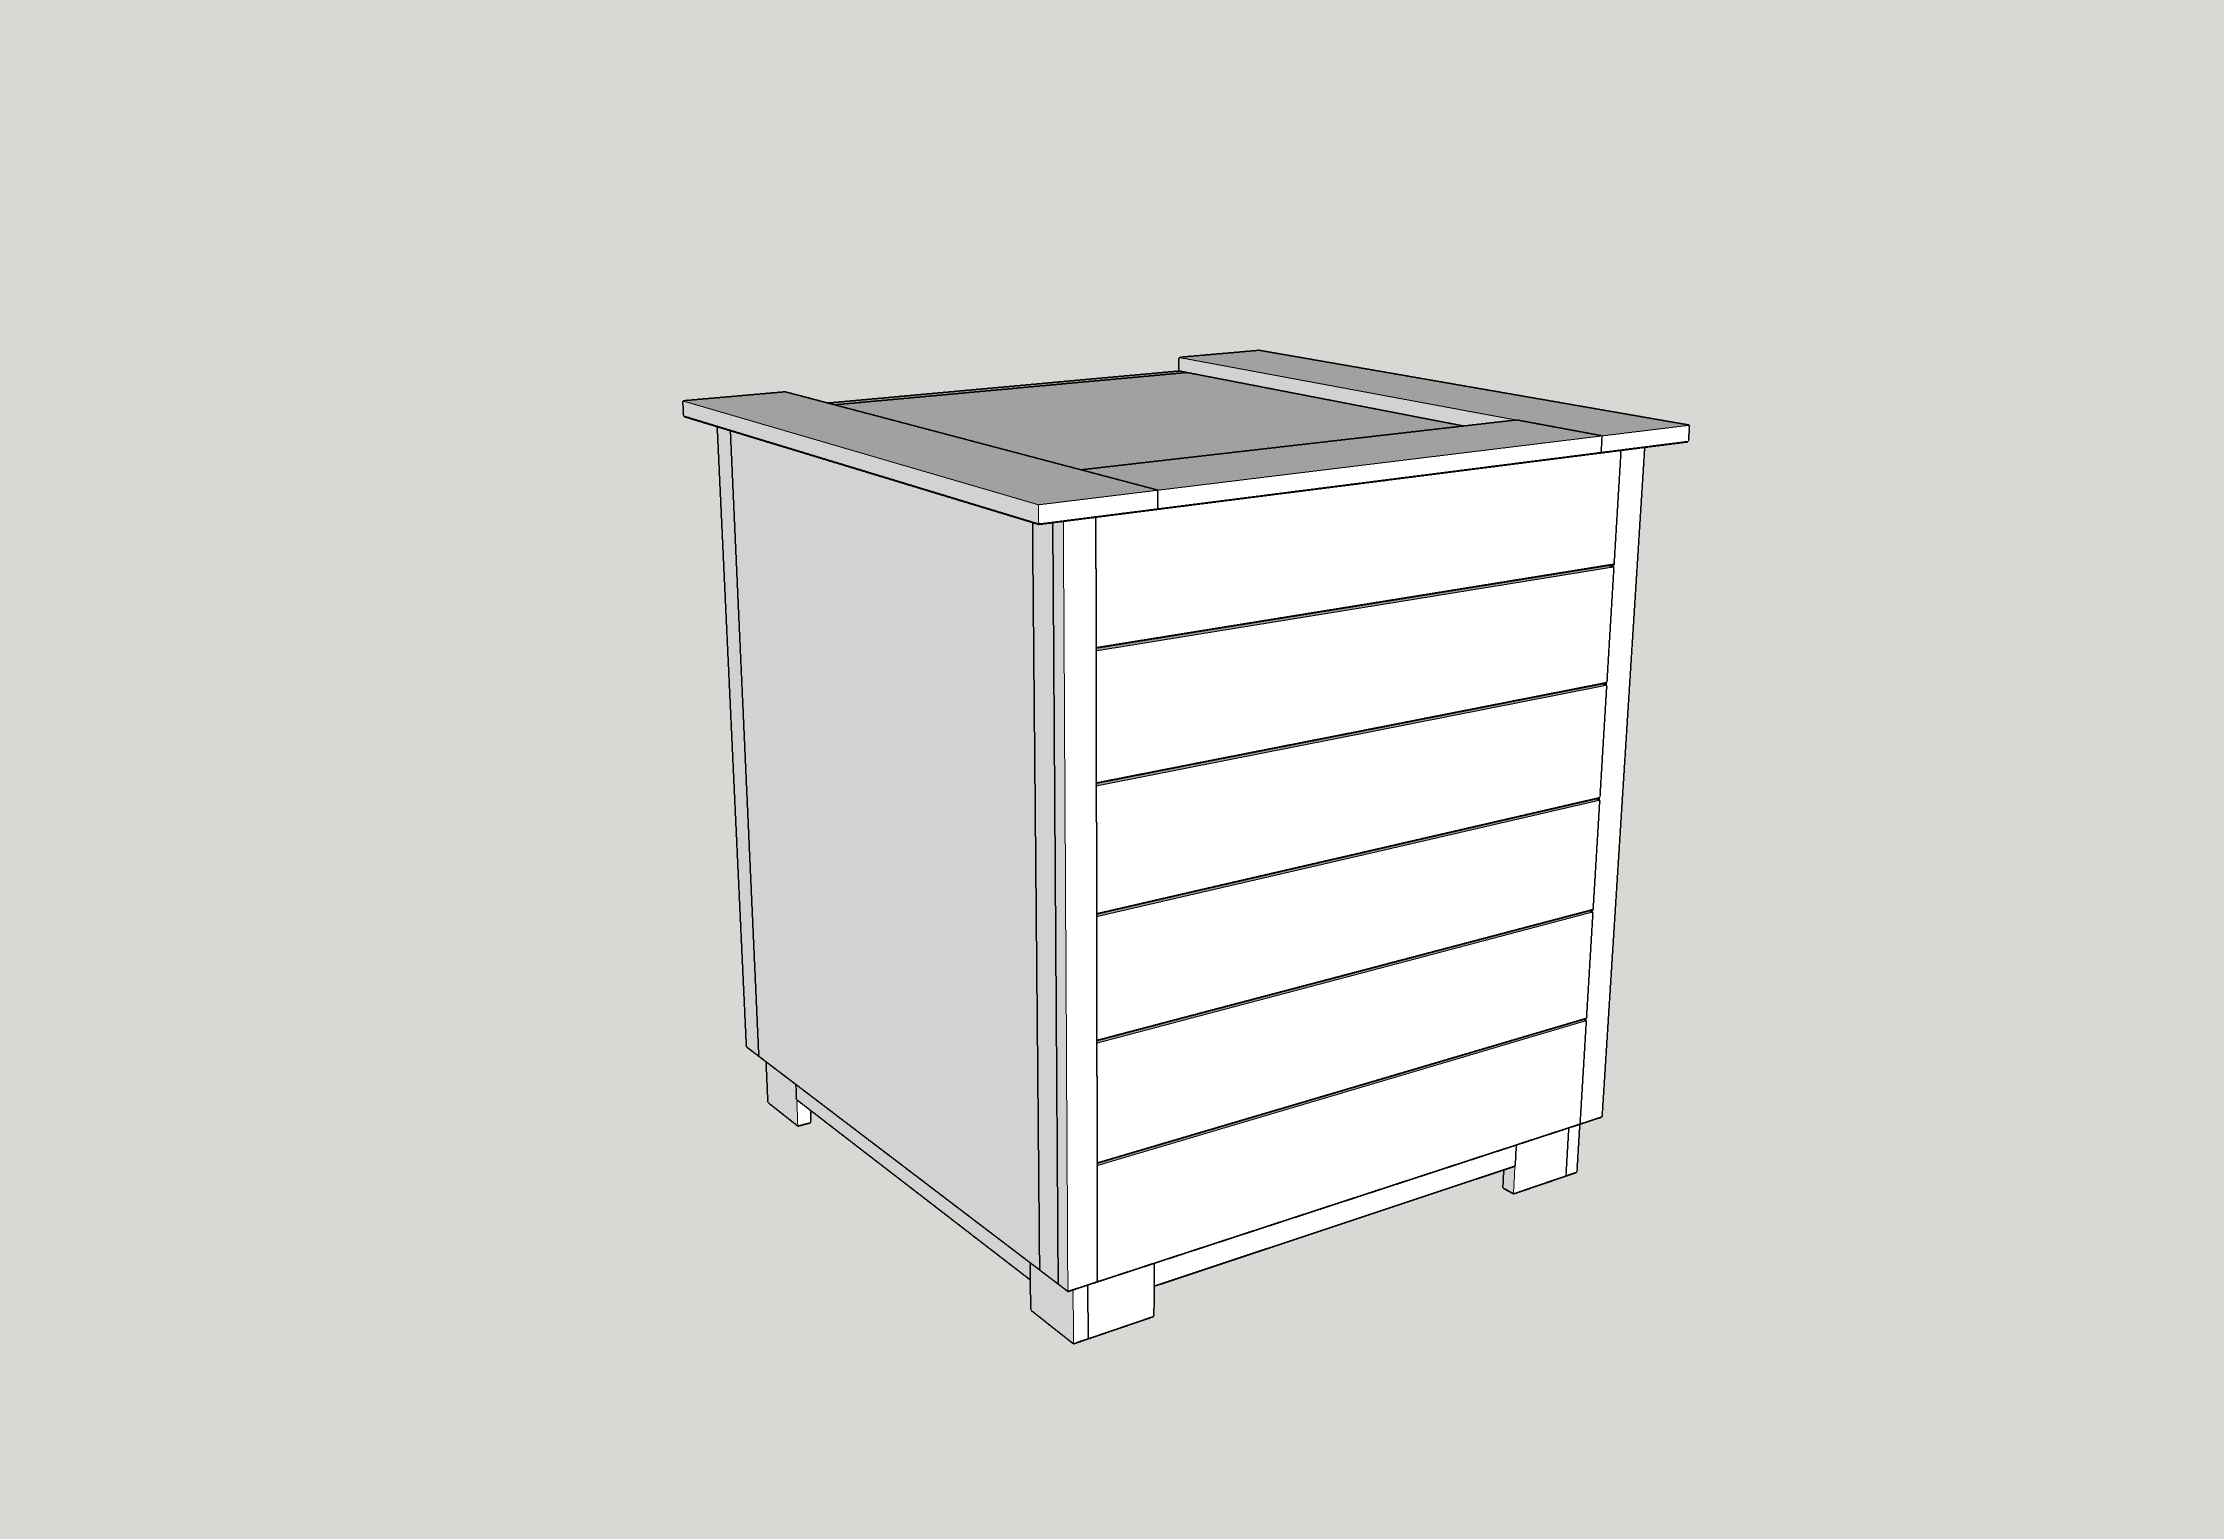
The tank is 24×24″ but this stand is 36×33″ (including the shelf on the top). The extra space allows me to create the shelf, a nice thing to have to put things down on while working, and to create the extra space inside that I need for the electronics and equipment.
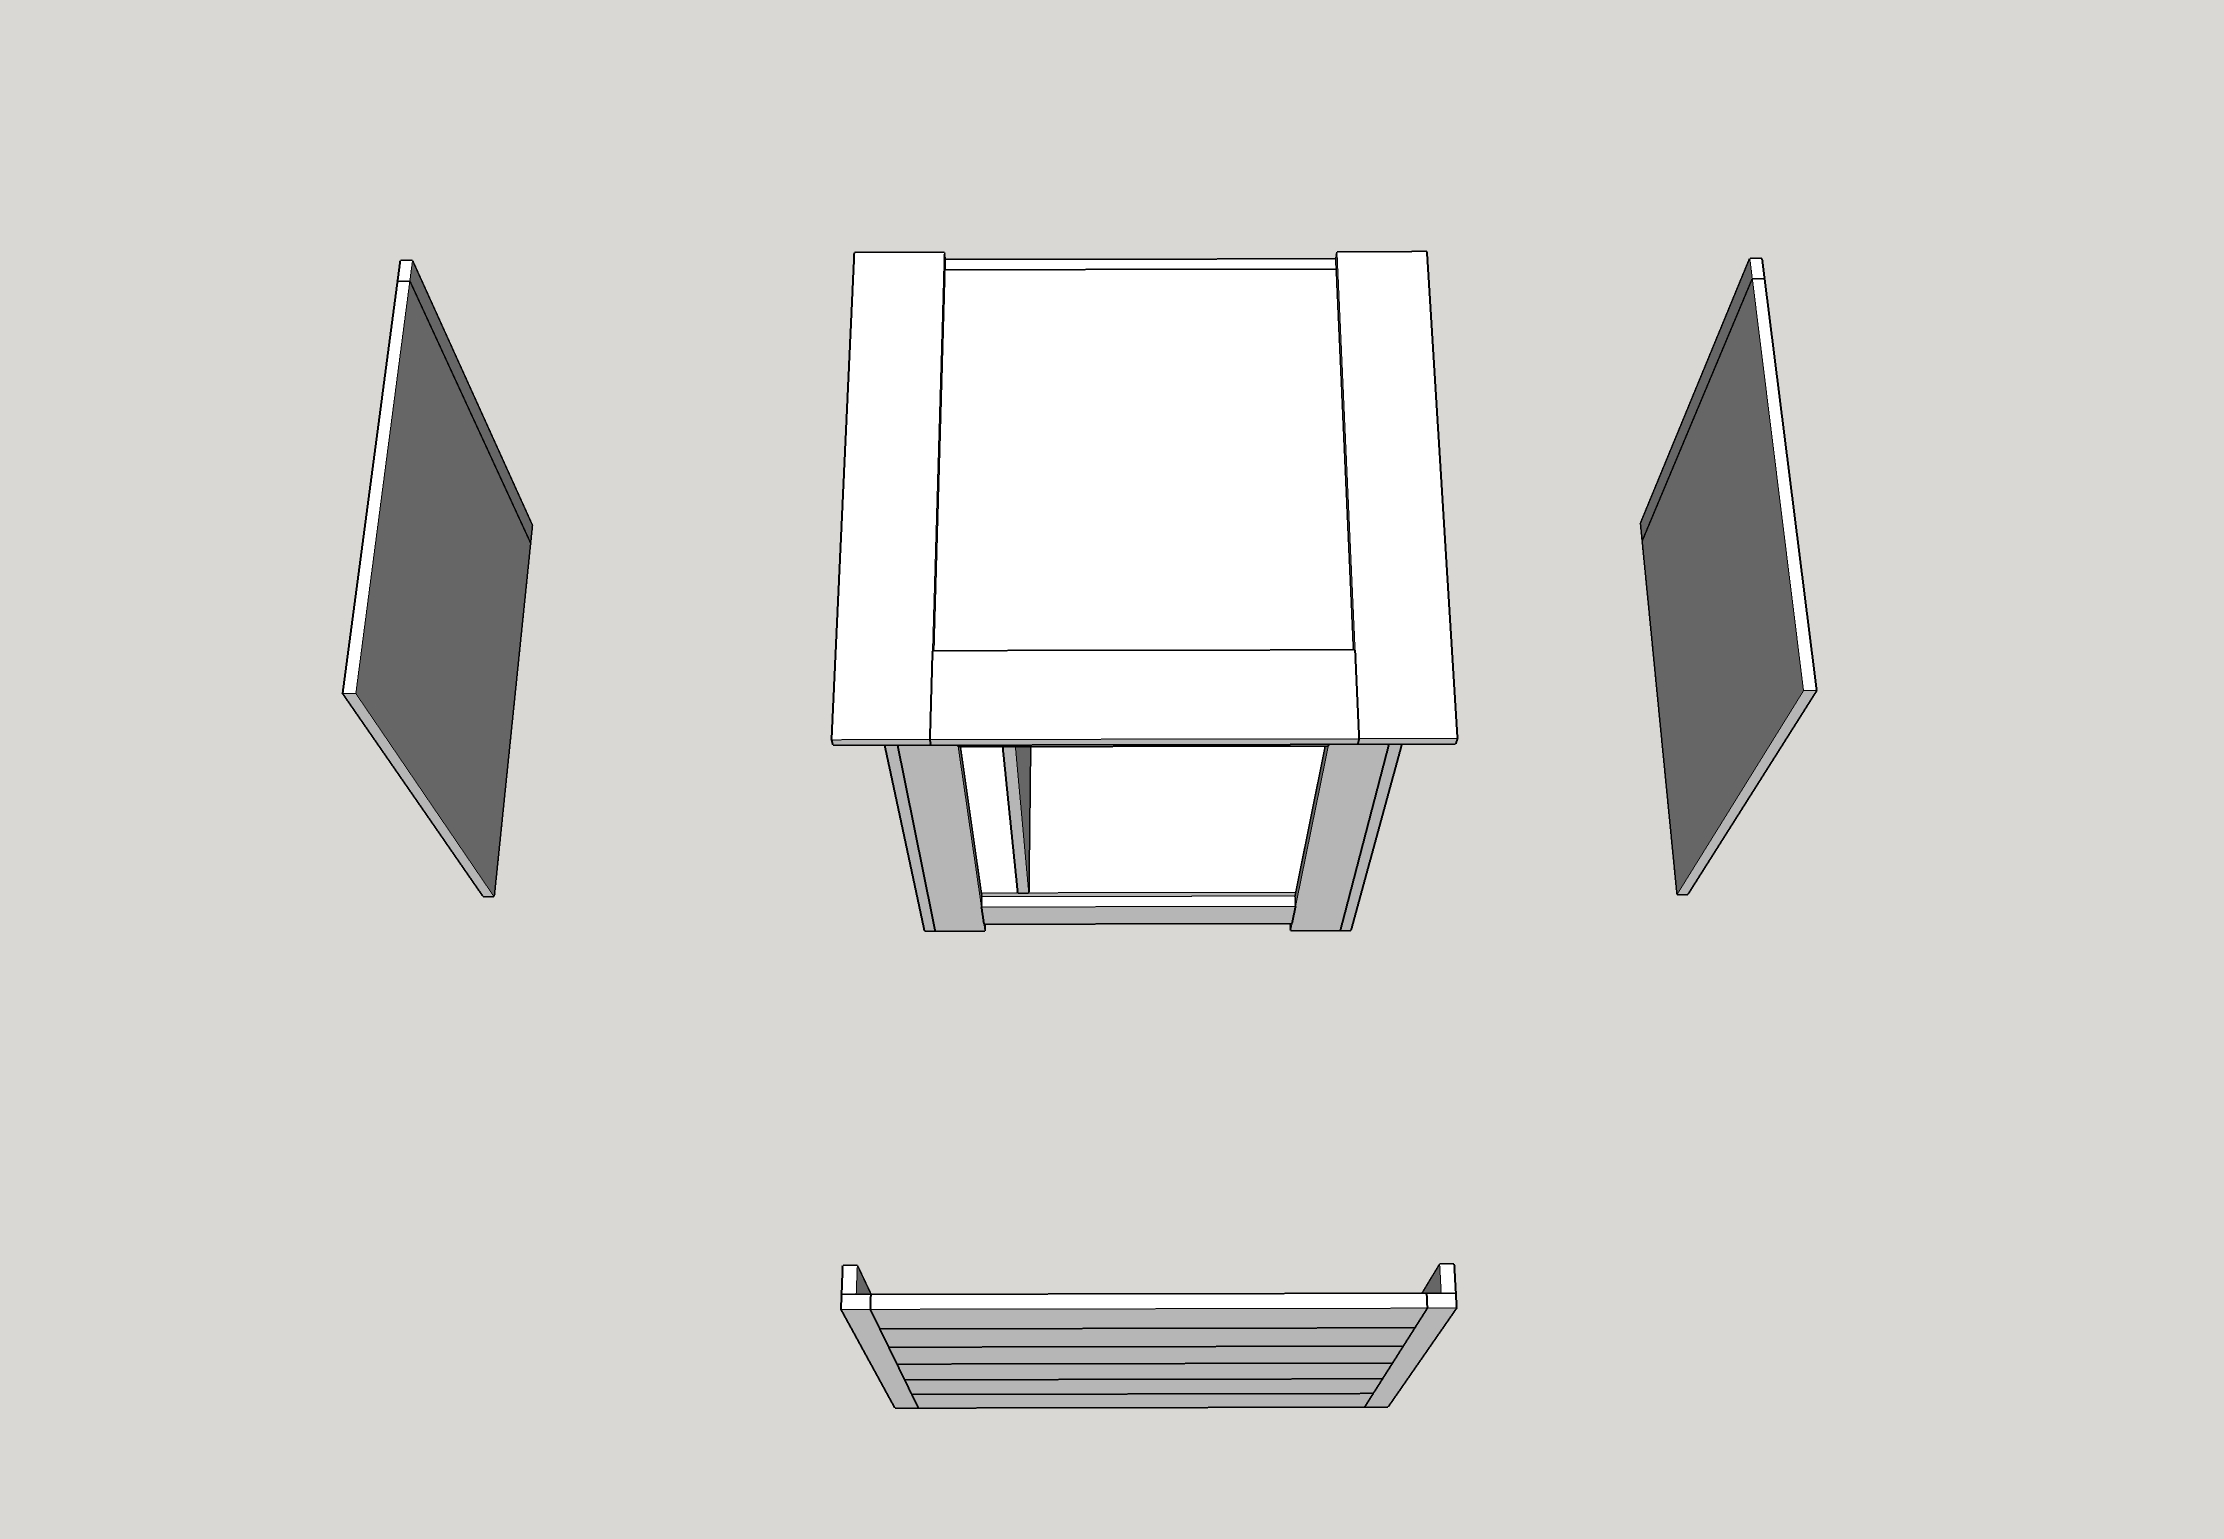
To maximize the interior space and my access to it, I’ve designed the doors to take up the entire face of three sides. The doors will be the skin when installed. They’ll all be held on with magnets so I can get them out of the way while working. That’s another thing about my current stand that bothers me. I have to twist and work around the doors.
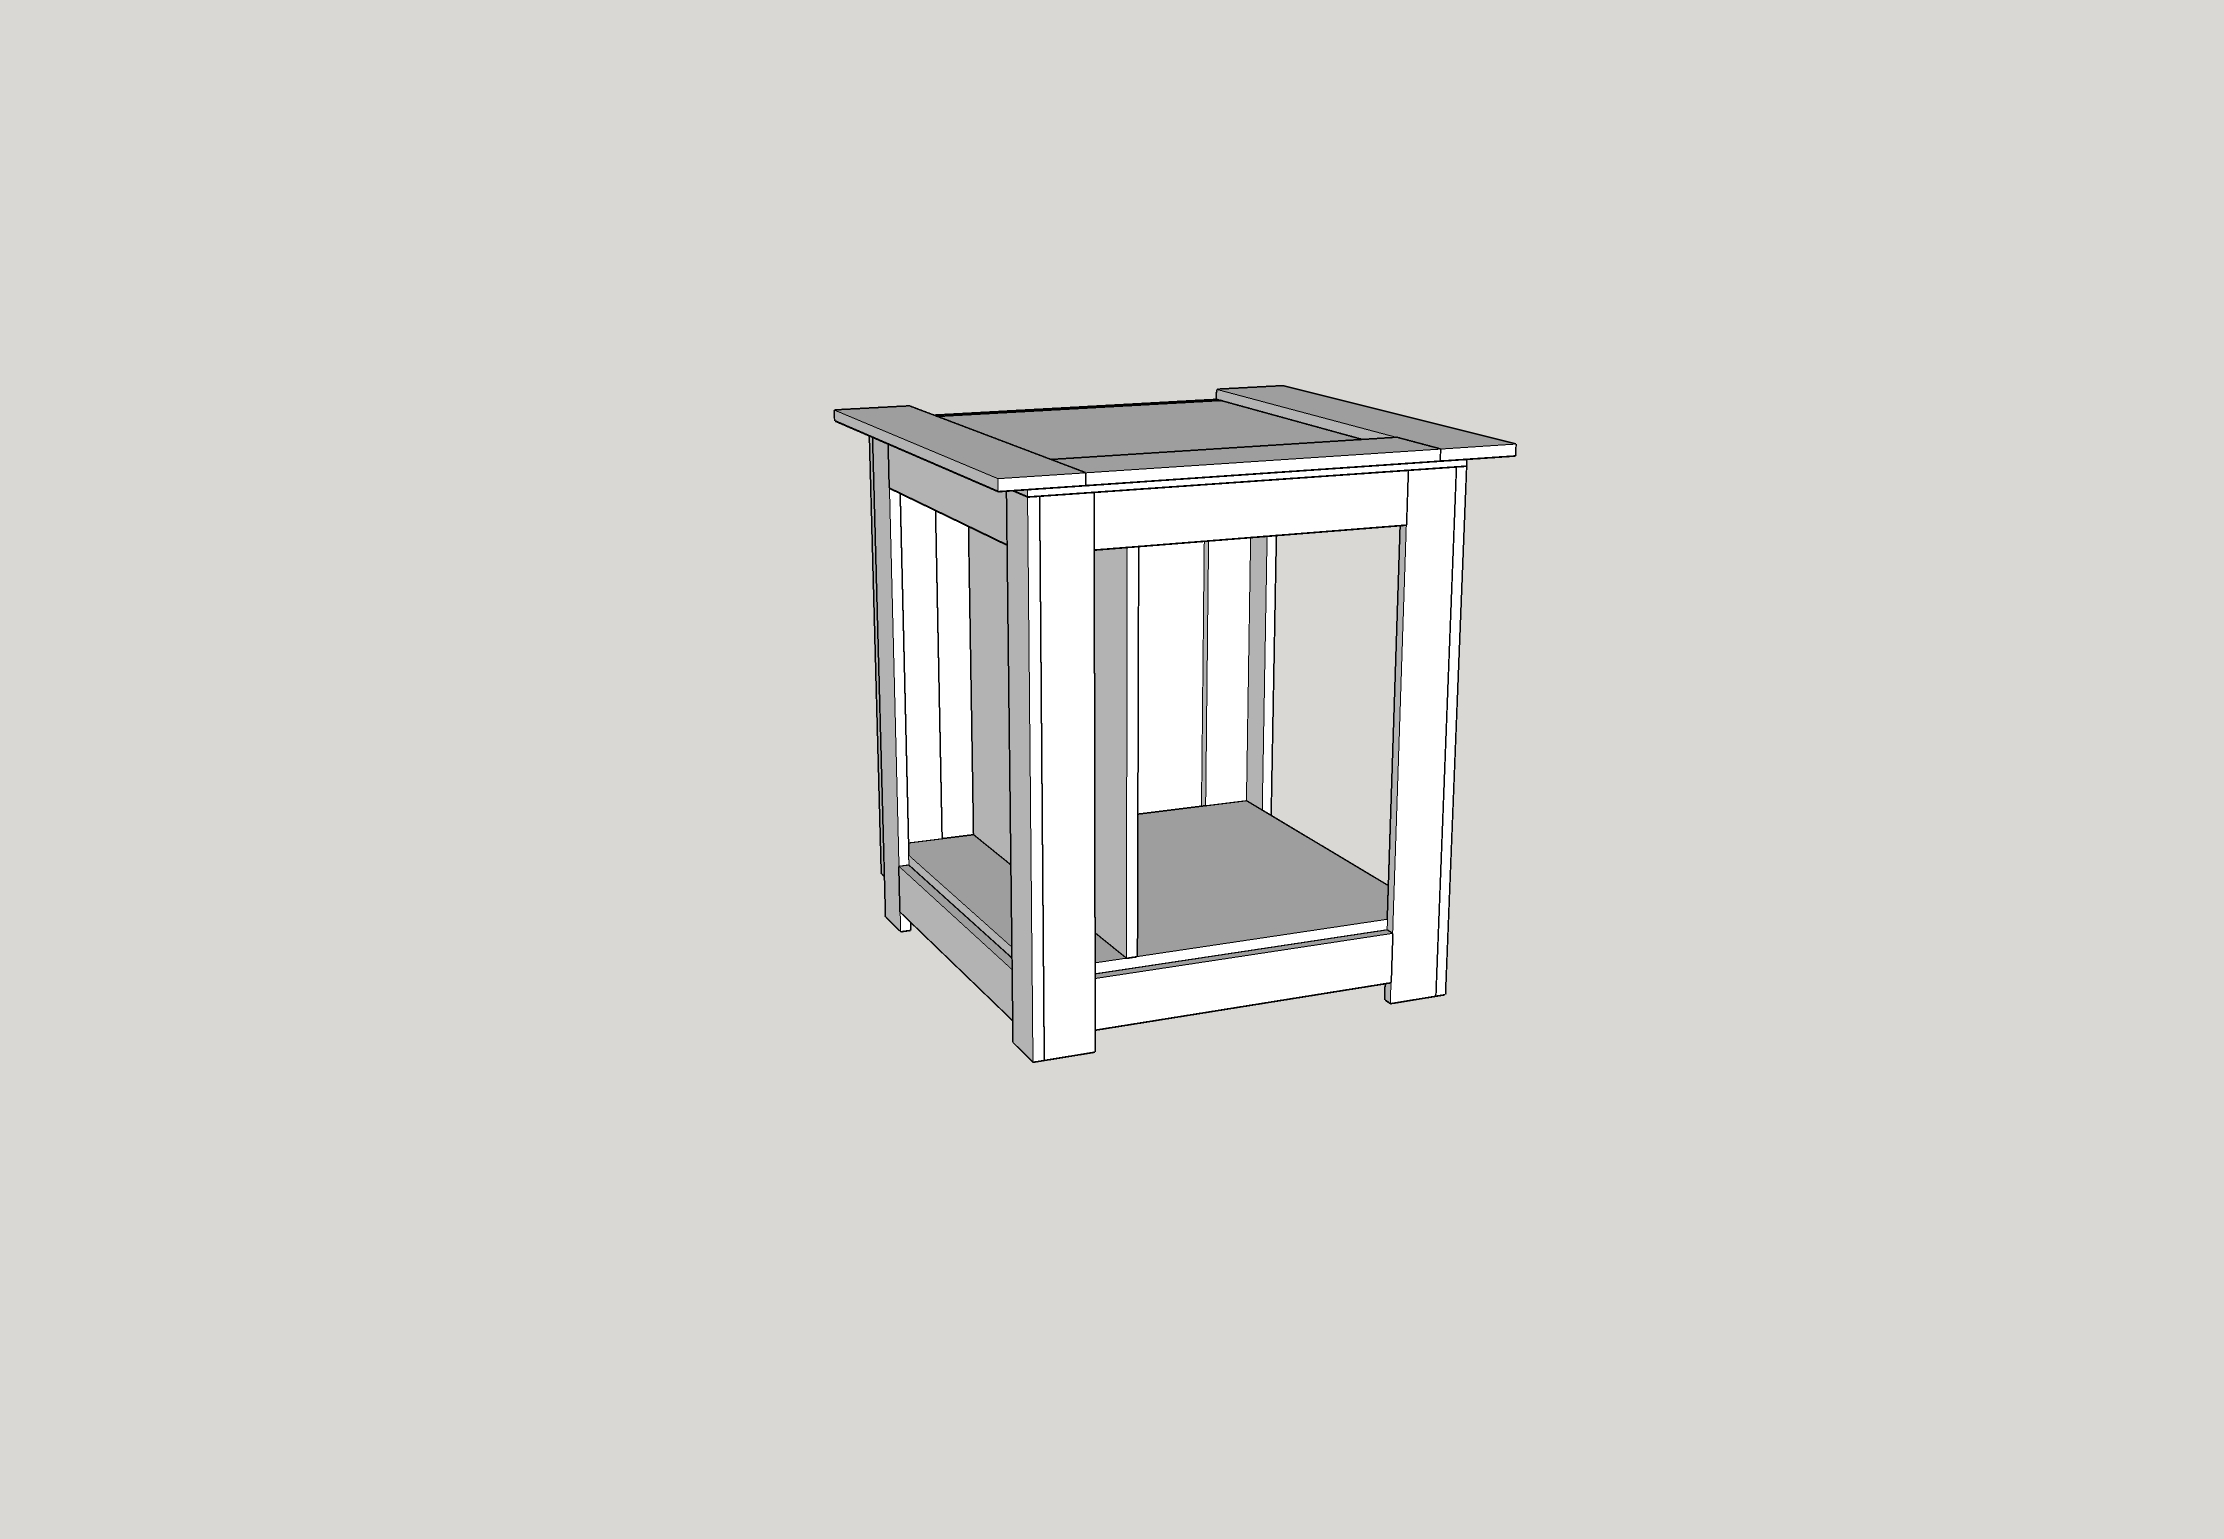
Here’s the stand without the doors. You can see on the left side there is a “dry” compartment to hold my electronics. On the right side is where the sump and all of the related components will go. As you can see, looooooots of space.
And finally, here is everything all together. Now…. to the shop!