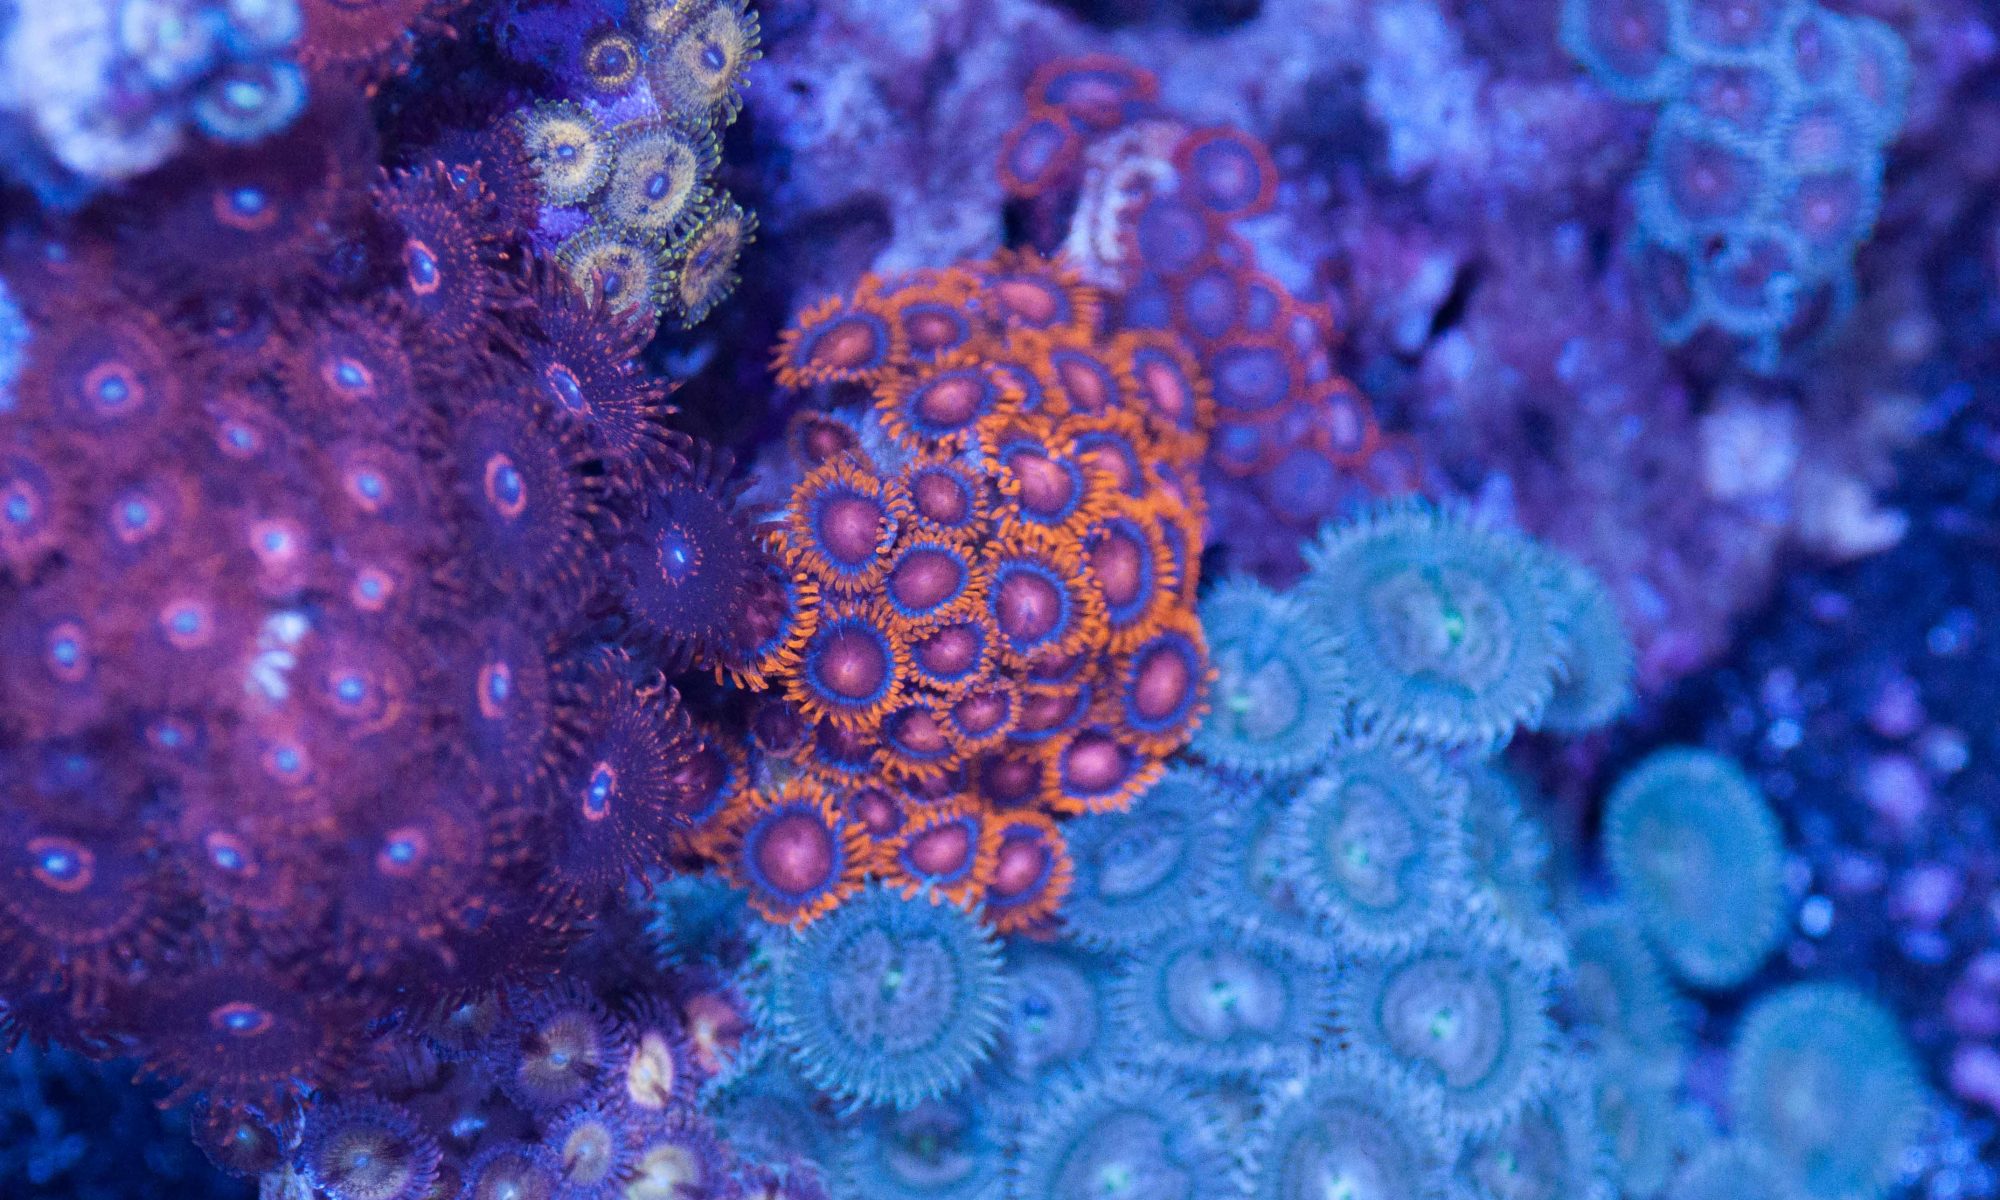

I really like the color on my Kessil A360WE, but I felt like my corals could use some more pop. Our corals fluoresce under blue and purple light, particularly down under 450nm wavelengths. Kessil does have some power down in this range, but not as much as I would like it to and I don’t want the tank to be so blue it looks like Windex.
Here is Kessil’s representation of the output of the A360WE. You can see there isn’t much in the low end around 400nm.
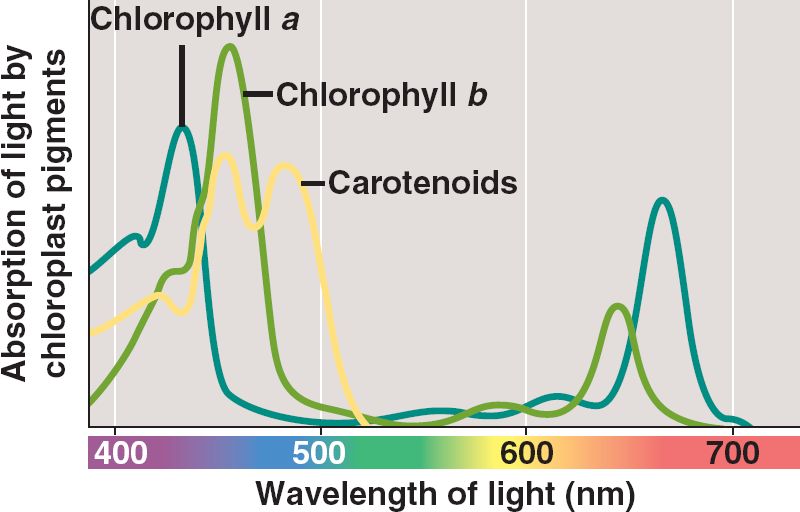
The next chart shows which wavelengths chlorophyll absorbs to create energy for our corals. Notice the peaks are at around the 430nm mark? The area under those peaks account for 85% of the chlorophyll in our corals.
Since there is nothing wrong with my light and no way to change the selection of diodes in the light, I decided to go the DIY route and make a small add-on that is unobtrusive and blends as much as possible into the existing look. I think what I’ve come up with is a good start in that direction. Here’s how I made mine and what you need to make one too…
Equipment
| Component | Cost |
| LEDGroupbuy 3UP Hypverviolt (430nm) LED | $9.00 |
| Meanwell LDD-500HW LED Driver | $7.50 |
| 12VDC Switching Power Adapter | $5.00 |
| Aluminum Flat Bar | $6.00 |
| Miniature Heatsink | $0.50 |
| Total: | $28.00 |
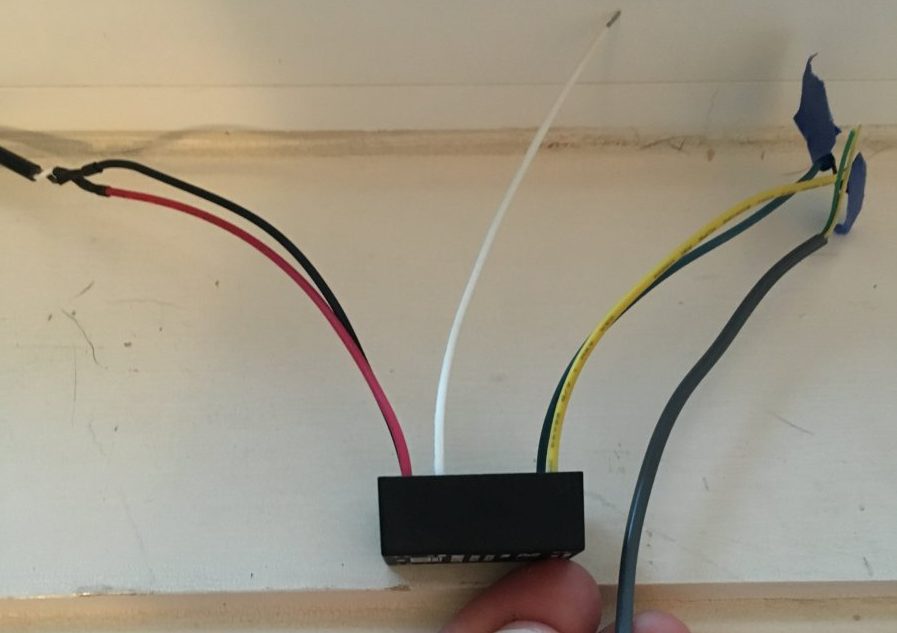
Wiring
Wiring up the device is very simple. The 12V power adapter hooks up to the input of the Meanwell driver (red and black wires) and the output of the Meanwell driver hooks up to the LED (blue and yellow wires). The driver is optionally controllable with a 10V PWM signal (white wire). Leave the white wire disconnected and it will run at 100%. The grey wire on the right is what I’m using to supply power up to the LED. It is a 4 conductor wire so I can get power, ground, dimming and an second ground. Don’t mind the tape in the picture, it is just temporarily held together for testing in this picture.
Mounting
I made a simple mount for the LED using some aluminum bar from Home Depot. You can use steel bar too, but it won’t transfer as much heat. I bent the bar in a vise and painted it with spray paint. Select a spray paint for metals or it will flake off. I chose flat black. This assembly then attaches to the same mounting screw on the center of the Kessil and it brings it down even with the bottom of the light.
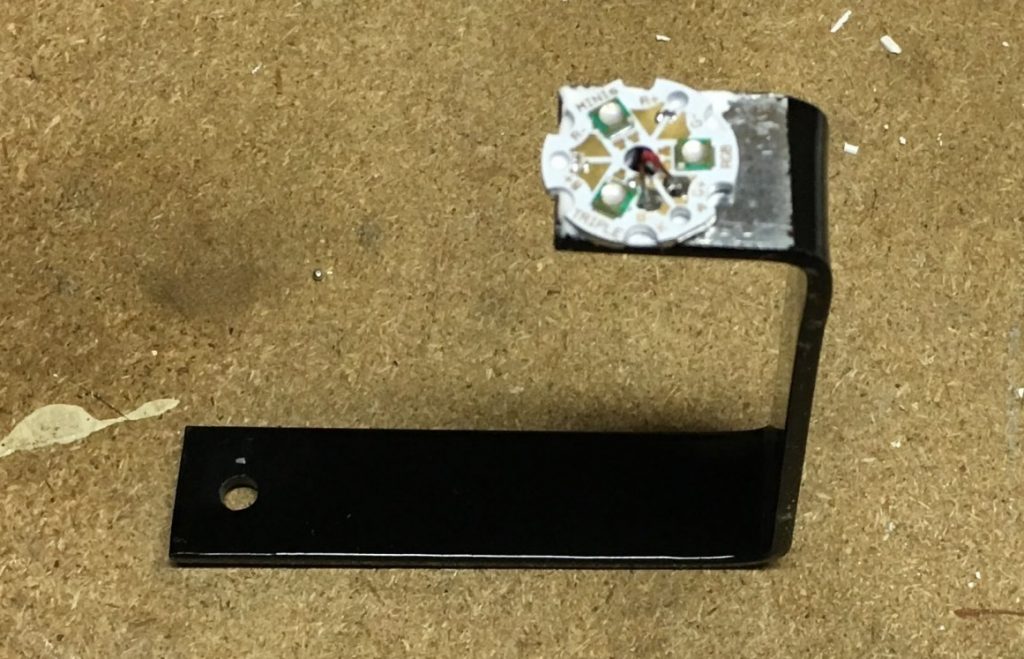
Here’s the finished bracket before mounting, wiring and installing the heatsink. Make sure you don’t paint where you are going to attach your LED or it won’t stick properly and you won’t get proper heat dissipation. I just put a piece of masking tape over the spot while I was painting.
Mounting
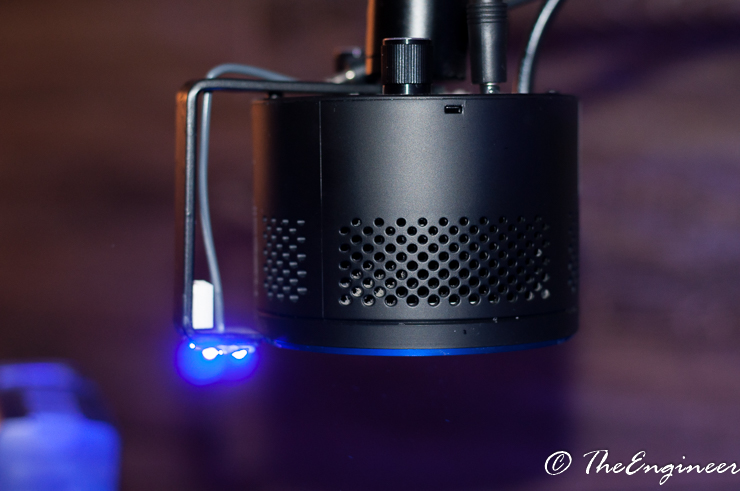
Only thing left to do was to thread the wire up to the Kessil and mount the new bracket to it. I also installed a small RAM heatsink for extra heat dissipation. I don’t think it is needed, but I thought it looked cool. You’ll notice there’s a small screw on the to of the Kessil that gets in the way of this sitting perfectly flush. It’s a little annoying, but you can address it by drilling a hole there to allow the screw to sit inside. It didn’t bother me enough to take it apart and fix it.
In Tank Results
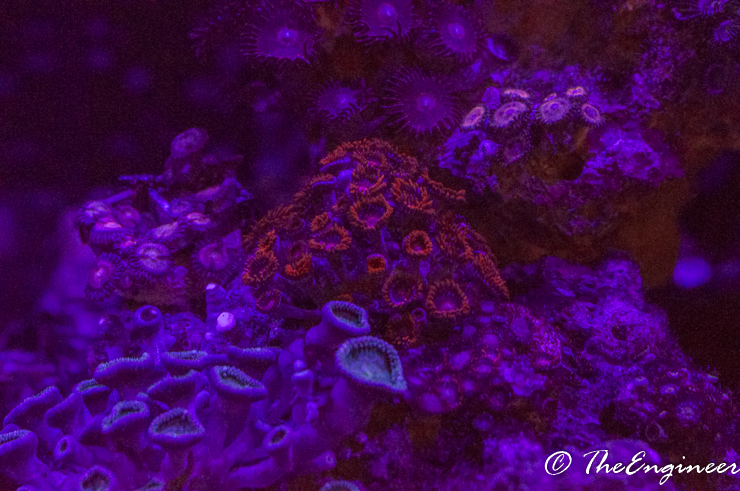
I plugged it in to see how it looks and my corals all immediately started to open. Looks like the spectrum is right! It’s fairly hard to photograph this color accurately, but here’s my best shot. The color is fairly close, but what is important is that it brings out the fluorescence in the corals. Look how brightly the lashes of that Bam Bam zoanthid colony are glowing! And the whole face of the Gold Mauls behind them!
All in all, I’d say this was a great investment for about $30 and half a day’s work. I’m pleased with the visual impact it makes and my corals seem to enjoy it too. In a later entry I’ll take some lux readings and see what sort of power this puts down.
Please leave a comment if you try this yourself!